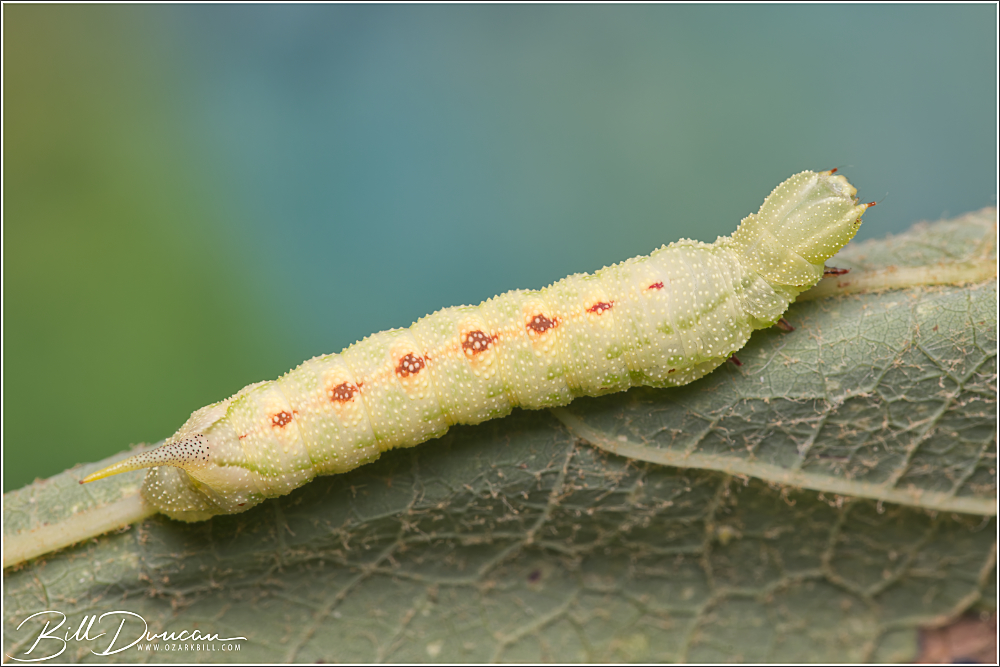
Virginia Creeper Sphinx
Darapsa myron fam. Sphingidae (Hodges#7885)
Host plant: Found on grape species (Vitis sp.)
Dates found: 31 August, 2025
Locations found: Tyson Research Center, St. Louis County, MO
Notes:

"What a thousand acres of Silphiums looked like when they tickled the bellies of the buffalo is a question never again to be answered, and perhaps not even asked." -Aldo Leopold
Virginia Creeper Sphinx
Darapsa myron fam. Sphingidae (Hodges#7885)
Host plant: Found on grape species (Vitis sp.)
Dates found: 31 August, 2025
Locations found: Tyson Research Center, St. Louis County, MO
Notes:
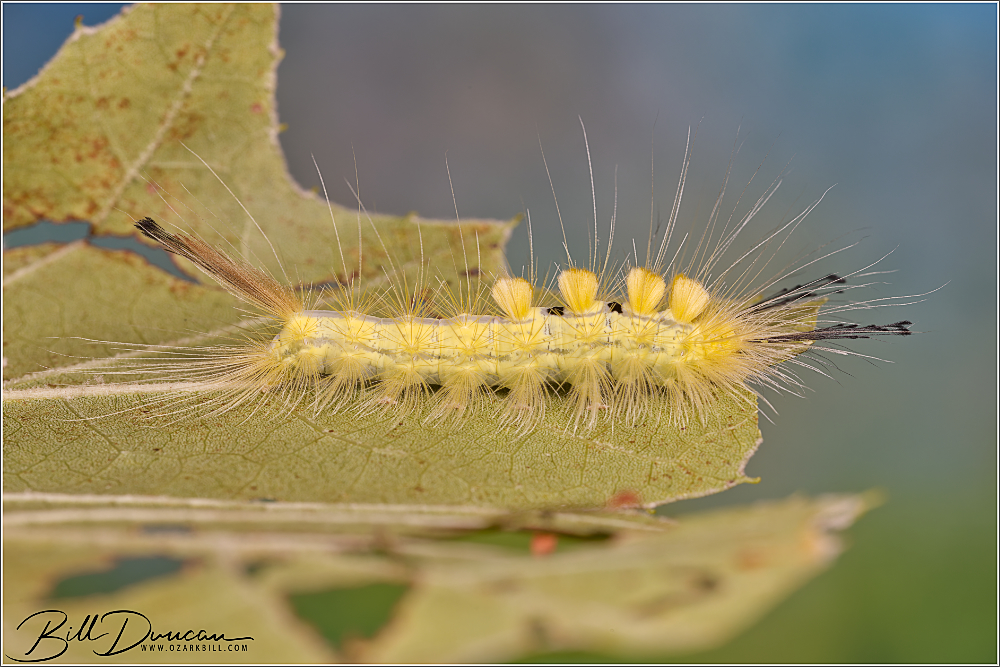
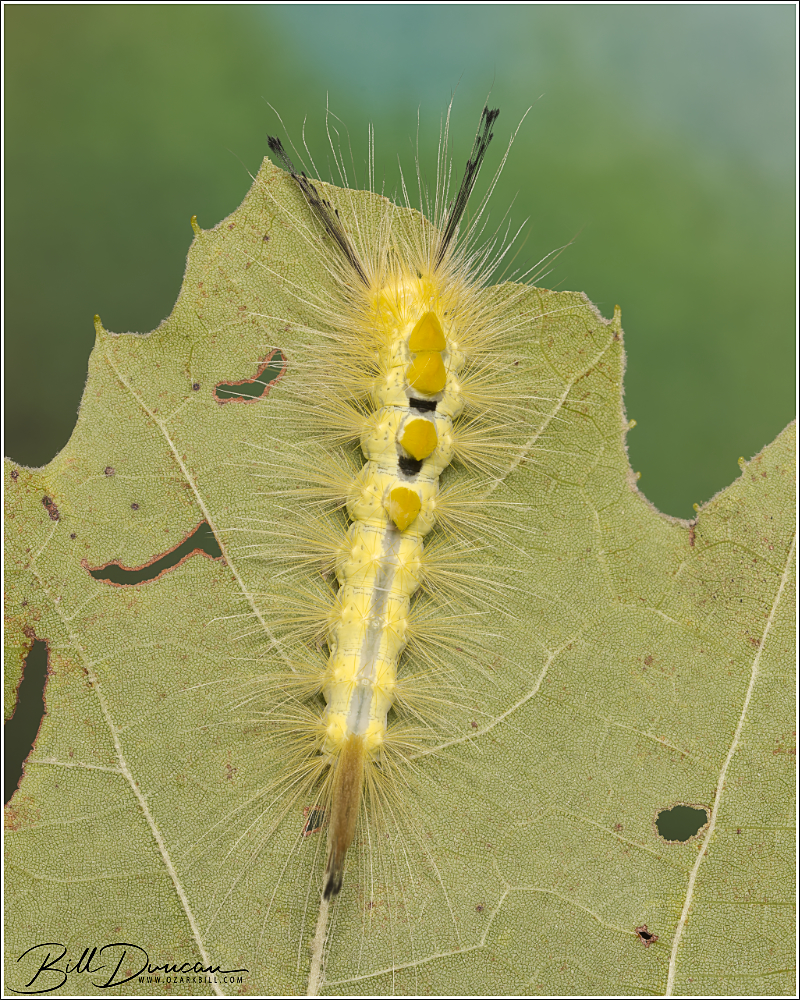
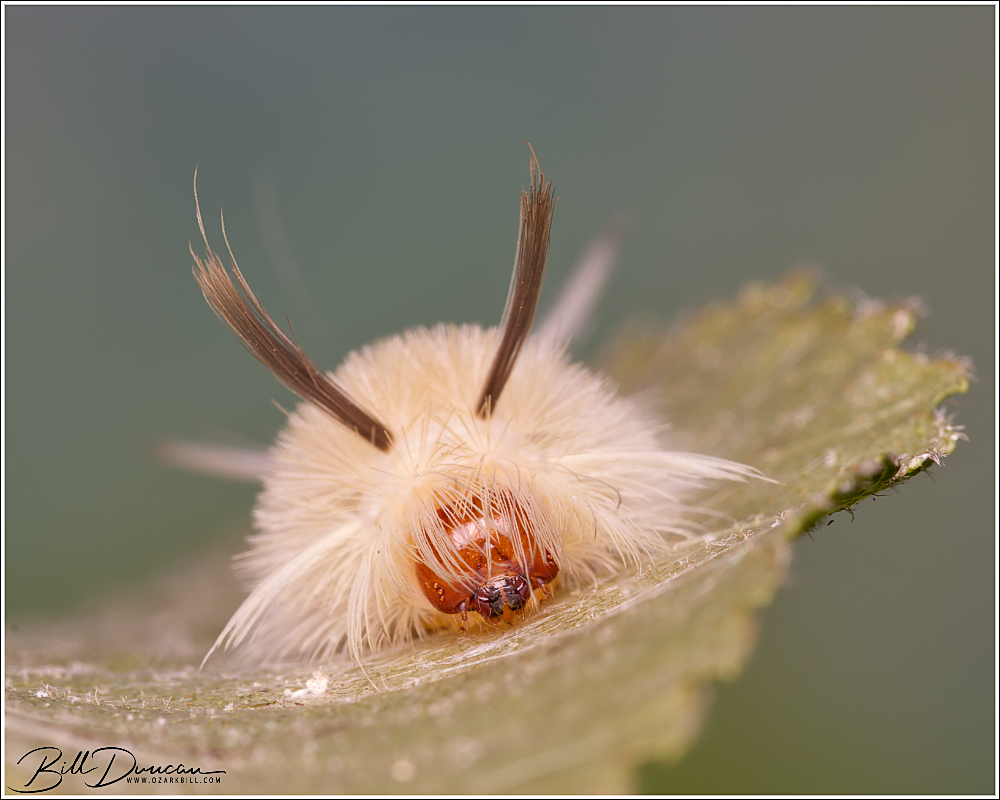
Definite Tussock Moth
Orgyia definita fam. Erebidae (Hodges#8314)
Host plant: Found on sycamore (Platanus occidentalis)
Dates found: 01 September, 2025
Locations found: Tyson Research Center, St. Louis County, MO
Notes: This species range seems to weirdly stop in extreme eastern Missouri based on official collection records as well as online databases like iNaturalist and BAMONA. I wonder if this species might be more abundant in the state than the data suggests, mainly by the numbers I have found during the past two years.
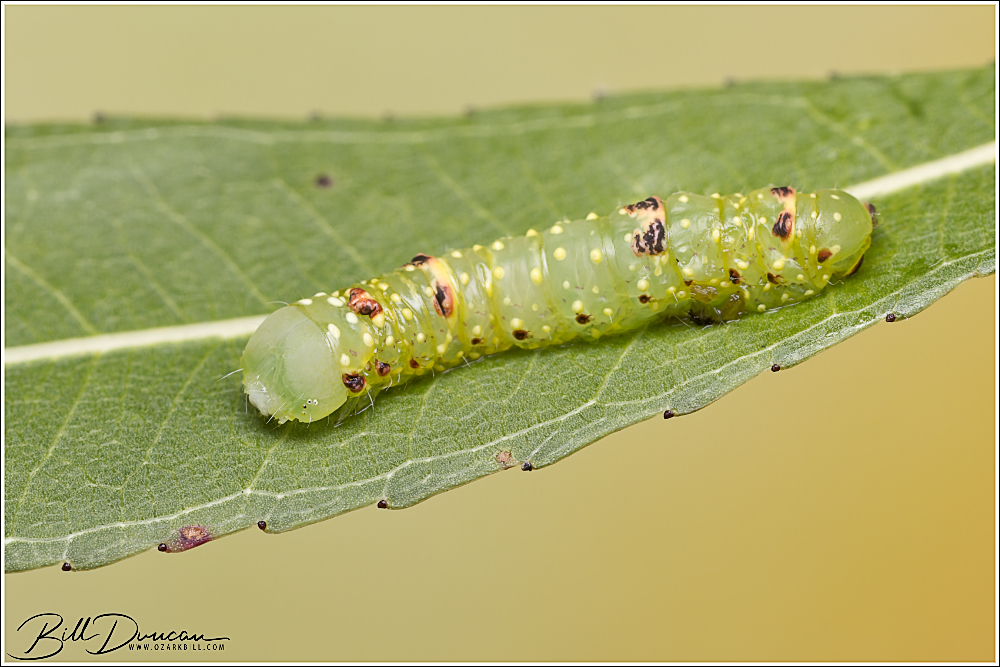
The Brother
Raphia frater fam. Noctuidae (Hodges#9193)
Host plant: black willow (Salix nigra)
Dates found: 16 September, 2025
Locations found: Johnson’s Shut-ins State Park, Reynolds County, MO
Notes: This species ranges over most of the lower 48 United States and southern Canada. It is infrequently found in Missouri.
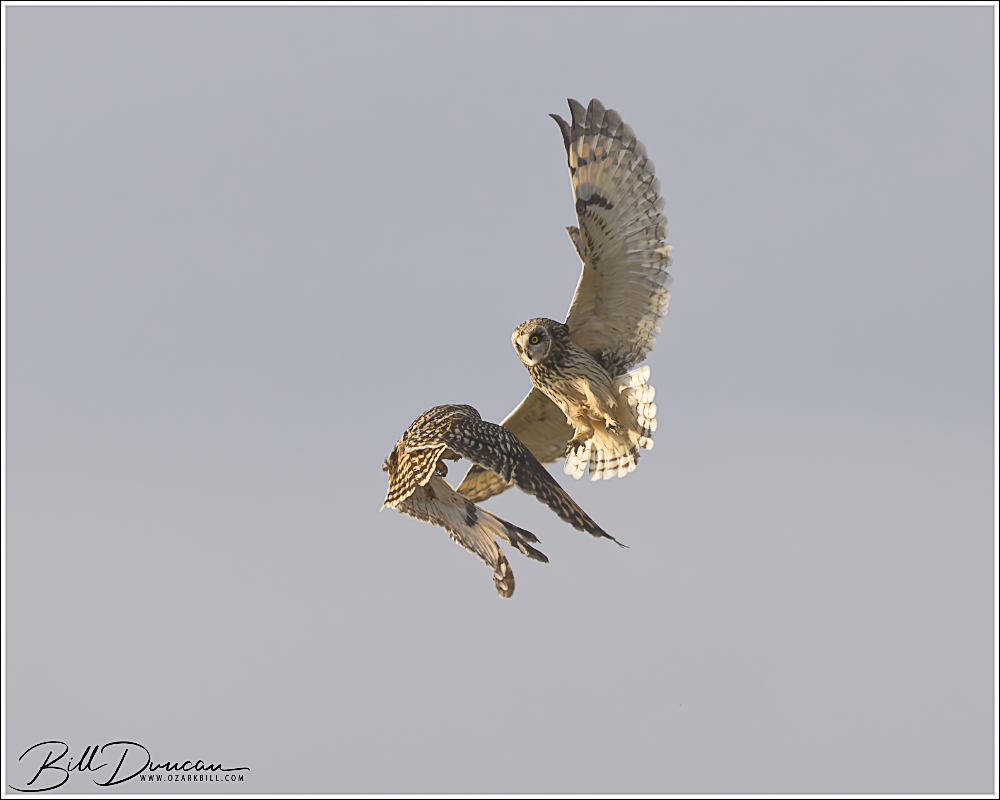
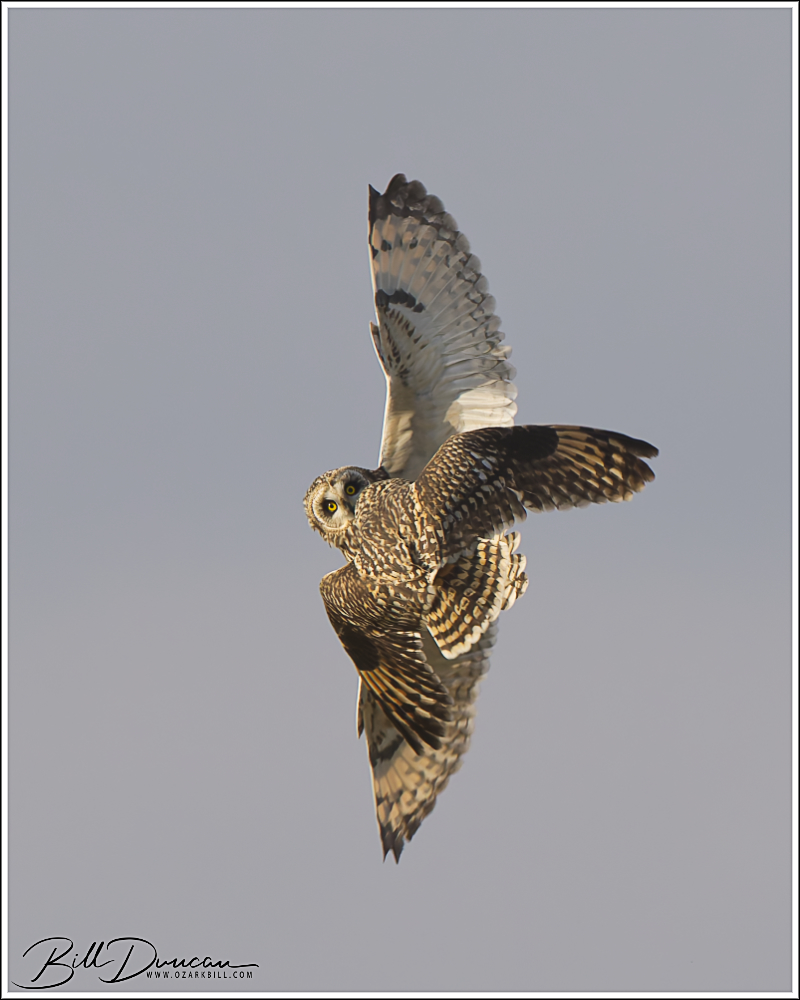
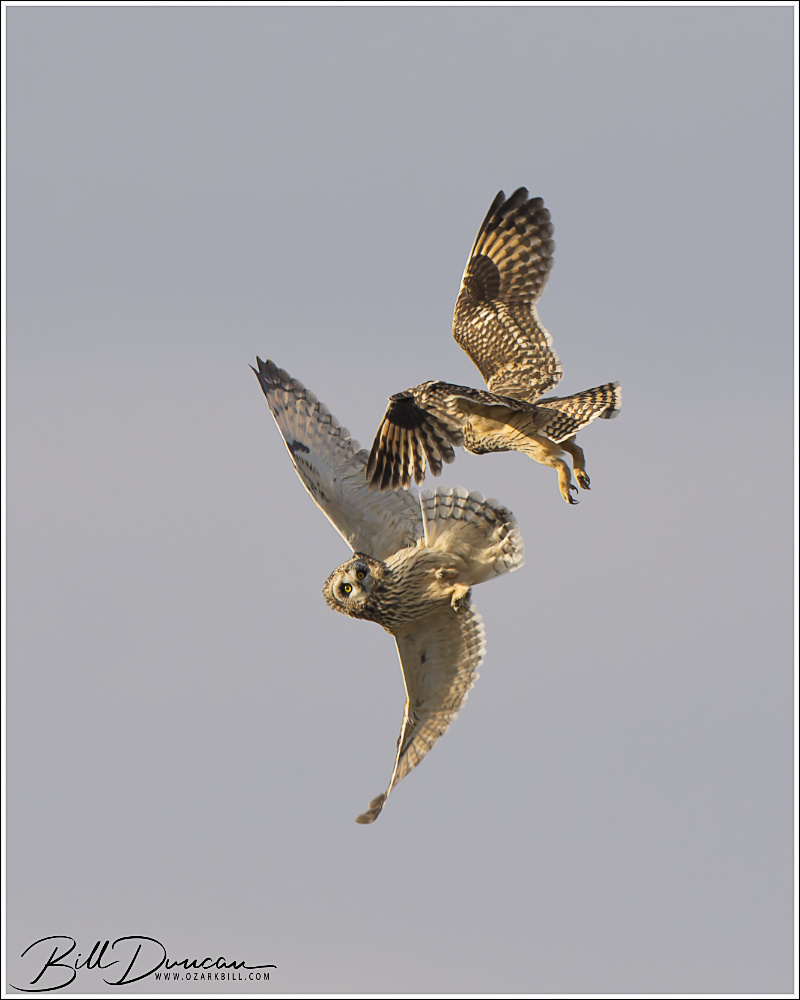
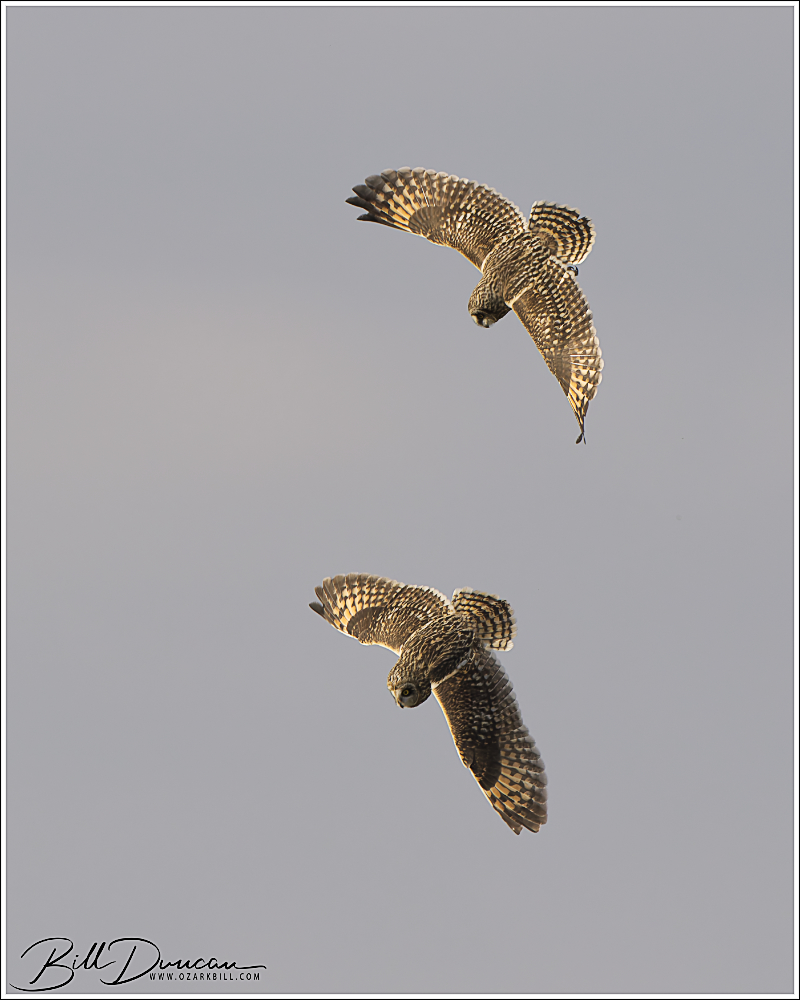
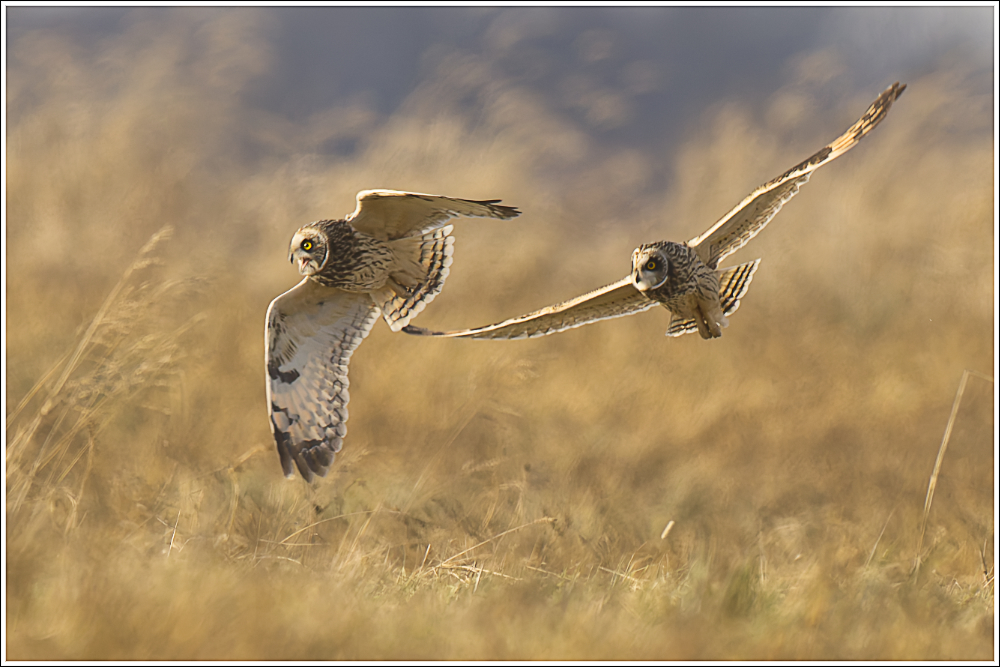
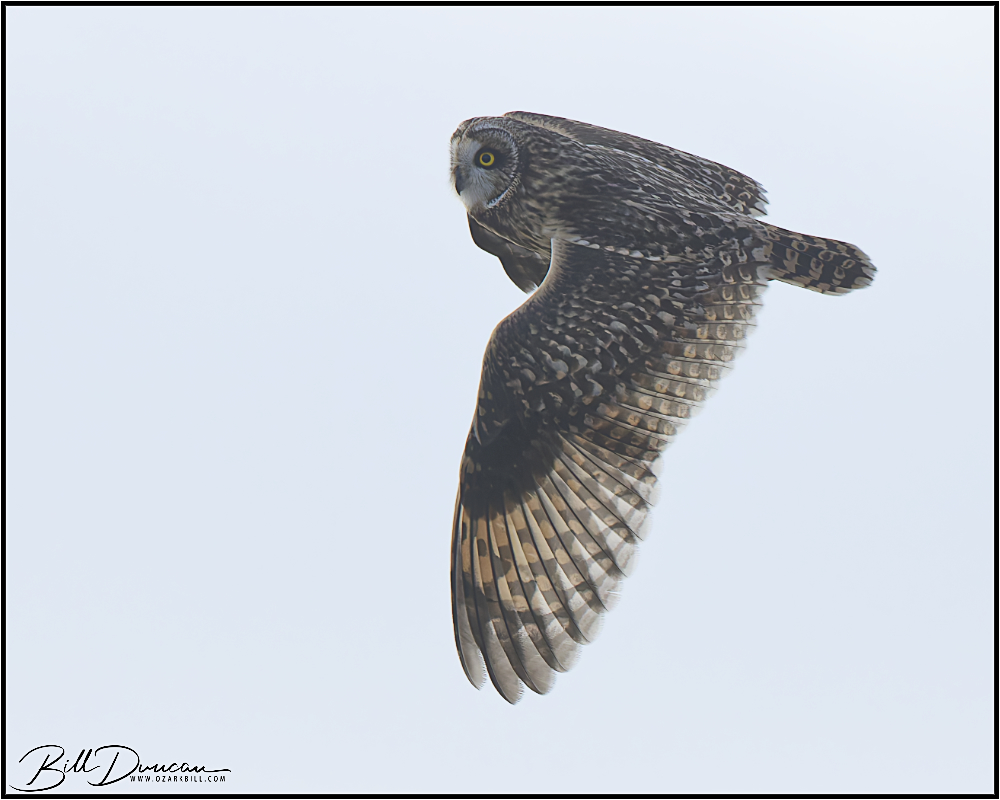
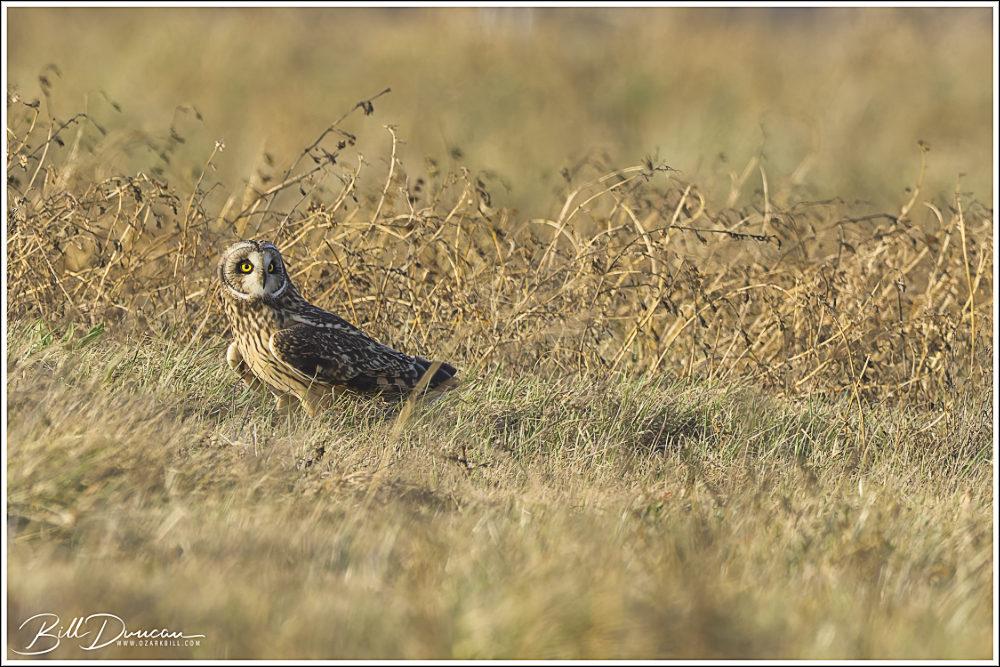
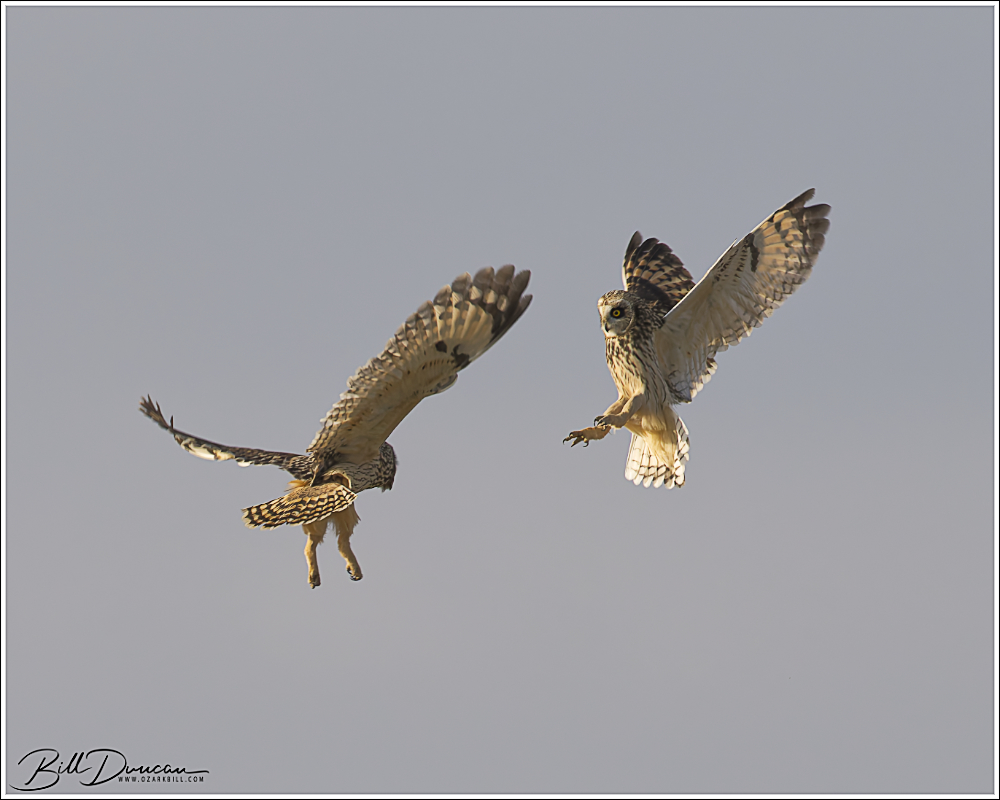
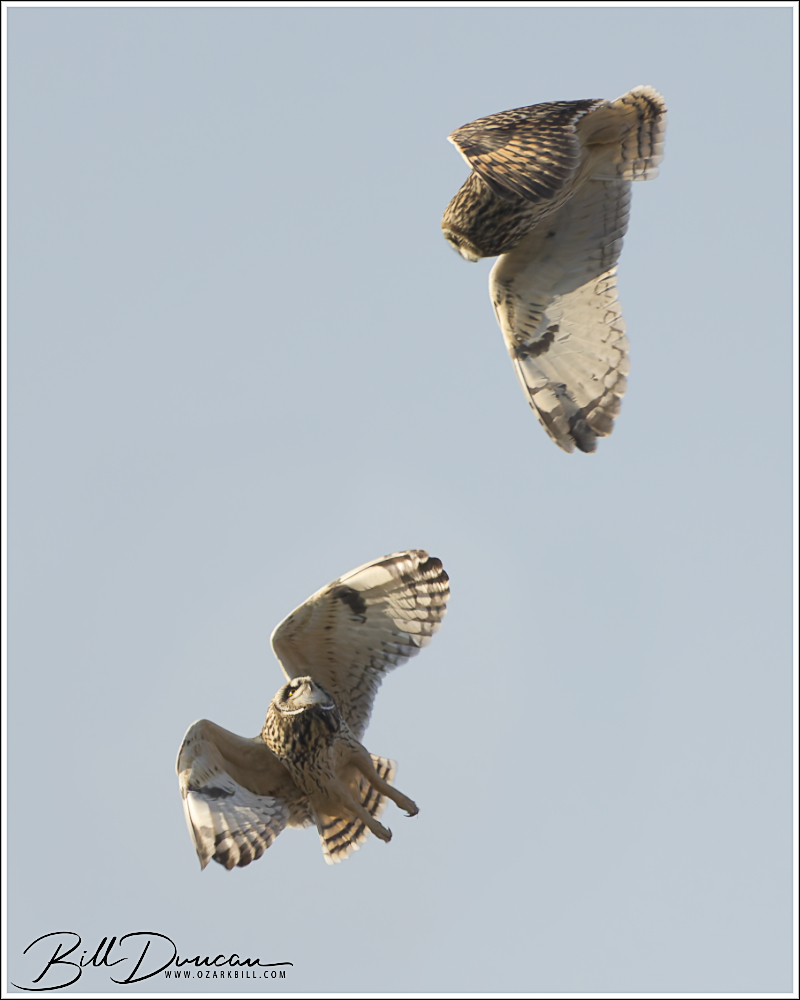
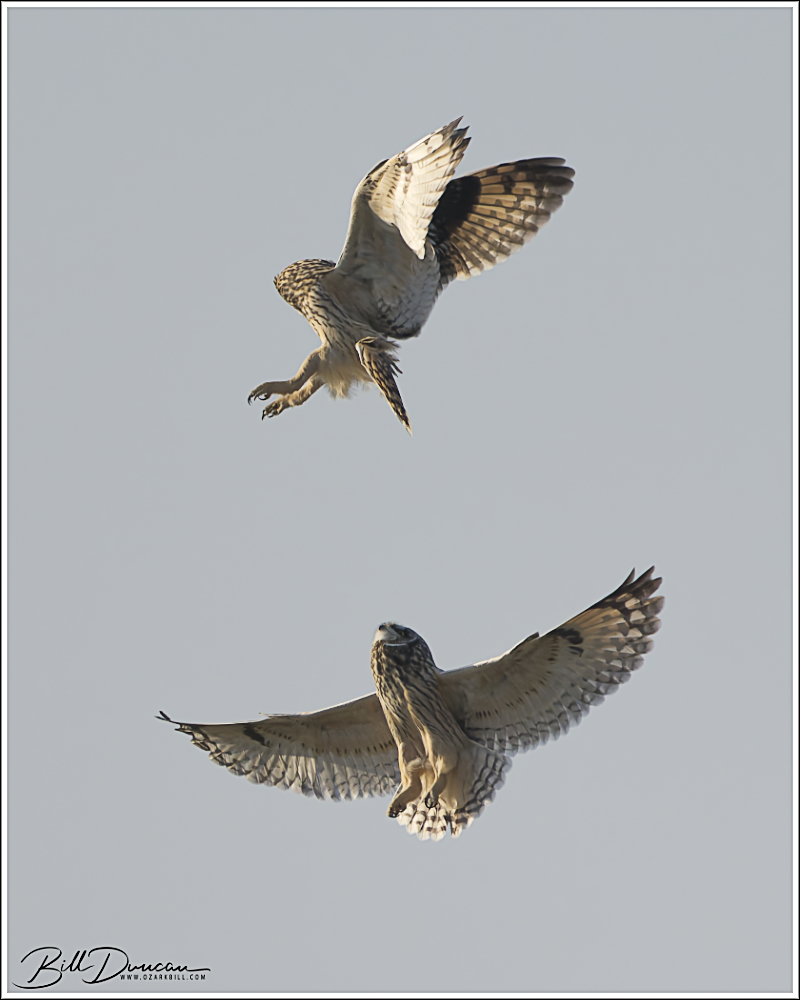
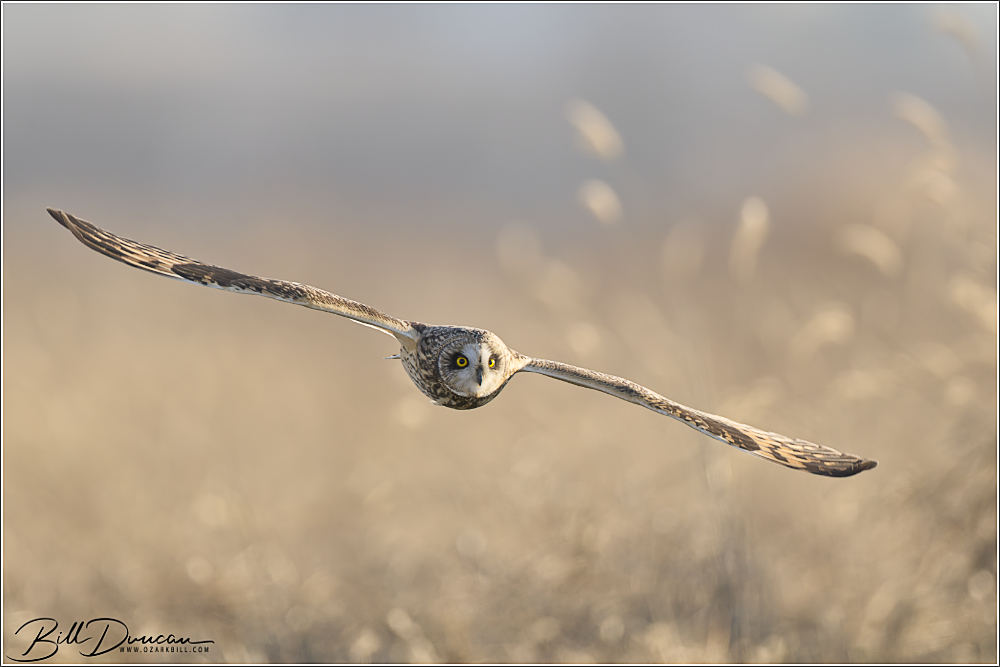
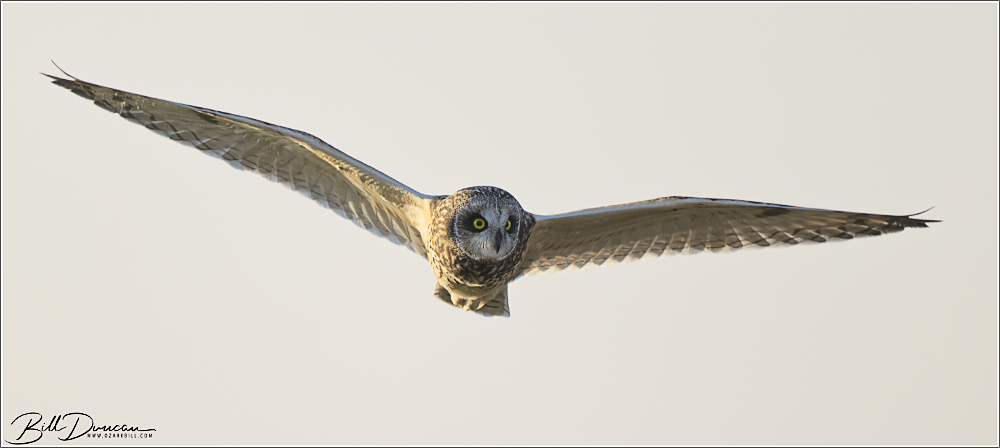
Here are some of my favorites from a couple trips to a new-to-me Short-eared Owl location in southeastern Illinois.


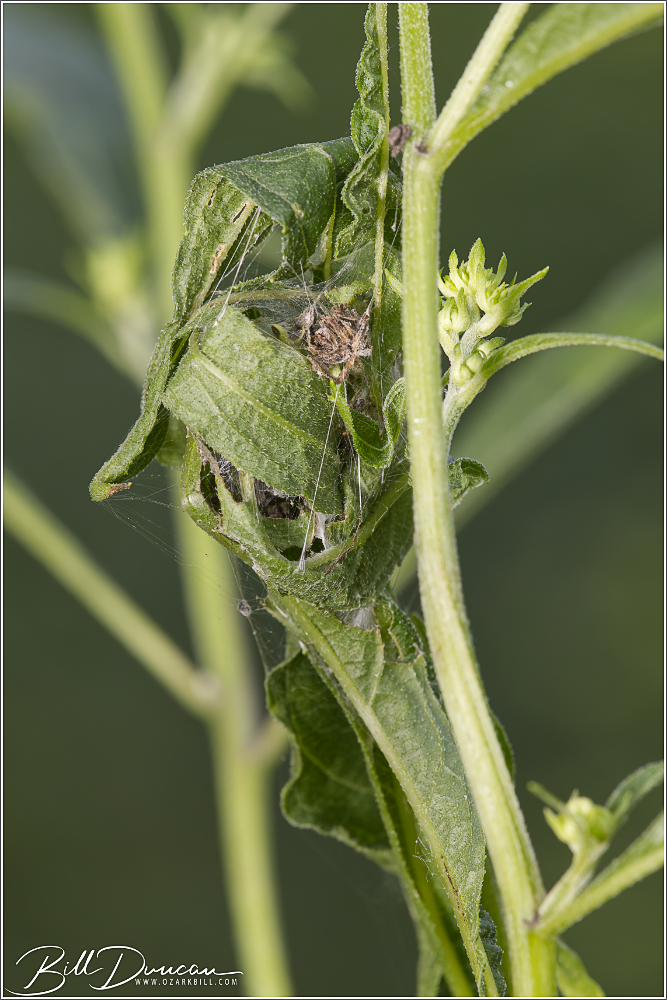
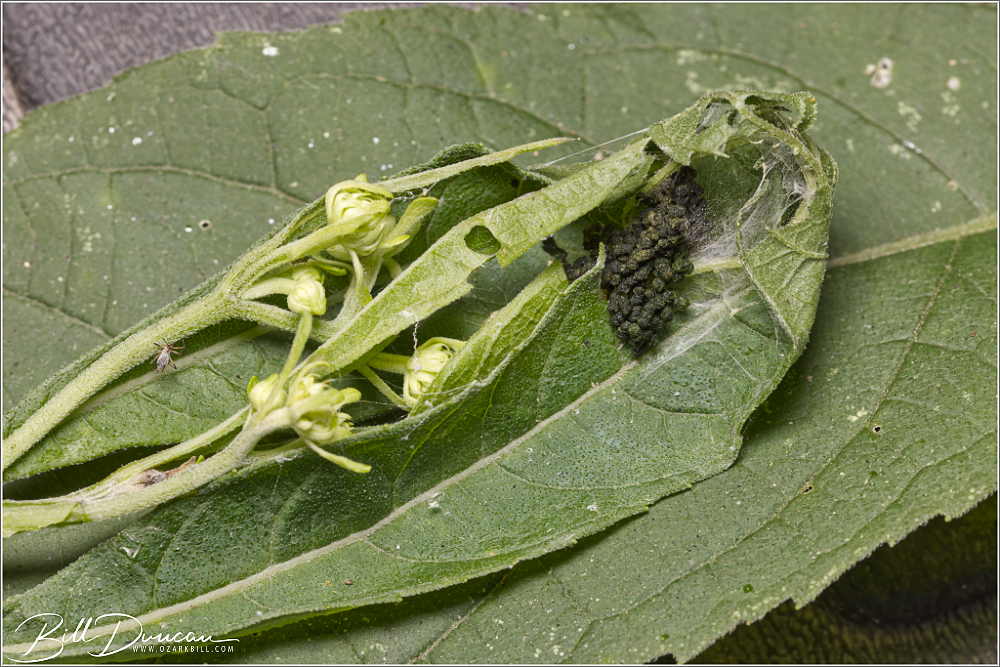
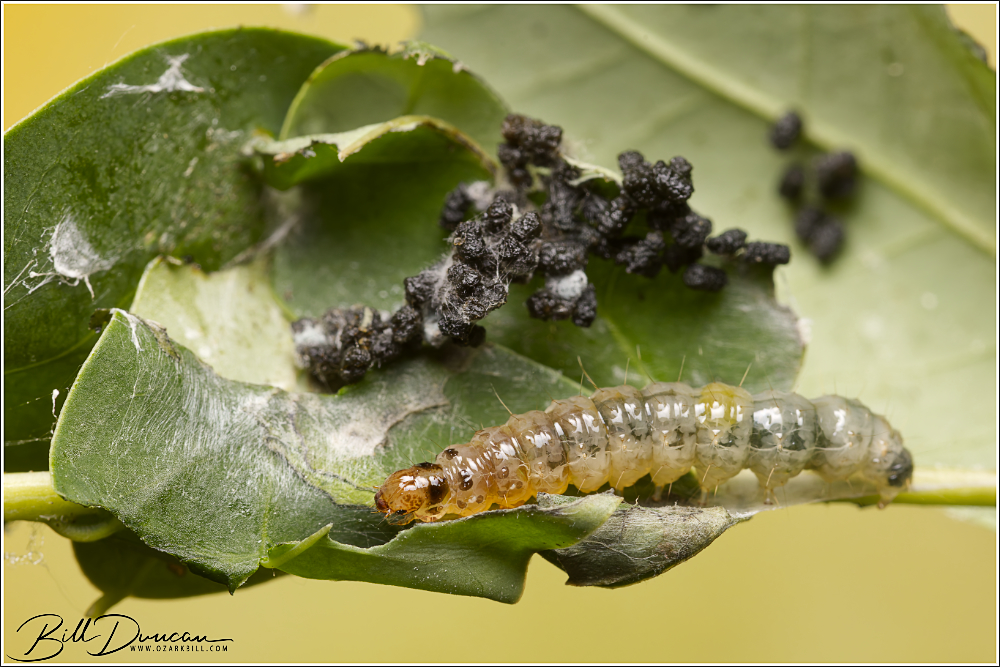
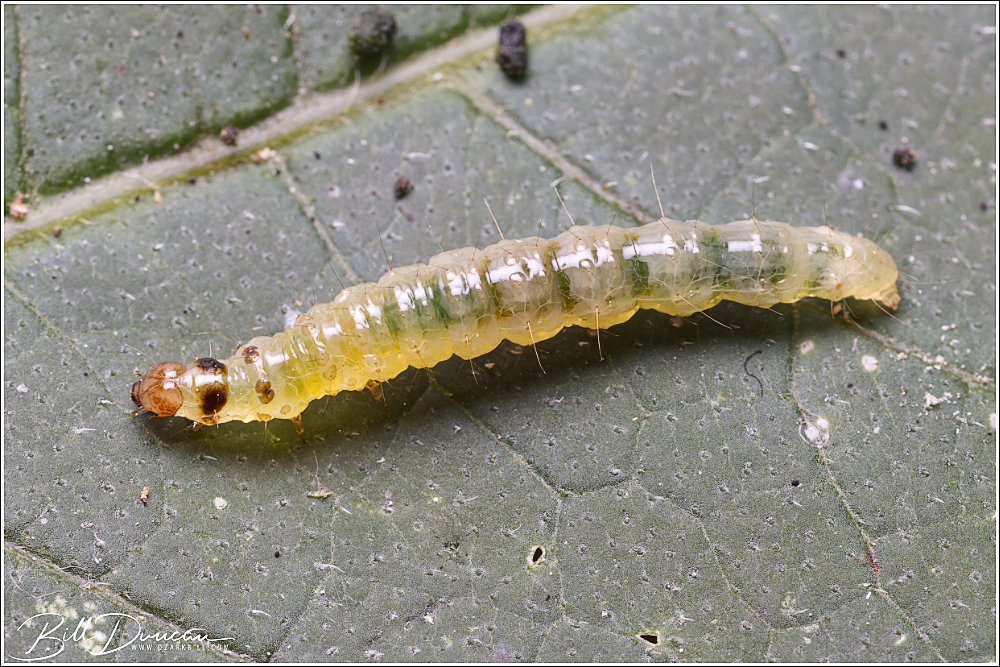
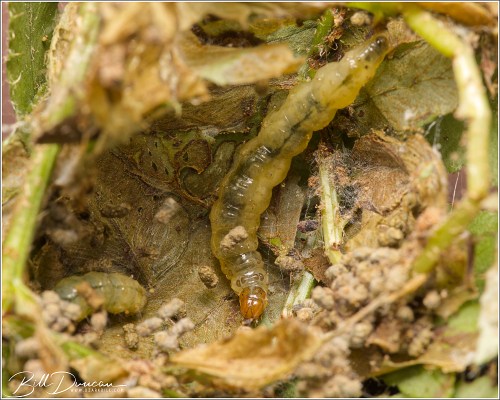
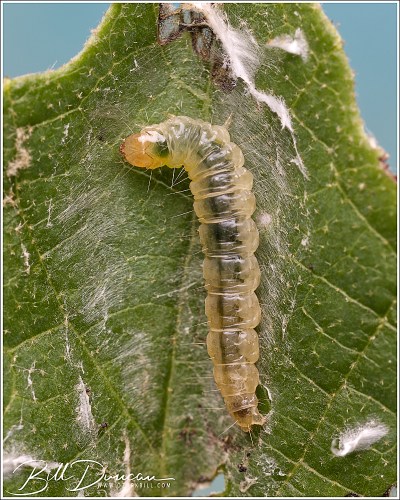
Tonight’s caterpillars are a few nondescript species of Herpetogramma (Family Crambidae) typically referred to as webworms. Most Herpetogramma feed on grasses, but the individuals I found this year feed on dicots or ferns. These guys are leaftiers that can be found easily by looking for the leaf shelters that they tie together with silk. So far I have been unable to find known associations between these species and hosts, nor visual characteristics that help to identify these larvae to species. Please let me know if you can enlighten me.
This species was found in considerable numbers at Tyson Research Center in August and were hosting on wingstem (Verbesina alternifolia).
The next species is really special as it represents one of the very few species of Lepidoptera that feed on ferns.
This next one was found at Loggers Lake in July. We found this on an unrecorded aster in a simple folder leaf shelter.
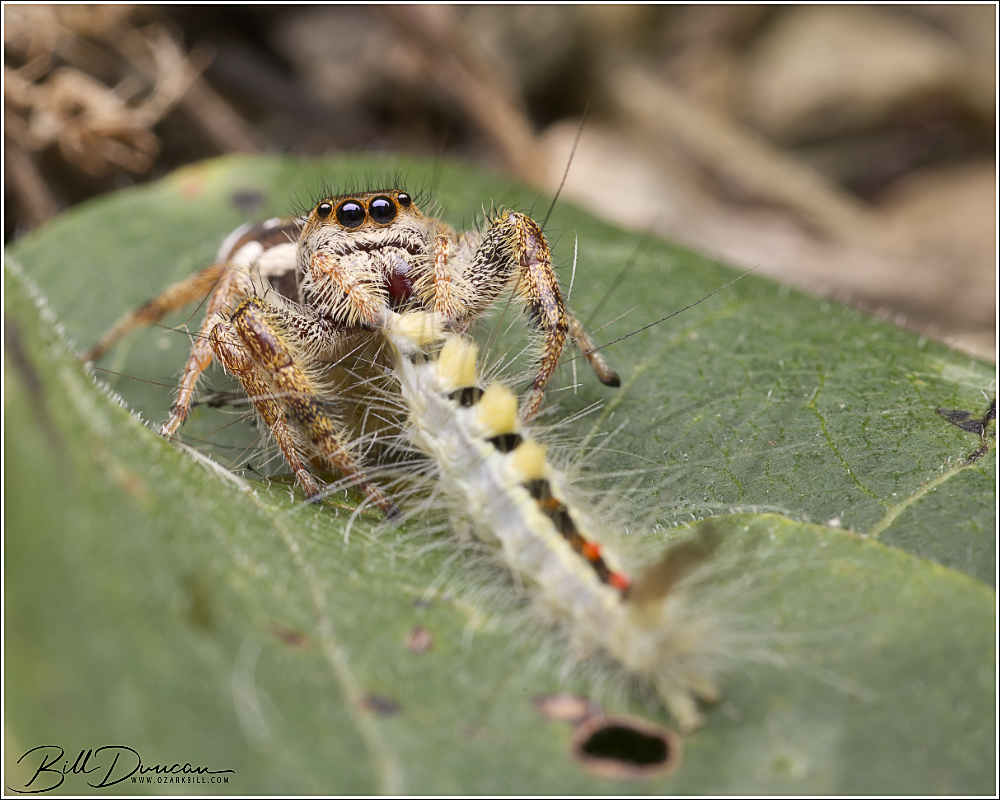
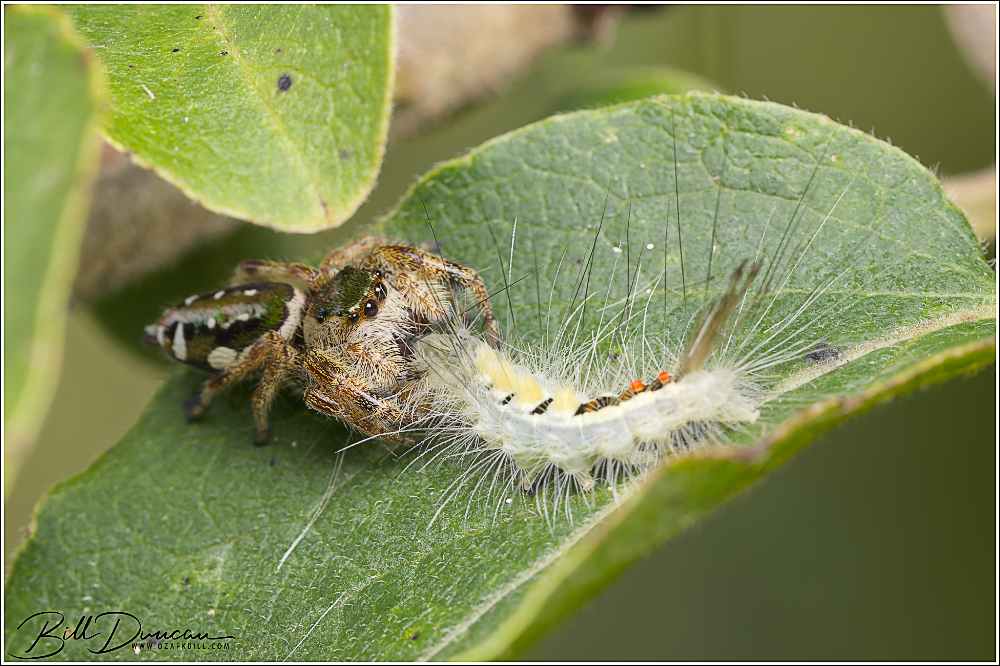
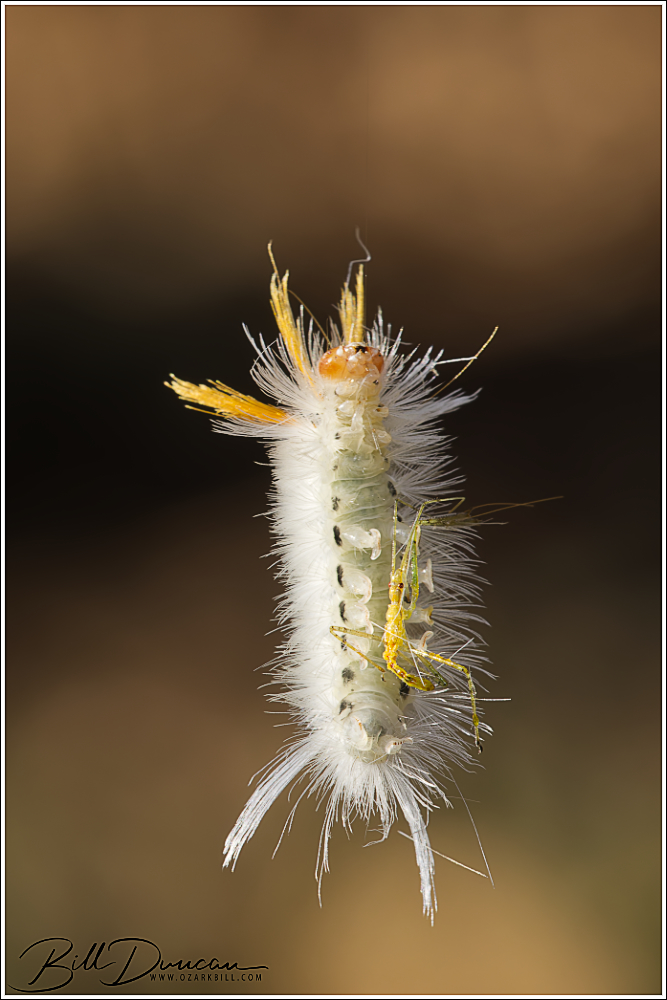
From 2024. I came across this female salticid (Paraphidippus aurantius) that had made a meal from a caterpillar of this white-marked tussock moth (Orgyia leucostigma).
Sycamore Tussock Moth
Halysidota harrisii fam. Erebidae (Hodges#8204)
Host plant: Found on sycamore (Platanus occidentalis)
Dates found: 23 August, 2025
Locations found: Tyson Research Center, St. Louis County, MO
Notes: A specialist that feeds solely on sycamore.

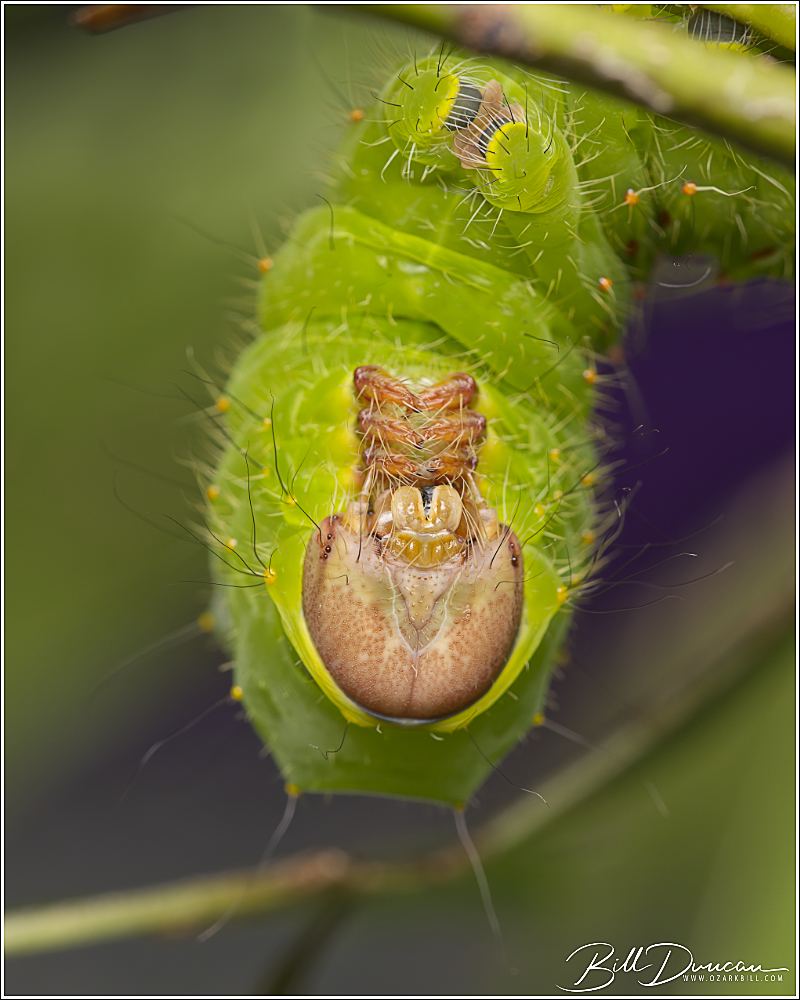
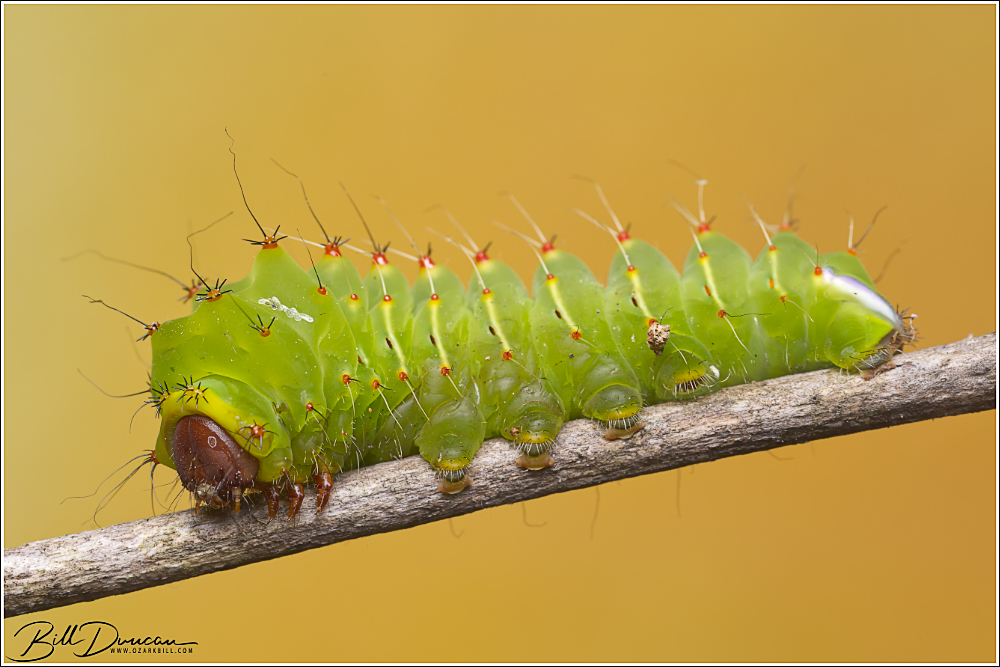
Polyphemus Moth
Antheraea polyphemus fam. Saturniidae (Hodges#7757)
Host plant: Found on red oak species (Quercus sp.)
Dates found: 30 August, 2025
Locations found: Tyson Research Center, St. Louis County, MO
Notes: While the caterpillars are polyphagous, feeding on a variety of woody species, adults of this moth do not feed.
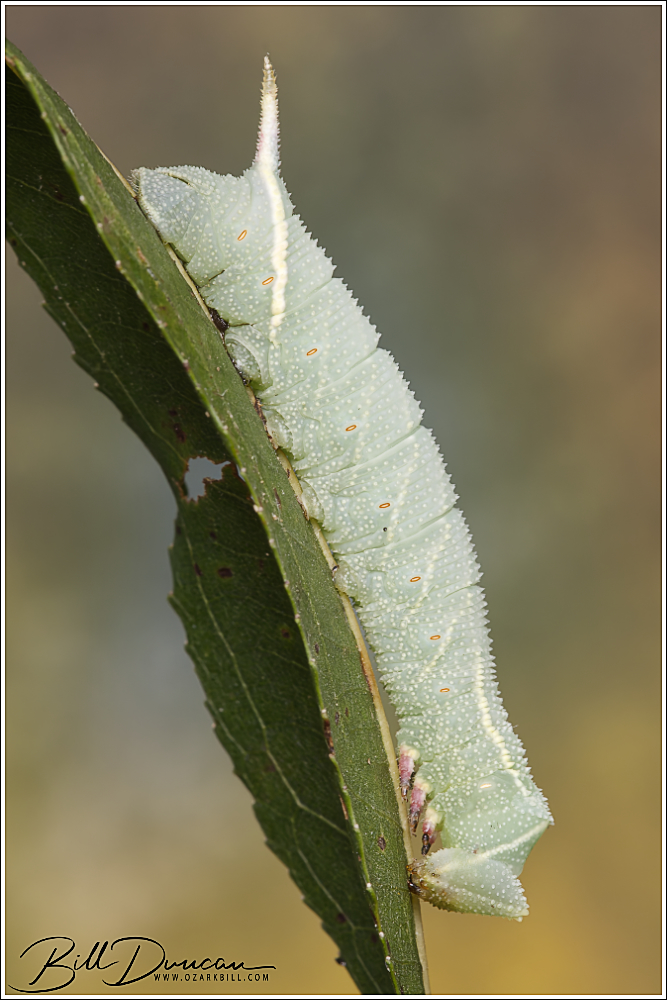
Twin-spotted Sphinx Moth
Smerinthus jamaicensis fam. Sphingidae (Hodges#7821)
Host plants: Found on black willow (Salix nigra)
Dates found: 15 September, 2025
Locations found: Little Creve Coeur Ecological Area, St. Louis County, MO
Notes: This species prefers willows and poplars but can be found on other woody species.
Bumelia Leafworm Moth
Enaemia pupula fam. Lacturidae (Hodges#8011)
Host plant: Found on gum bumelia (Sideroxylon lanuginosum)
Dates found: 3 October, 2025
Locations found: Tyson Research Center, St. Louis County, MO
Notes: A specialist that feeds only on Sideroxylon species. In Missouri, it is only found on gum bumelia.


