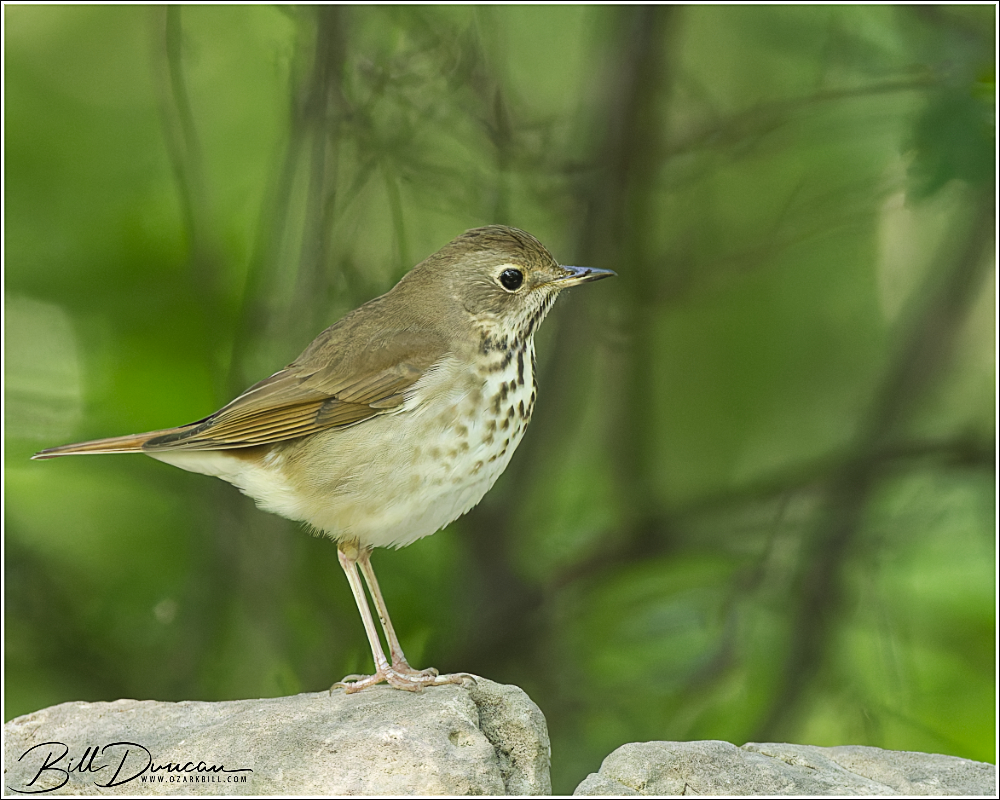
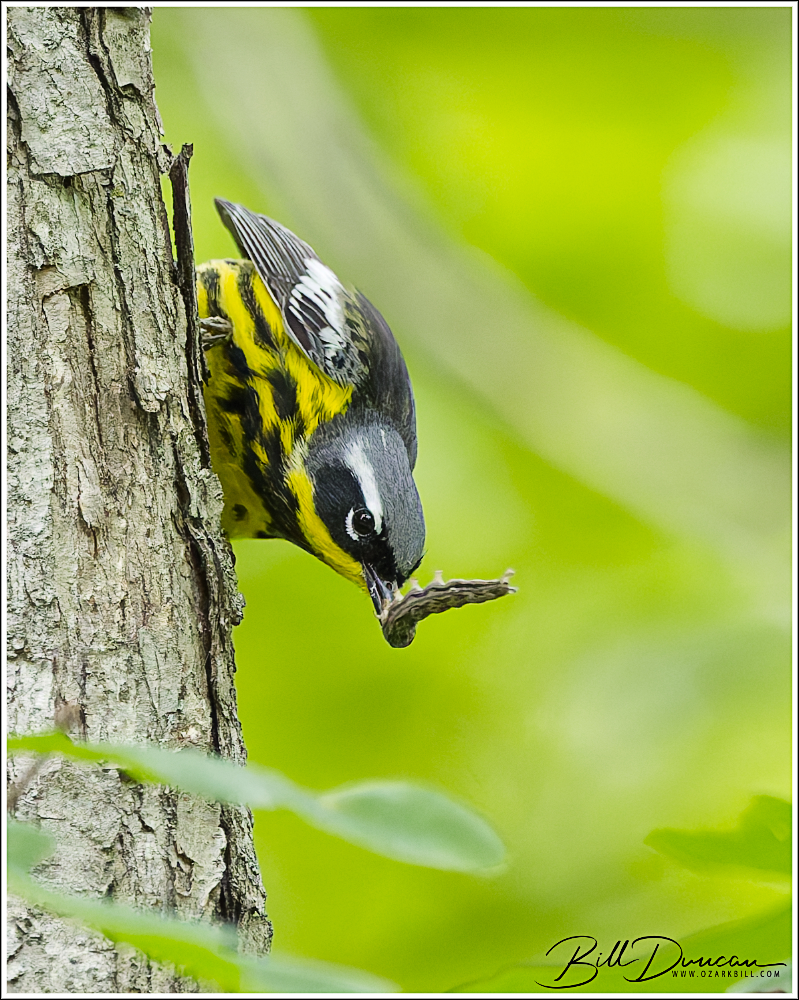
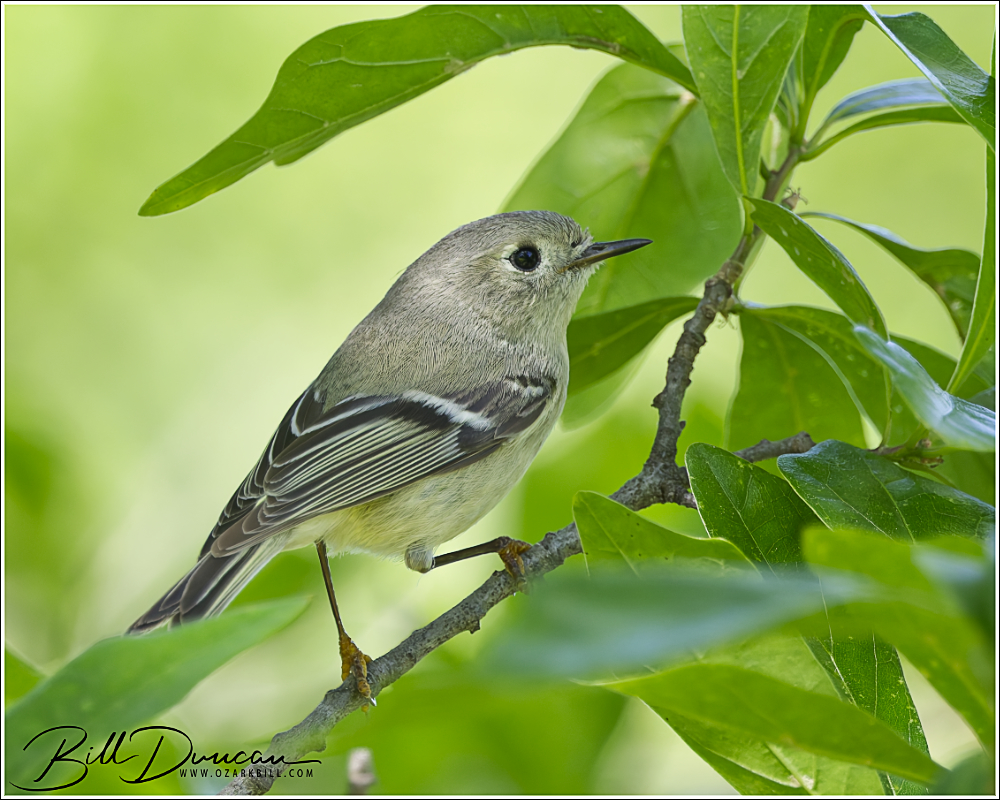
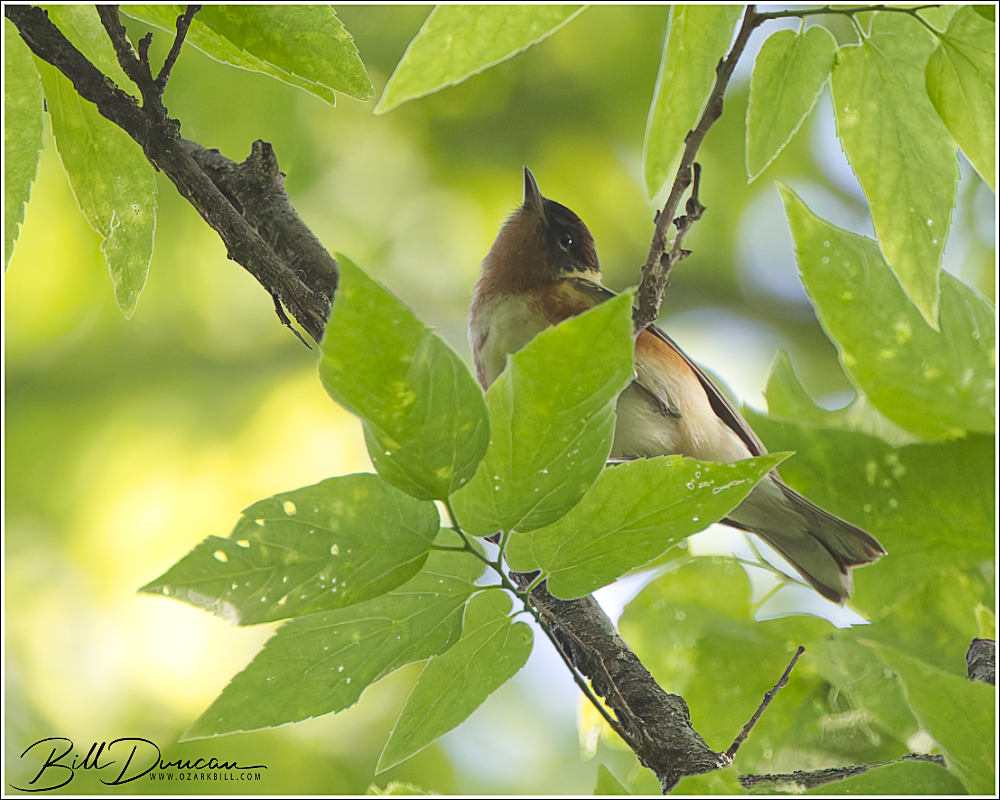
Just a few random birds photographed during this year’s spring.
"What a thousand acres of Silphiums looked like when they tickled the bellies of the buffalo is a question never again to be answered, and perhaps not even asked." -Aldo Leopold
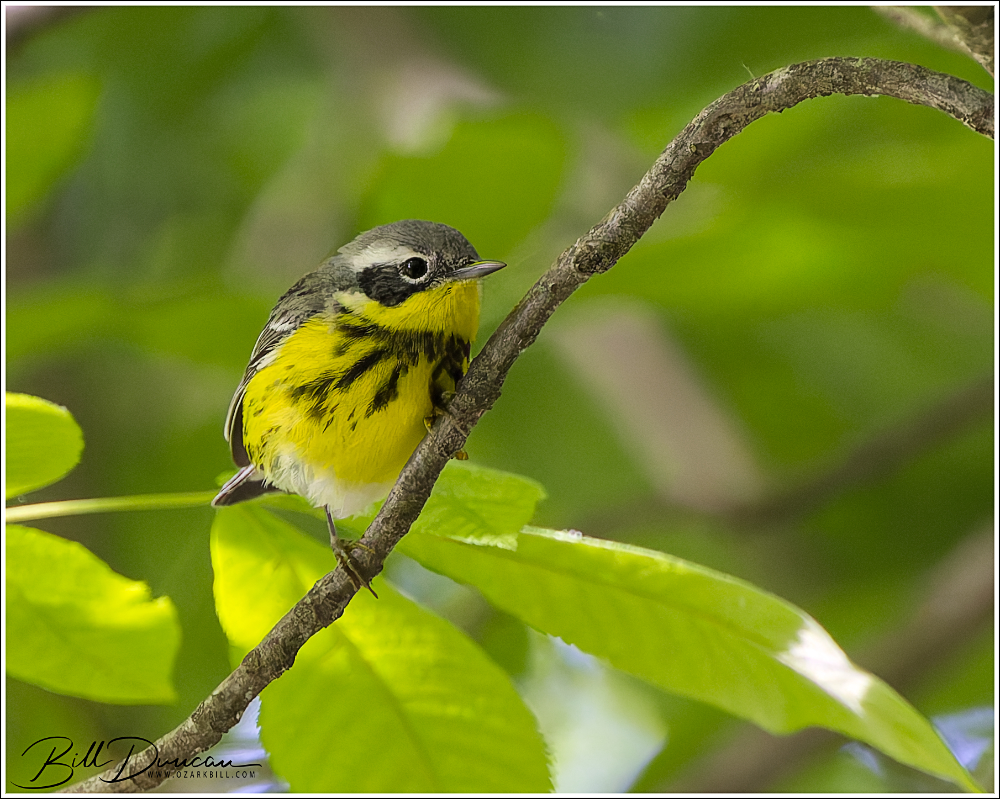
Just a few random birds photographed during this year’s spring.
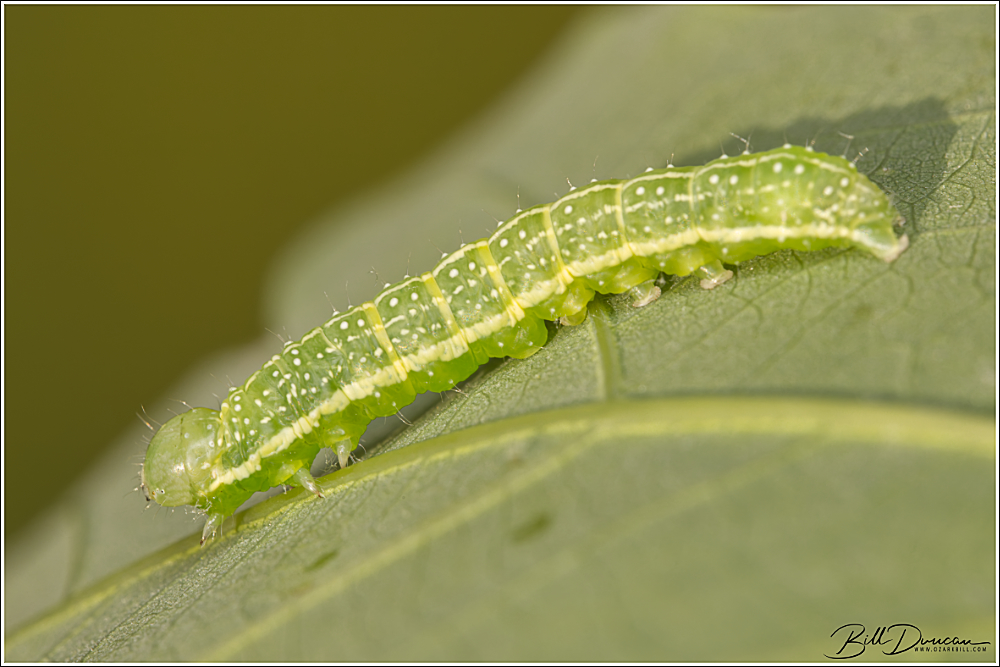
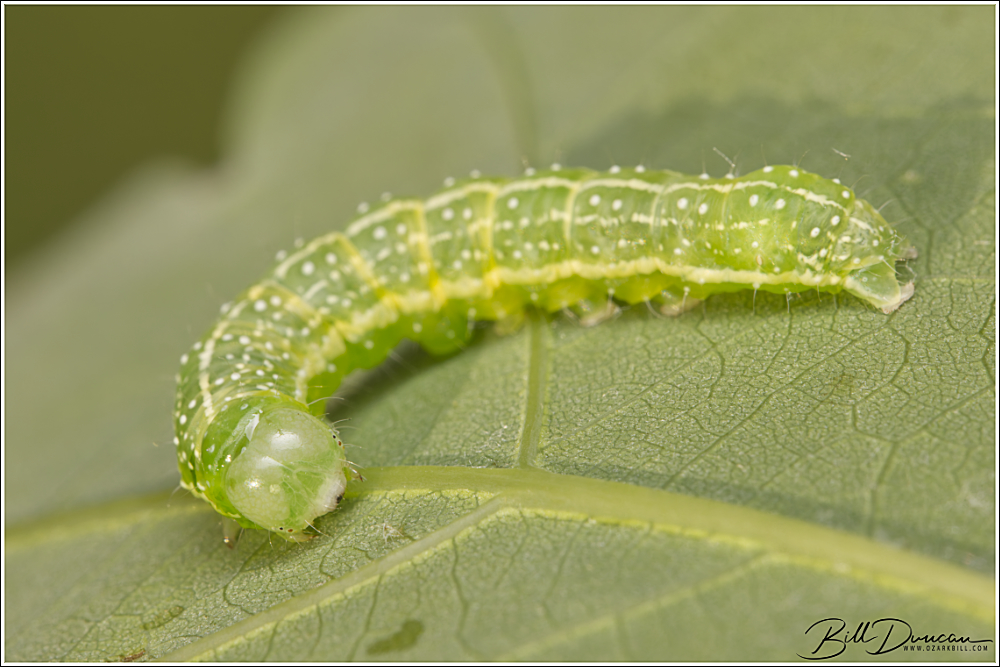
Ashen Pinion
Lithophane antennata (Walker, 1858) P-no. 932577, fam. Noctuidae
Host plant: Found on white oak (Quercus alba)
Dates found: 2 May, 2026
Locations found: Tyson Research Center, St. Louis County, MO
Notes: This species is noteworthy for a couple of interesting natural history stories. First, this is a rare case of a lepidopteran that overwinters as an adult. Larvae of this species are also known to be cannibalistic, feeding on other caterpillars in addition to the leaves of their host plant.
Two-spotted Oak Punkie (Coastal Plain Meganola Moth)
Meganola phylla (Dyar, 1898) P-no. 931112, fam. Nolidae
Host plant: Feeds on any oak (Quercus spp.) within its range
Dates found: 18 September, 2025
Locations found: Council Bluff Lake, Iron County, MO
Notes: Know better as the “coastal plain meganola moth,” which is quite inappropriate. These little cuties are found as far as Missouri and into Michigan and will host on numerous oak species that are found in their range.
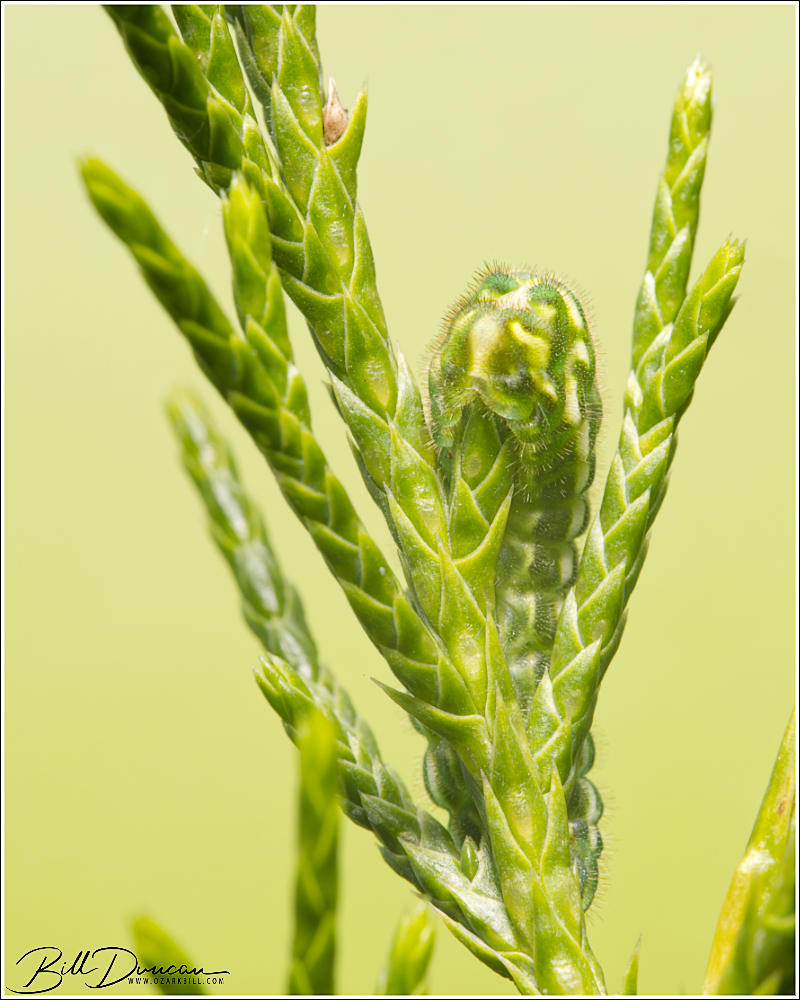
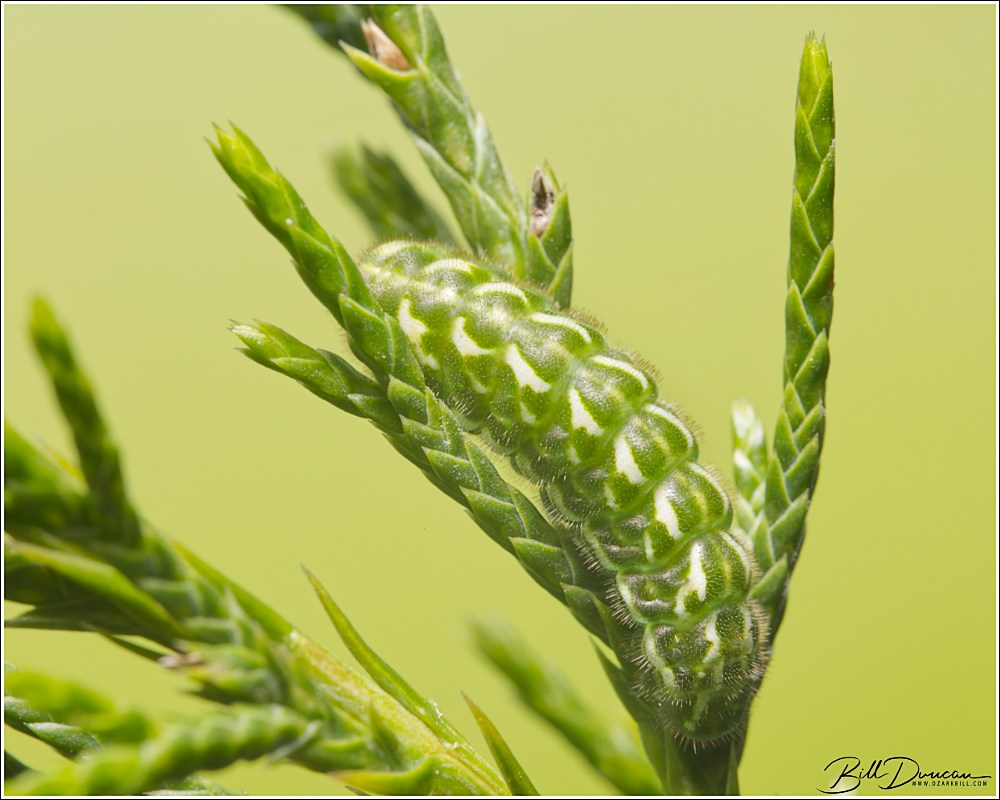
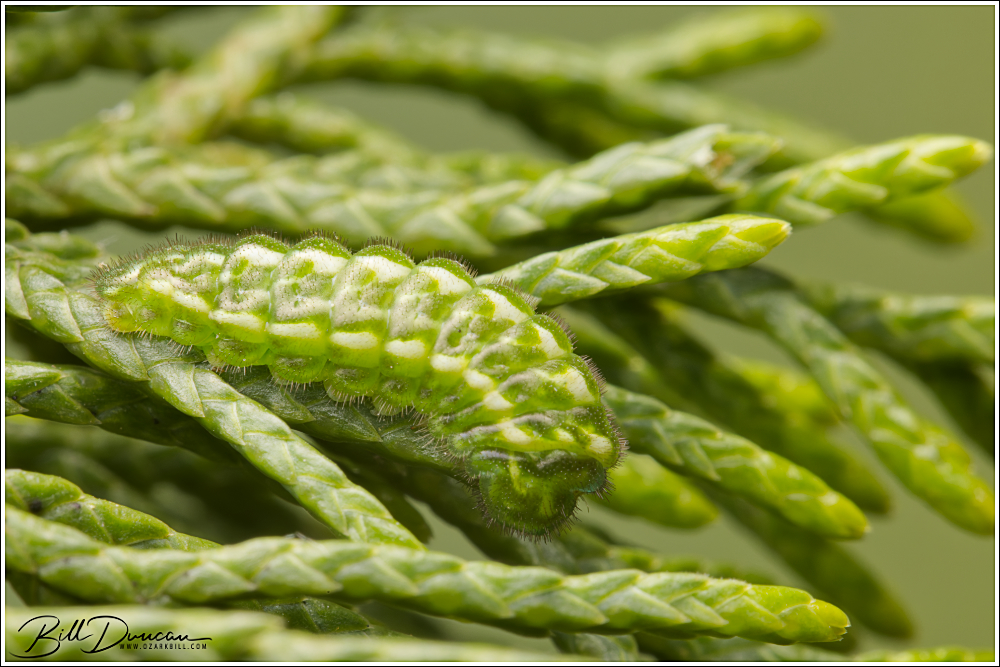
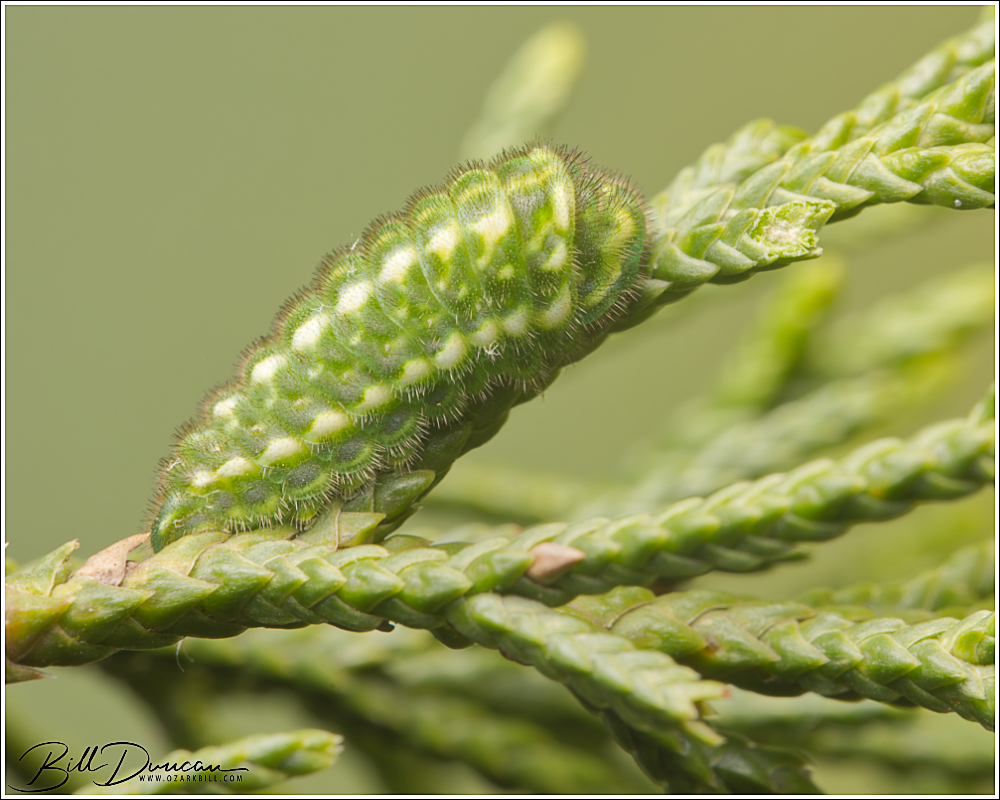
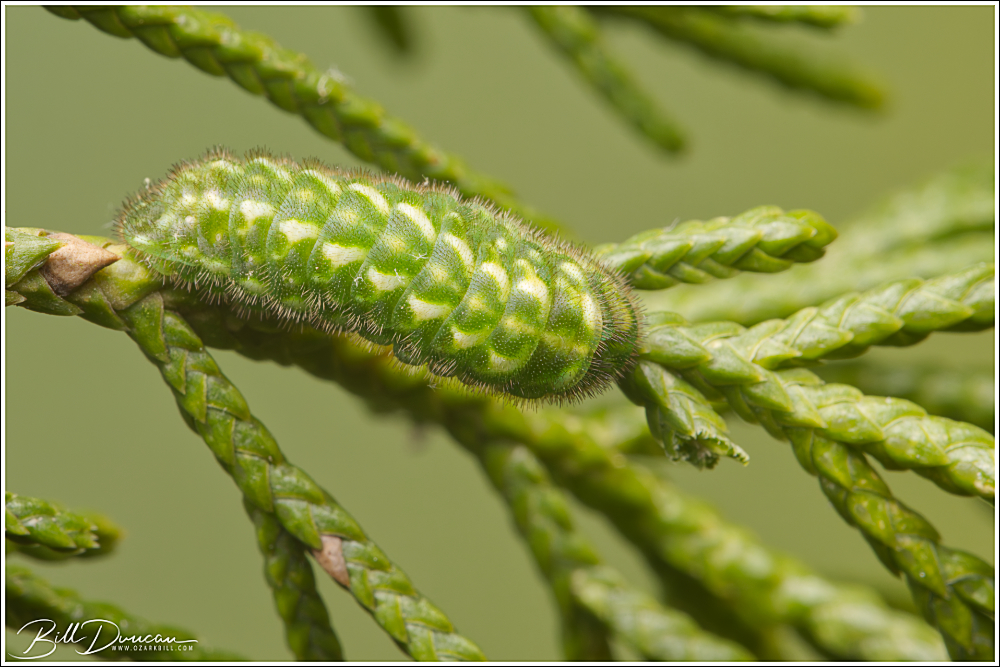
Juniper Hairstreak
Callophrys gryneus (Hübner, 1809) P-no. 77a0507, fam. Lycaenidae
Host plant: eastern red cedar (Juniperus virginiana)
Dates found: 9, 24 May, 2026
Locations found: Tyson Research Center, St. Louis County, MO
Notes: A master of camouflage. As the photos show, it would be a waste of time hunting for this species by eye amongst the countless branches of an eastern red cedar. Instead, using beating techniques or UV light at night are the best methods for finding these guys.
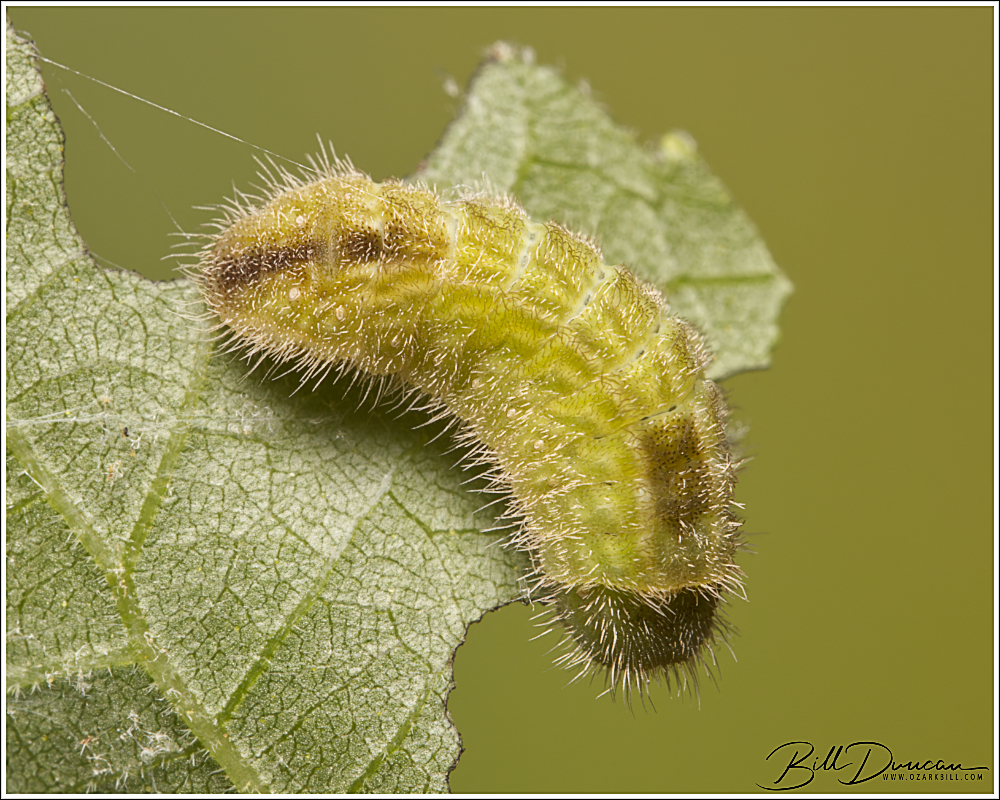
Banded Hairstreak
Satyrium calanus fam. Lycaenidae
Host plant: hickory (Carya sp.)
Dates found: 2 May, 2026
Locations found: Tyson Research Center, St. Louis County, MO
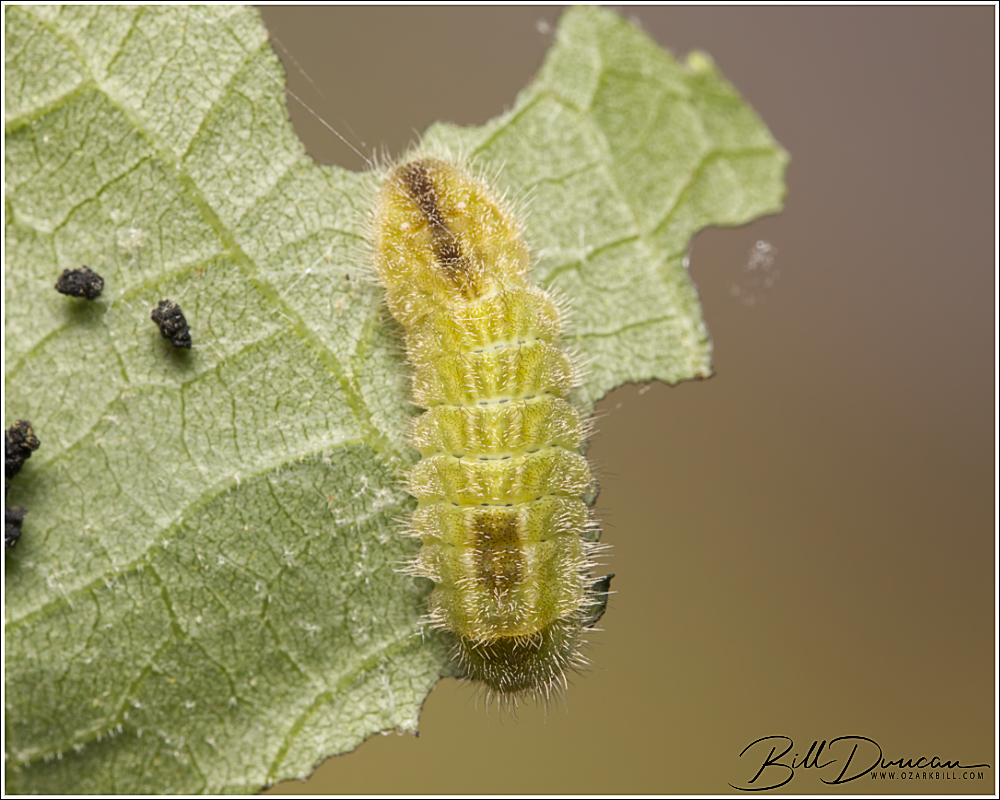
Notes: This was an interesting find. I looked through a number of fresh leaf-roll shelters, finding all of them occupied by a to be identified noctuid caterpillar. In one of these I also found this banded hairstreak caterpillar that was being attended by ants.
Lettered Sphinx
Deidamia inscriptum fam. Sphingidae
Host plant: wild grape (Vitis sp.)
Dates found: 30 May, 2026
Locations found: Tyson Research Center, St. Louis County, MO
Notes: The caterpillar season started much earlier than typical for me. This year, I am making a point to start hunting in spring and early summer, enabling me to pick up new species that are not found later in the season. Additionally, I am finding some of the same species that I find during late season; thus, I am learning which species have multiple broods in our area. I have not been having a lot of success in finding cats in my early season hunting, but I have been having enough success with interesting species to keep me trying.
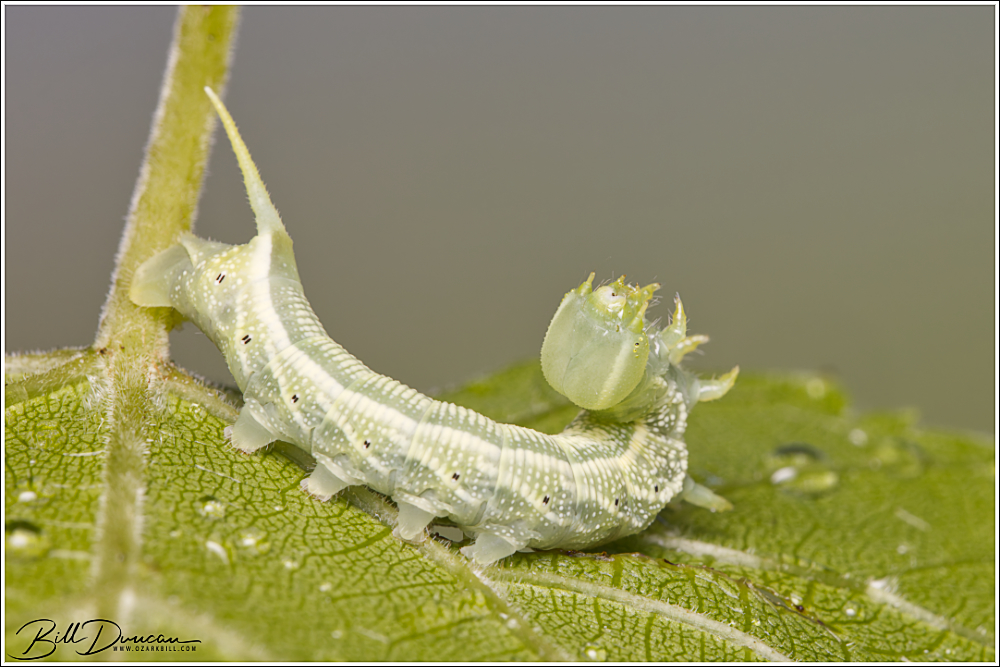
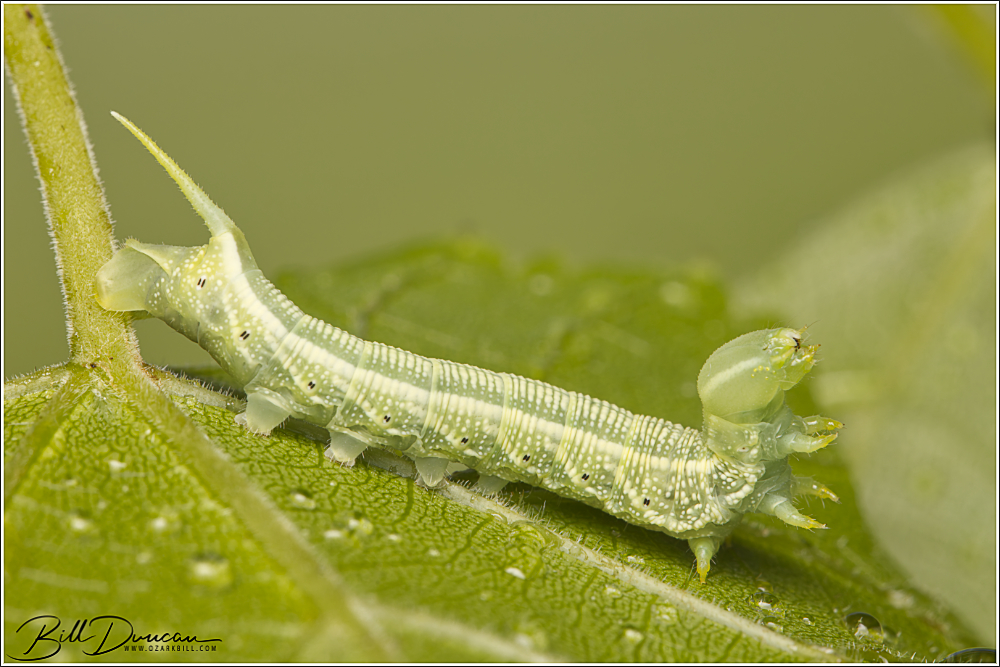
The lettered sphinx is an early season species that I found for the first time this year. My unfamiliarity with many of the sphinx moth caterpillars caused me some frustration. I found two of these on some grapevine. Due to their small size and lack of strong pattern contrast, I assumed these were early-mid instars of a typically larger species and one that I would most likely not be able to identify with certainty. Because of this, I did not take the time and efforts in getting as good of photographs of it that I would have liked. This species is one of the smallest and earliest of all the sphingids found in Missouri, with caterpillars being found from April through July.
The behavior shown in these photos is a trait unique with this species. Upon disturbance, they throw their heads back over their bodies, exposing their mouthparts and legs to the air.
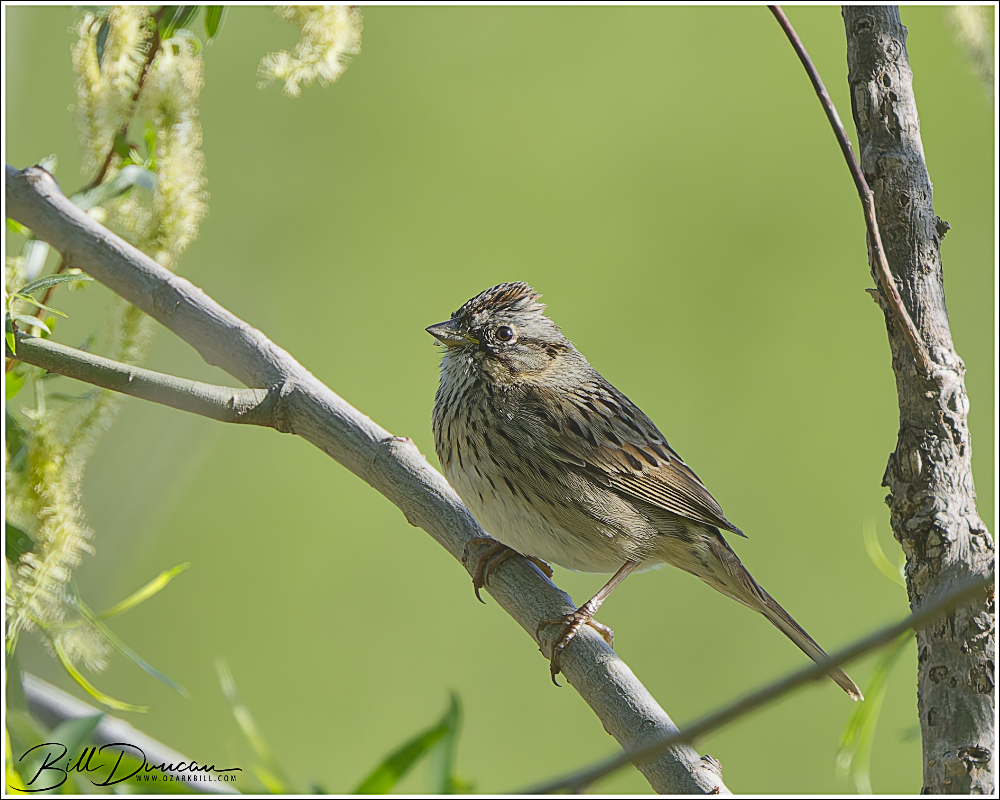
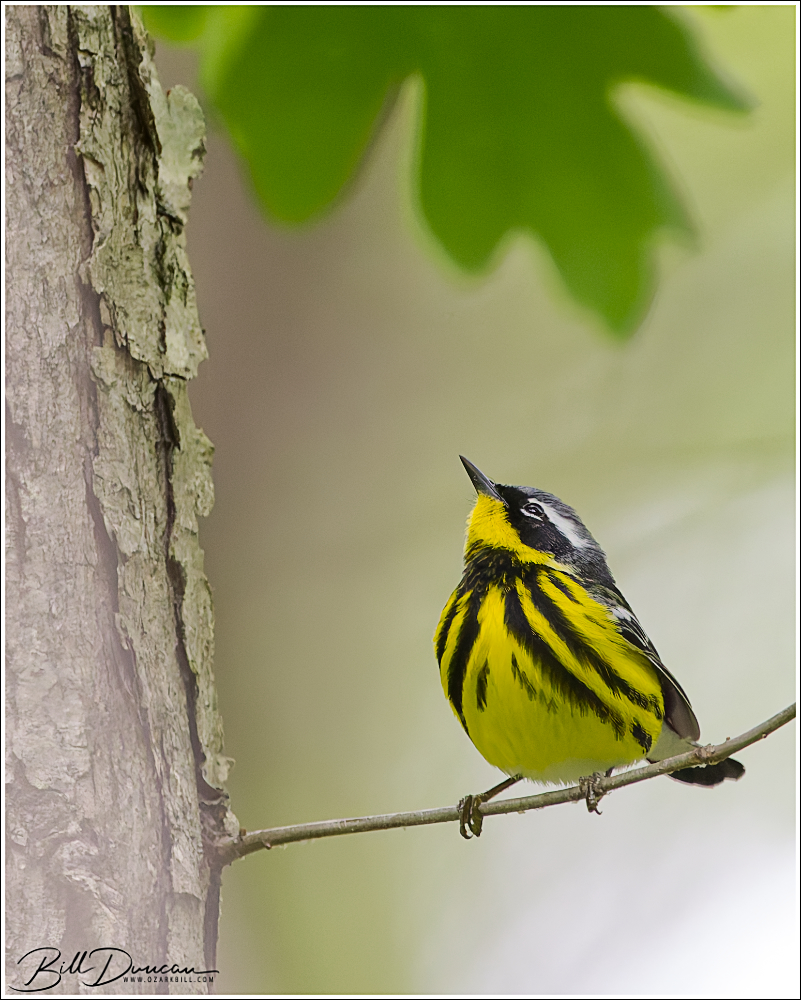
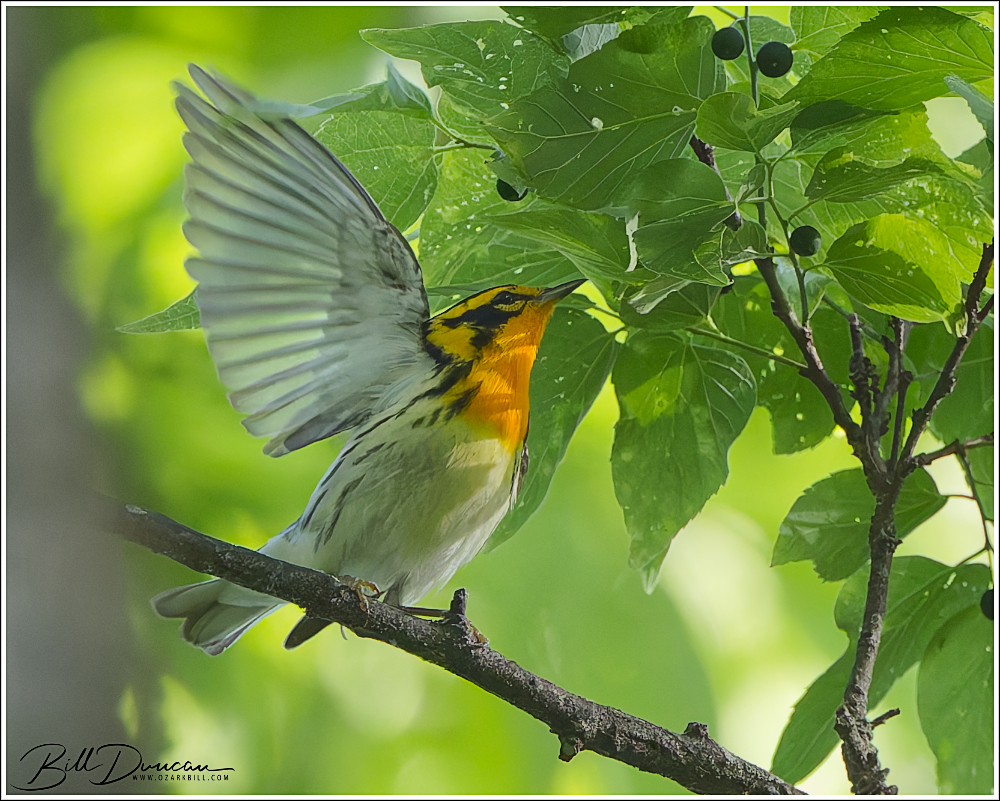
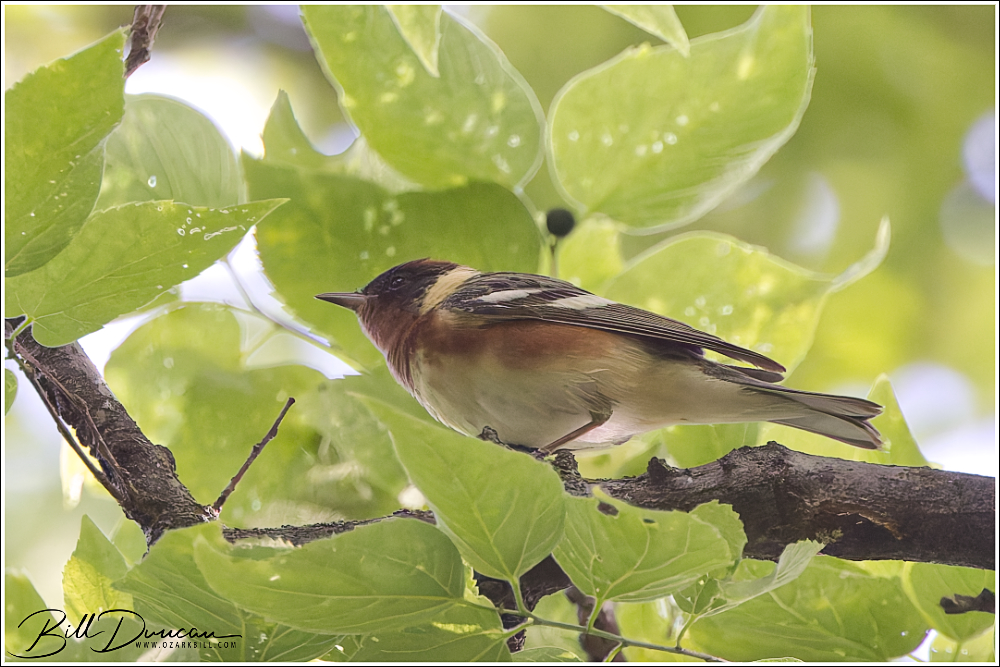
I have been enjoying birding in the woodlots of our common grounds the past several years. I call them my private woodlots because I have not seen a single person during my morning hikes, just lots of white-tailed deer and wild turkey. I recently passed 100 species for both sites and this has only been during spring outings. My goal is to do a list at each location once a week to see which species nest and overwinter in these areas. Here are a few migrants I was able to catch on camera during this year’s migration.

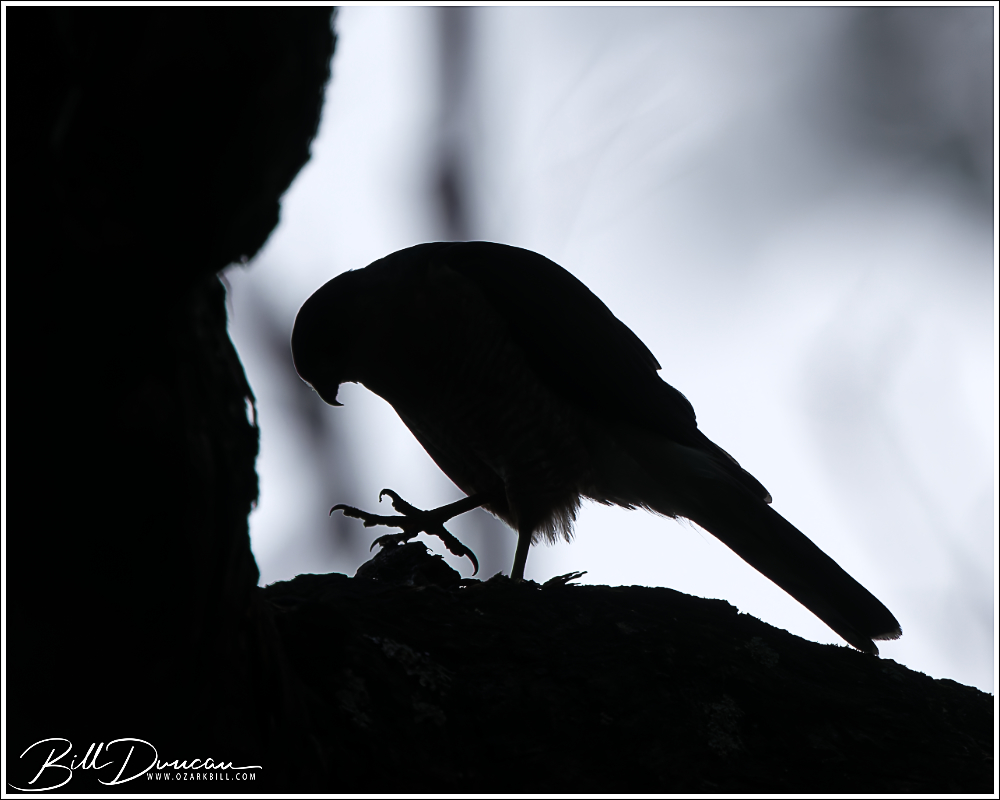
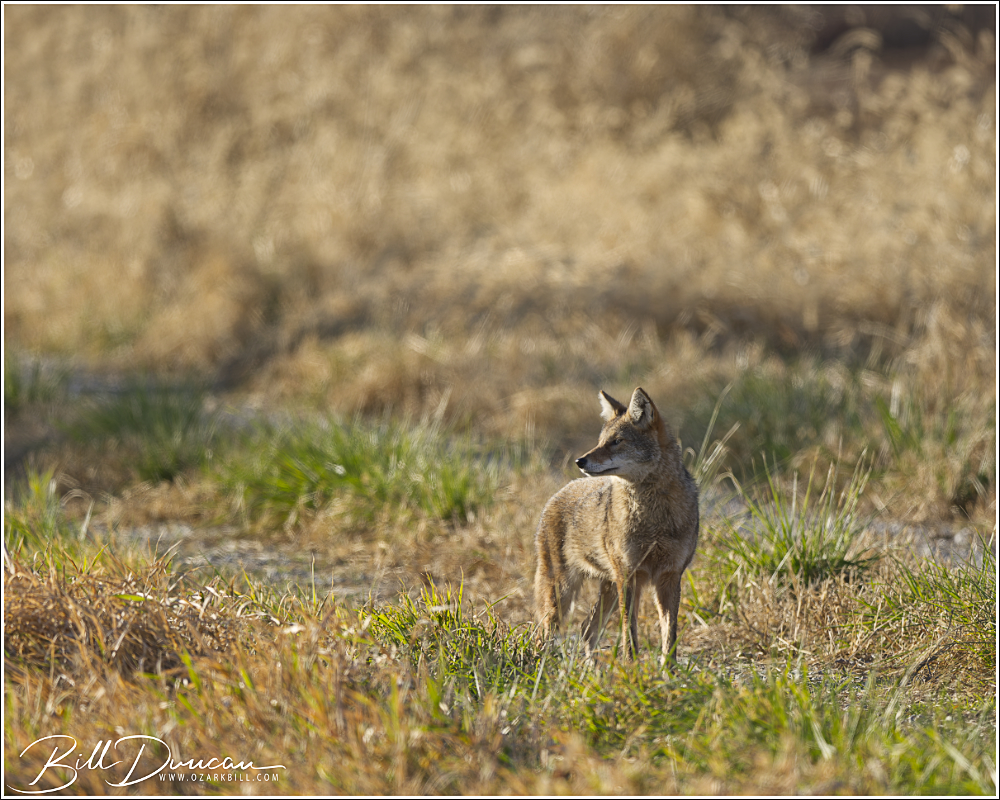
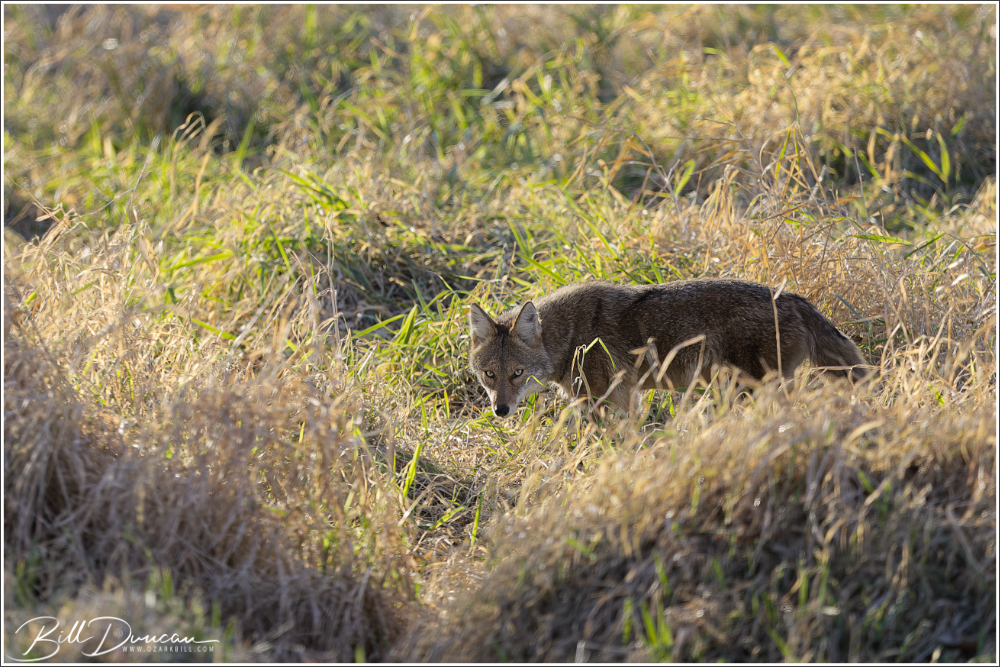
I was fortunate to make two trips to Loess Bluffs National Wildlife Refuge last November. Unfortunately, weather conditions were not conducive for holding a lot of birds on the refuge and I did not find a lot of opportunities for great bird photography. On one of these trips I did get lucky with a cooperative coyote.
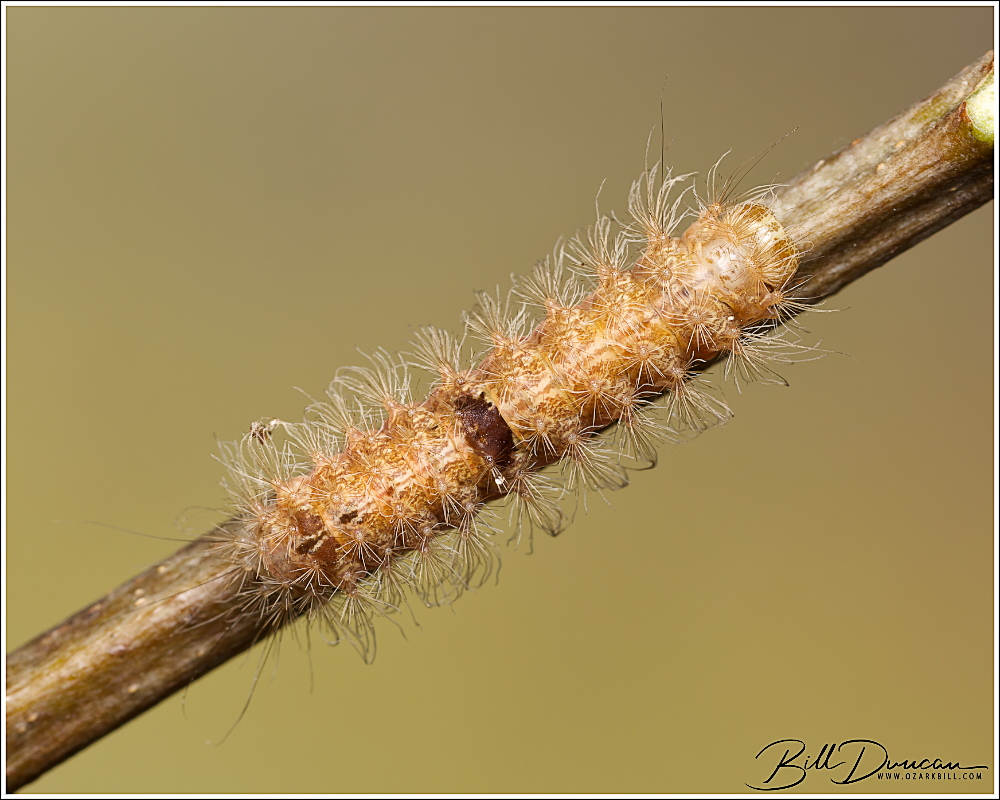
Contracted Datana
Datana contracta fam. Notodontidae
Host plant: Oak
Dates found: 16 September, 2025
Locations found: Not recorded
Notes: Caterpillars of the genus Datana are easily recognized. They have the same basic body plan of long hair-like setae giving them a fuzzy appearance. They are all gregarious, being found in groups of up to hundreds of individuals. When disturbed, they react by throwing their heads and posteriors upwards, forming a “U” shape.

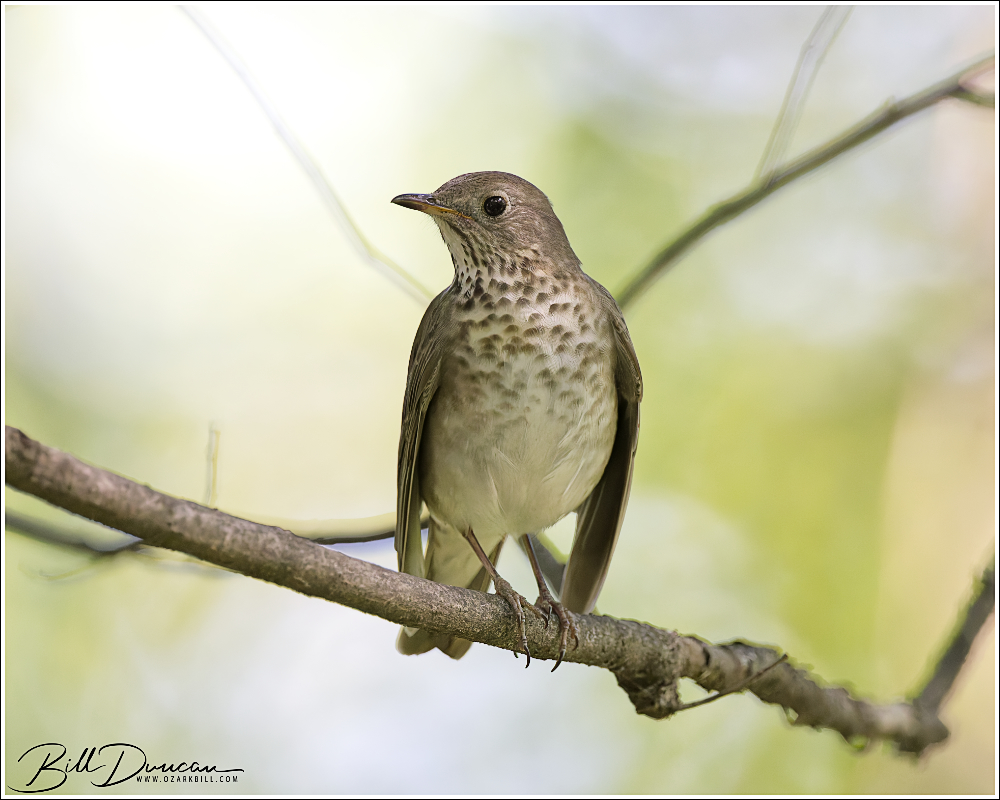
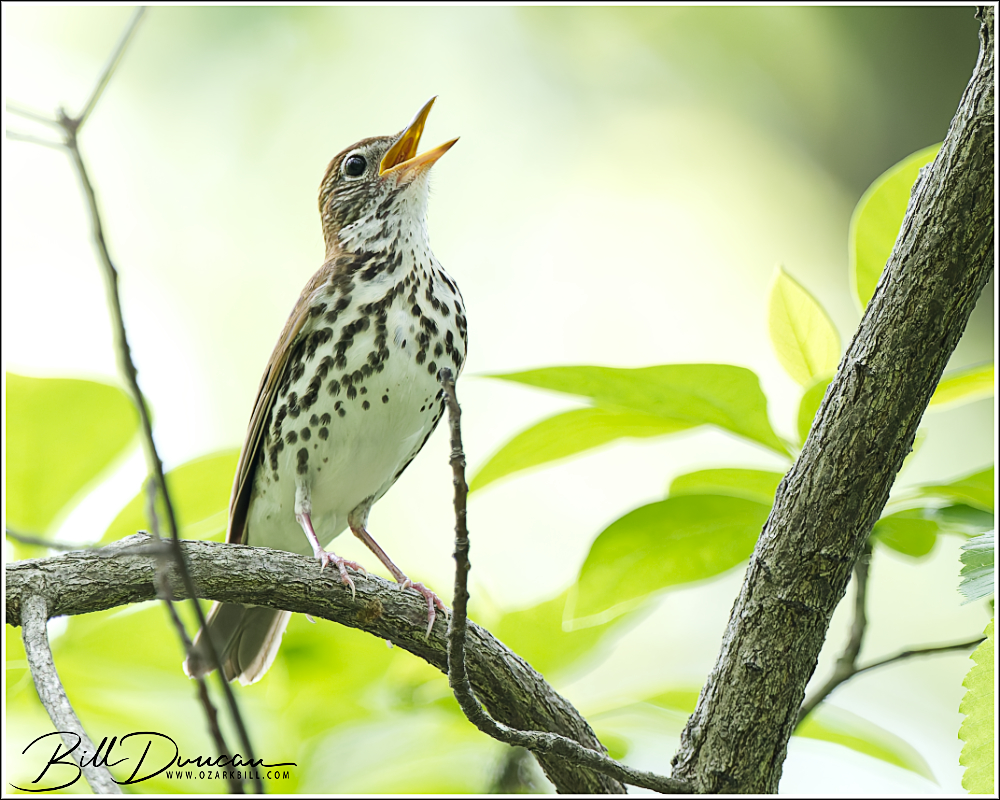
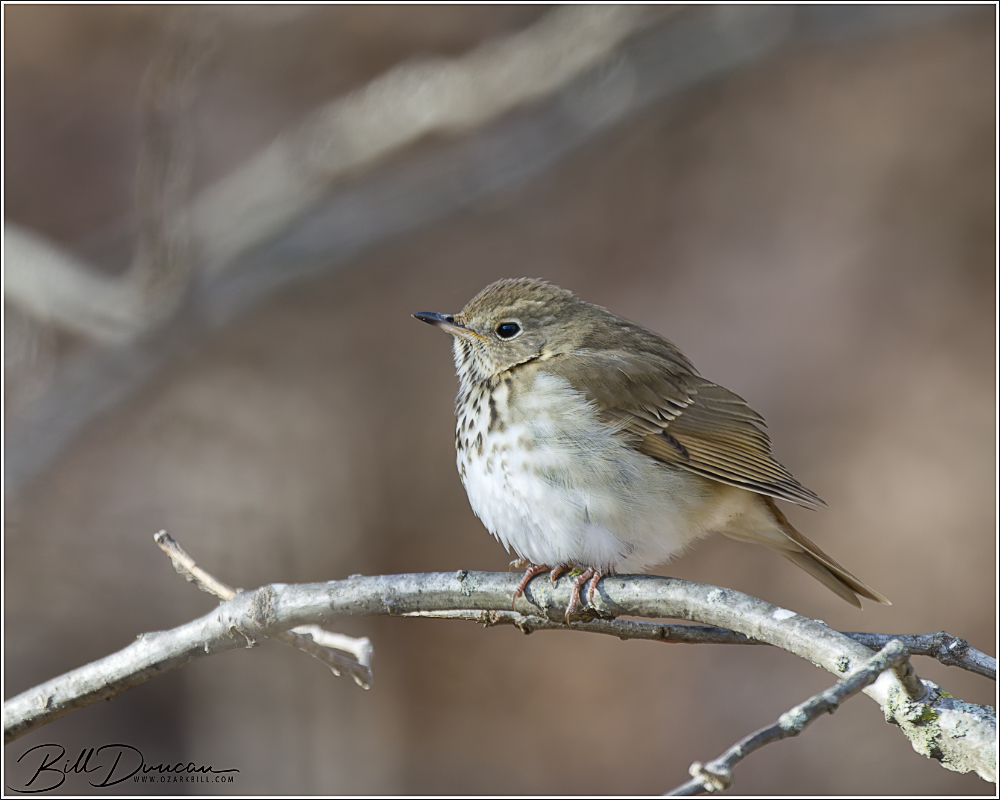
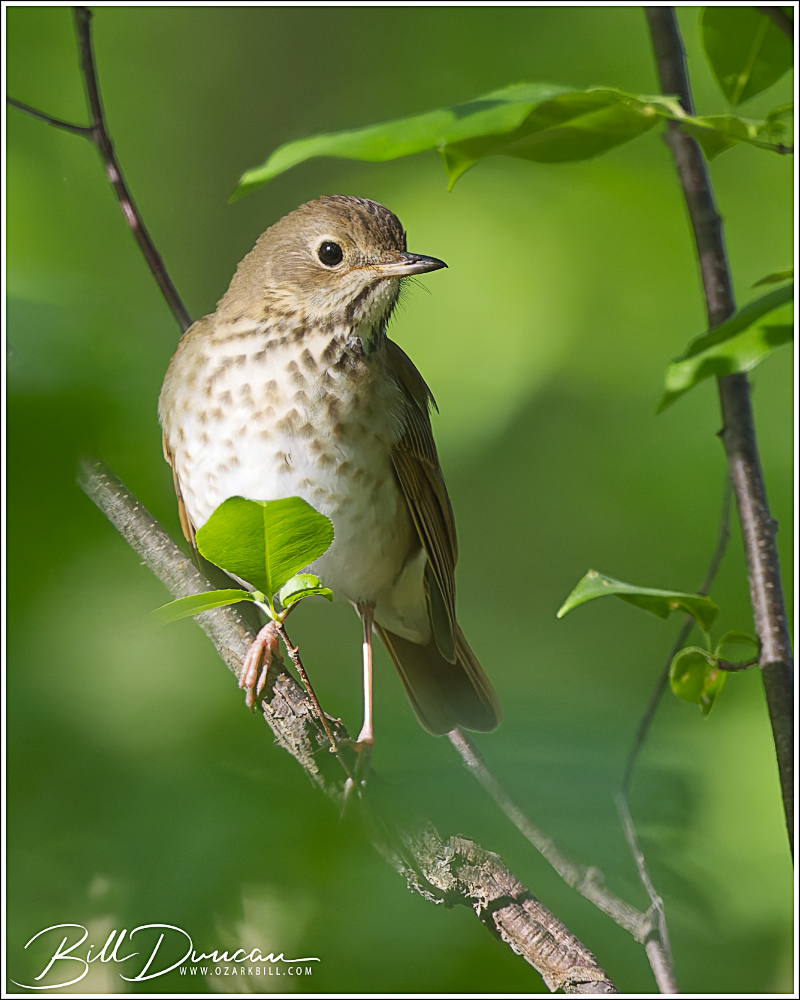
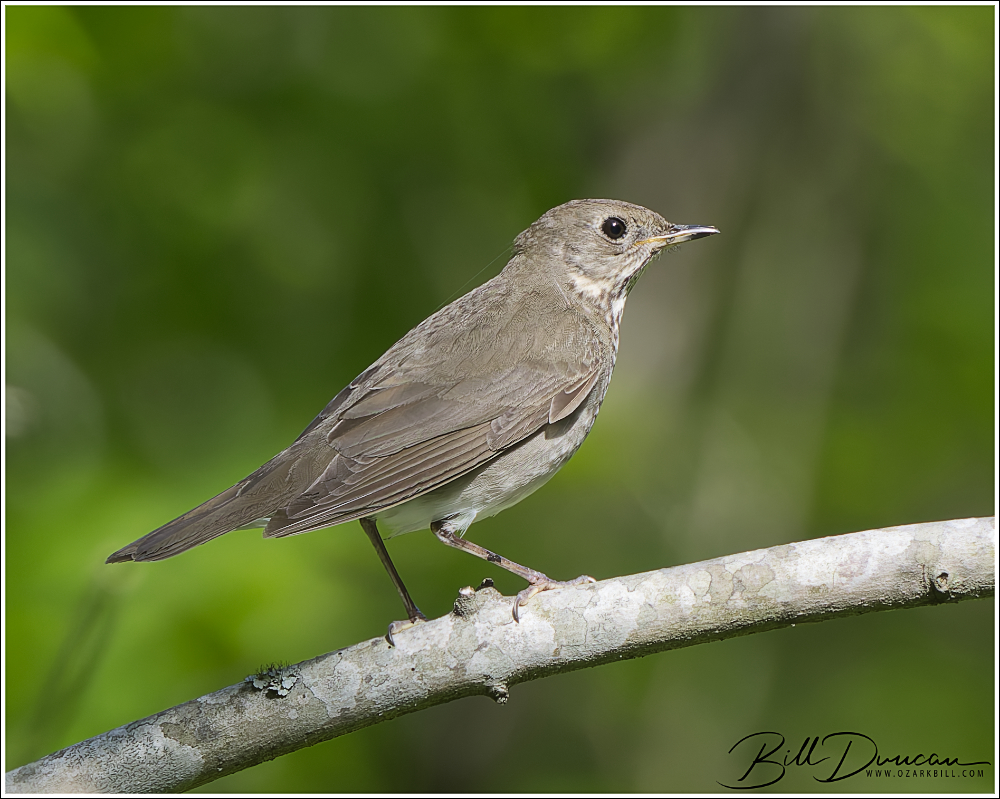
It’s that time of year, so I thought I’d share a trio of thrush species that I have photographed over the past couple of years.