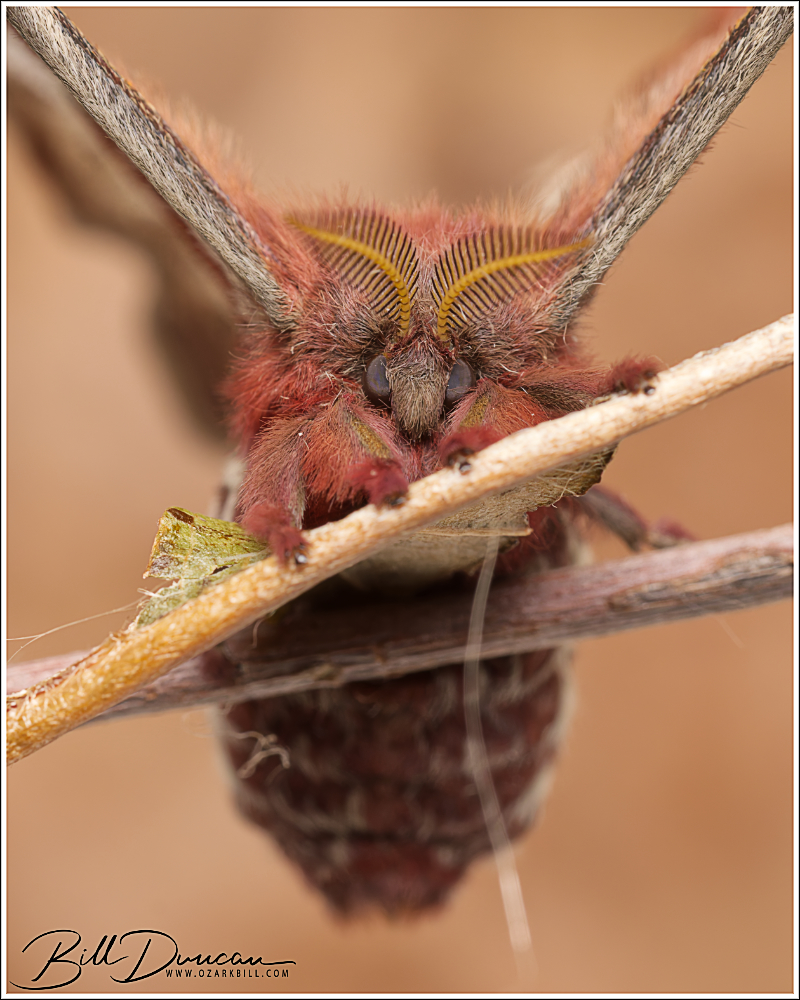
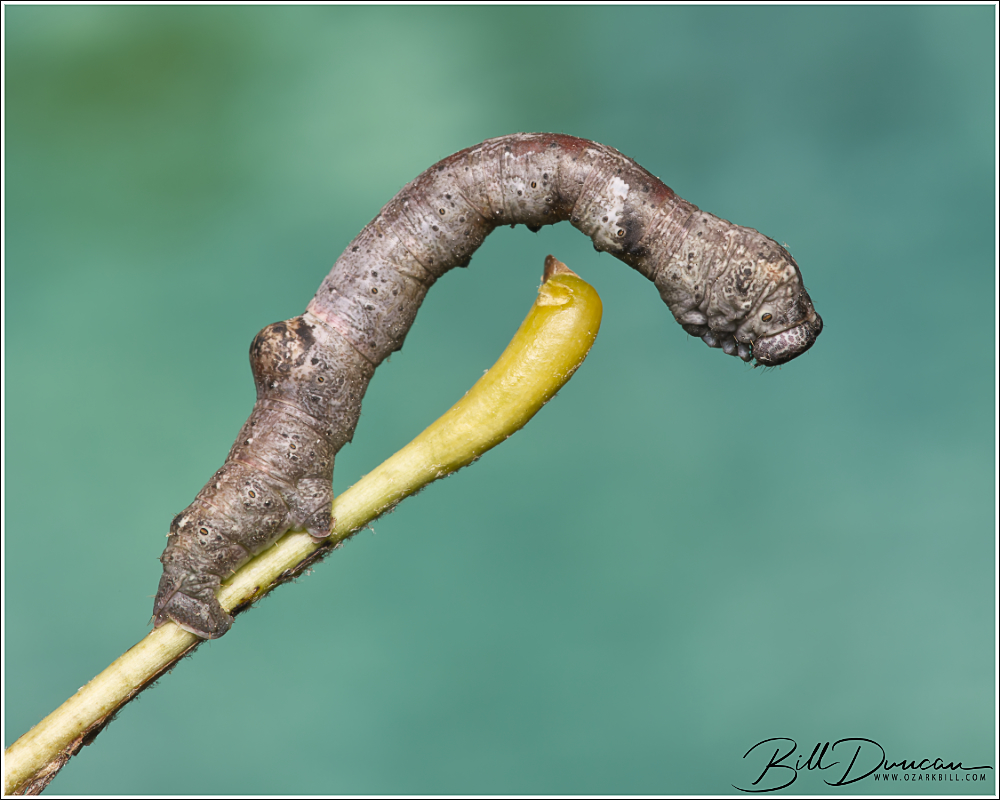
Lettered Sphinx
Deidamia inscriptum fam. Sphingidae
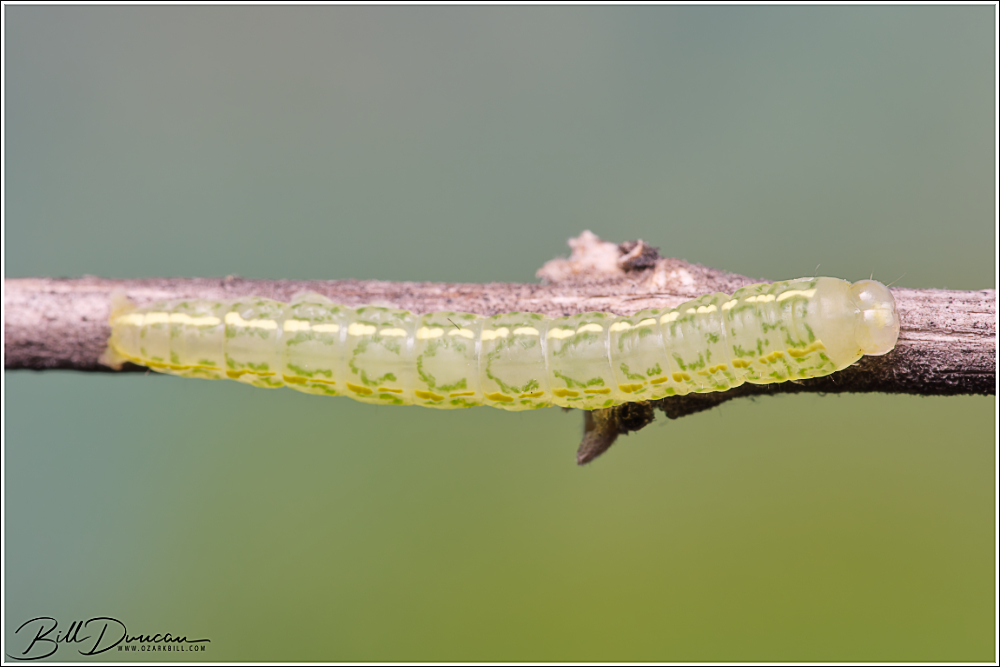
Host plant: wild grape (Vitis sp.)
Dates found: 30 May, 2026
Locations found: Tyson Research Center, St. Louis County, MO
Notes: The caterpillar season started much earlier than typical for me. This year, I am making a point to start hunting in spring and early summer, enabling me to pick up new species that are not found later in the season. Additionally, I am finding some of the same species that I find during late season; thus, I am learning which species have multiple broods in our area. I have not been having a lot of success in finding cats in my early season hunting, but I have been having enough success with interesting species to keep me trying.
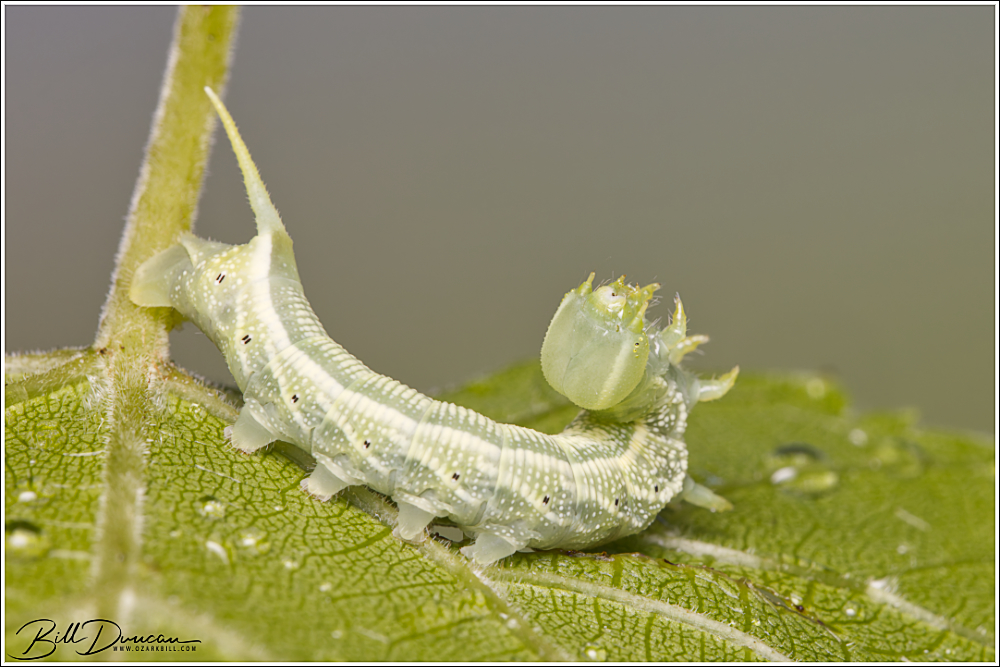
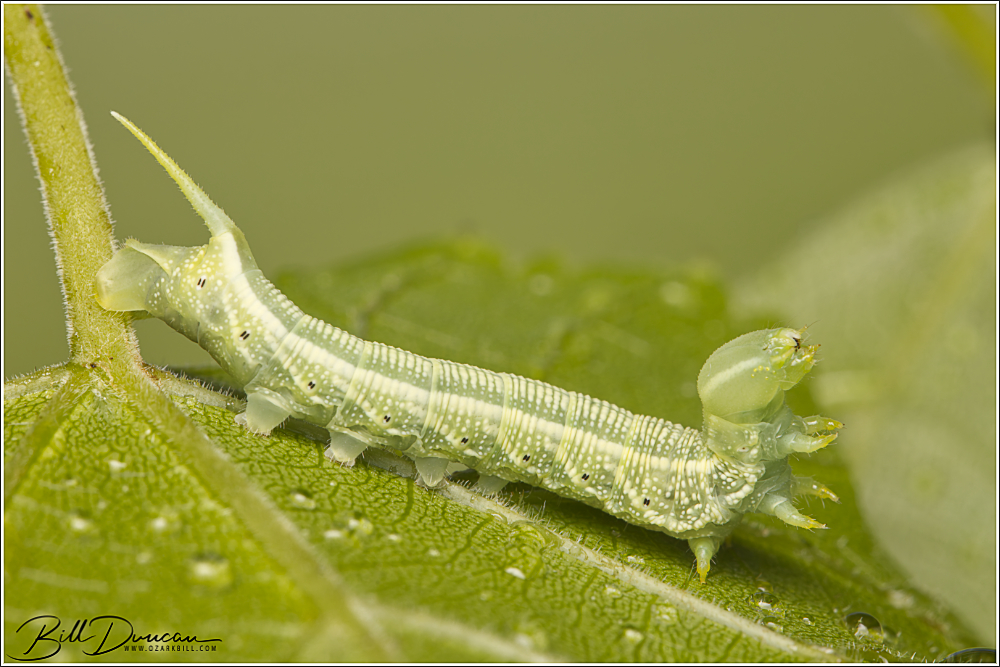
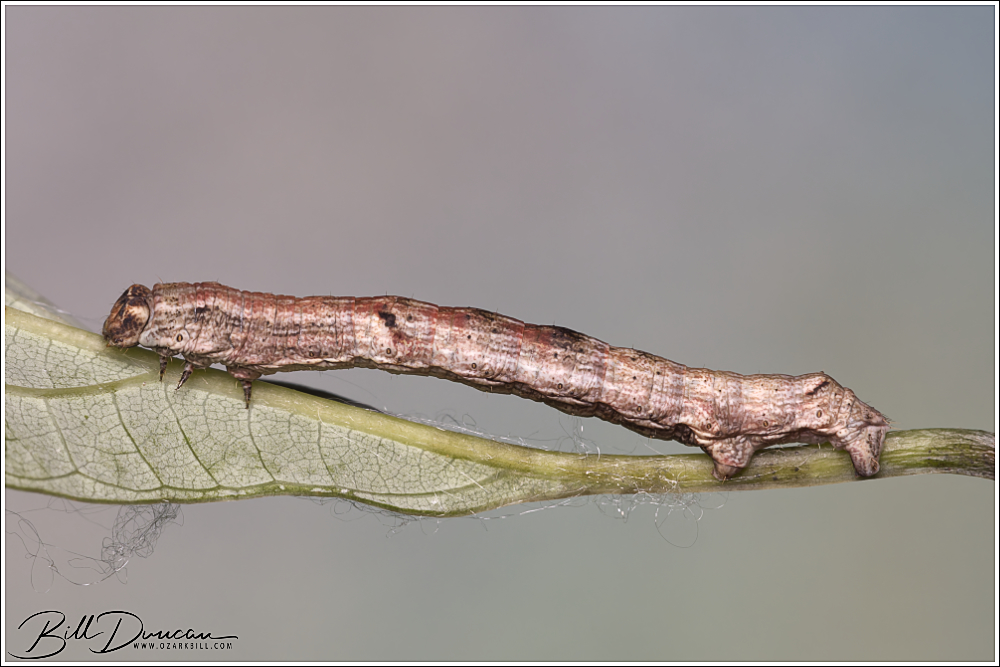
The lettered sphinx is an early season species that I found for the first time this year. My unfamiliarity with many of the sphinx moth caterpillars caused me some frustration. I found two of these on some grapevine. Due to their small size and lack of strong pattern contrast, I assumed these were early-mid instars of a typically larger species and one that I would most likely not be able to identify with certainty. Because of this, I did not take the time and efforts in getting as good of photographs of it that I would have liked. This species is one of the smallest and earliest of all the sphingids found in Missouri, with caterpillars being found from April through July.
The behavior shown in these photos is a trait unique with this species. Upon disturbance, they throw their heads back over their bodies, exposing their mouthparts and legs to the air.