"What a thousand acres of Silphiums looked like when they tickled the bellies of the buffalo is a question never again to be answered, and perhaps not even asked." -Aldo Leopold
The Rosette, or Skull Nebula, one of the largest and spectacular star-forming regions in our sky. Can you make out the skull? It is looking downward around 8:00.
The Rosette or Skull Nebula (NGC 2237, Sh2-275) My February target was the fantastic and grand Rosette Nebula, also known as the Skull Nebula for hopefully obvious reasons. This nebula is a gigantic cloud of predominantly ionized atomic hydrogen that lies in the Monoceros constellation, not too far from the Orion Molecular Cloud Complex. This object has a number of different catalogue designations given to different regions of the nebula (NGC 2237, 2238, 2239, 2246) and associated star clusters. The primary star cluster being NGC 2244 – the most central cluster that provides most of the illumination and stellar winds and radiation that illuminate and disperse the gaseous clouds that form the nebula. X-ray imaging has identified approximately 2500 young stars in this star-forming complex.
Space is Big This nebula lies approximately 5,000 light years from earth and is roughly 130 light years in diameter. To get an idea how immense this nebula is, compare this to the Great Orion Nebula (M42), which is only 40 light years in diameter. With all this talk about light years, I wanted to explore this to get a better idea of what we’re talking about and try and wrap our heads around the scale of an object like this. A light year is roughly 5.88 trillion miles – the distance light travels in a year. Since I’m an American, I’ll keep everything in miles so that I can better understand. The diameter of this nebula is roughly 764 trillion miles. The fastest spacecraft ever recorded is the Parker Solar Probe, which reached a top speed of 364,660 mph. This comes to 3,194,421,600 miles this probe can traverse in a single year. Sounds like a lot, right? Well, to cover the 764 trillion miles to reach one end of this nebula to the other, it would take the Parker Probe 239,167 years! We probably don’t need to get into the amount of time it would take the Parker Probe to get to the nebula in the first place.
“Space is big. You just won’t believe how vastly, hugely, mind-bogglingly big it is.” Douglas Adams – A Hitchhiker’s Guide to the Galaxy
Collecting the data I had anticipated this one being a little difficult to find. IT is found roughly on the line between two stars of the winter triangle – Betelgeuse, and Procyon. But, there are really no large magnitude stars in close proximity to help get it in the tight frame of my 300mm lens. I was please that it took me only about 10 minutes to get it in frame. However, because I was hoping to grab some of the much dimmer gases that can make up a sort of stem of this rose, I spent another 30 minutes trying to frame it just so. This turned out to be time wasted. In order to get this dim gas to show, much more integration time would be necessary than what I was able to collect on a single night.
Date and location Imaged on the night of 17/18 February 2023 at Danville Conservation Area in Montgomery County, Missouri (Bortle 4).
Dark period: 19:10 – 05:19
Target period: 15:20 – 02:08; Zenith 20:44
Conditions Clear skies over the course of the session. Temperature: 31° – 27° F. Winds forecasted to be 6-8 mph but seemed lower than this.
Equipment Astro-modified Canon 7D mkii camera, Canon 300mm f/2.8 lens, Skywatcher Star Adventurer tracker without guiding on a William Optics Vixen Wedge Mount. Gitzo CF tripod, Canon shutter release cable, laser pointer to help find Polaris and sky targets, lens warmer to prevent dew and frost on lens, dummy battery to power camera, lithium battery generator to provide power to camera and dew heater, right-angle viewfinder to aid in polar alignment.
Imaging Details Lights taken (ISO 3200, f/2.8, 25 second exposures) 779. 61 frames dropped due to poor focus, 217 frames dropped due to tracker error, 10% frames dropped in stacking instructions. A total of 450 frames used in integration for a total of 3.13 hours. Darks: 39 taken at the exposure time listed above. Bias and Flats: Not taken. Removed most vignetting and some chromatic aberration while converting RAW images to TIF.
Processing RAW files converted to TIF in Canon DPP, stacked in Astro Pixel Processor, GraXpert for gradient removal, StarNet++ for separating stars from nebulosity, Photoshop CS6 for stretching, recombining stars and nebulosity and other cosmetic adjustments.
This one was a bit tougher than I expected, mainly due to the StarNet software not wanting to work the first several times I tried. I captured more of the hydrogen alpha in the surrounding regions than this image depicts but, because it was so faint, nasty artifacts appeared during the stretch. I was forced to leave much of this out of the final image due to this. I think in order to do this properly I would need much more total integration time.
Problems and learnings This one went about how I had expected except for one thing. I was devastated to learn that I had not acquired critical focus for roughly the first 45 minutes of imaging. This was even more of a blow as this time coincided with the object being at or near its zenith, meaning I lost some of the best potential data gathering of the night.
I have also been collecting some data on how many subs I throw away due to errors in tracking. In this case, 35% of the subs I took were thrown away, which seems to be close to my average when using this lens at these exposure times. I dropped the exposure time to 25 seconds in order to help reduce this but I think this issue is mostly due to the tracker being at or above its limit in regards to payload and focal length. For this reason, I am investigating a new tracker that should meet my needs nicely for a 1-2 minute exposure with the above kit and a keeper rate of greater than 90%. Keeping my fingers crossed for that company bonus this year. 😉
Conclusion This is another very popular and relatively easy object that most astrophotographers tackle early on. Overall I’m pleased with the outcome. I like the detail and the colors but I think that better processing might bring these out better even with the data I have here. Always learning. This object is better imaged in December or January, when more time with it can be had in a single night. I look forward to trying this one again someday.
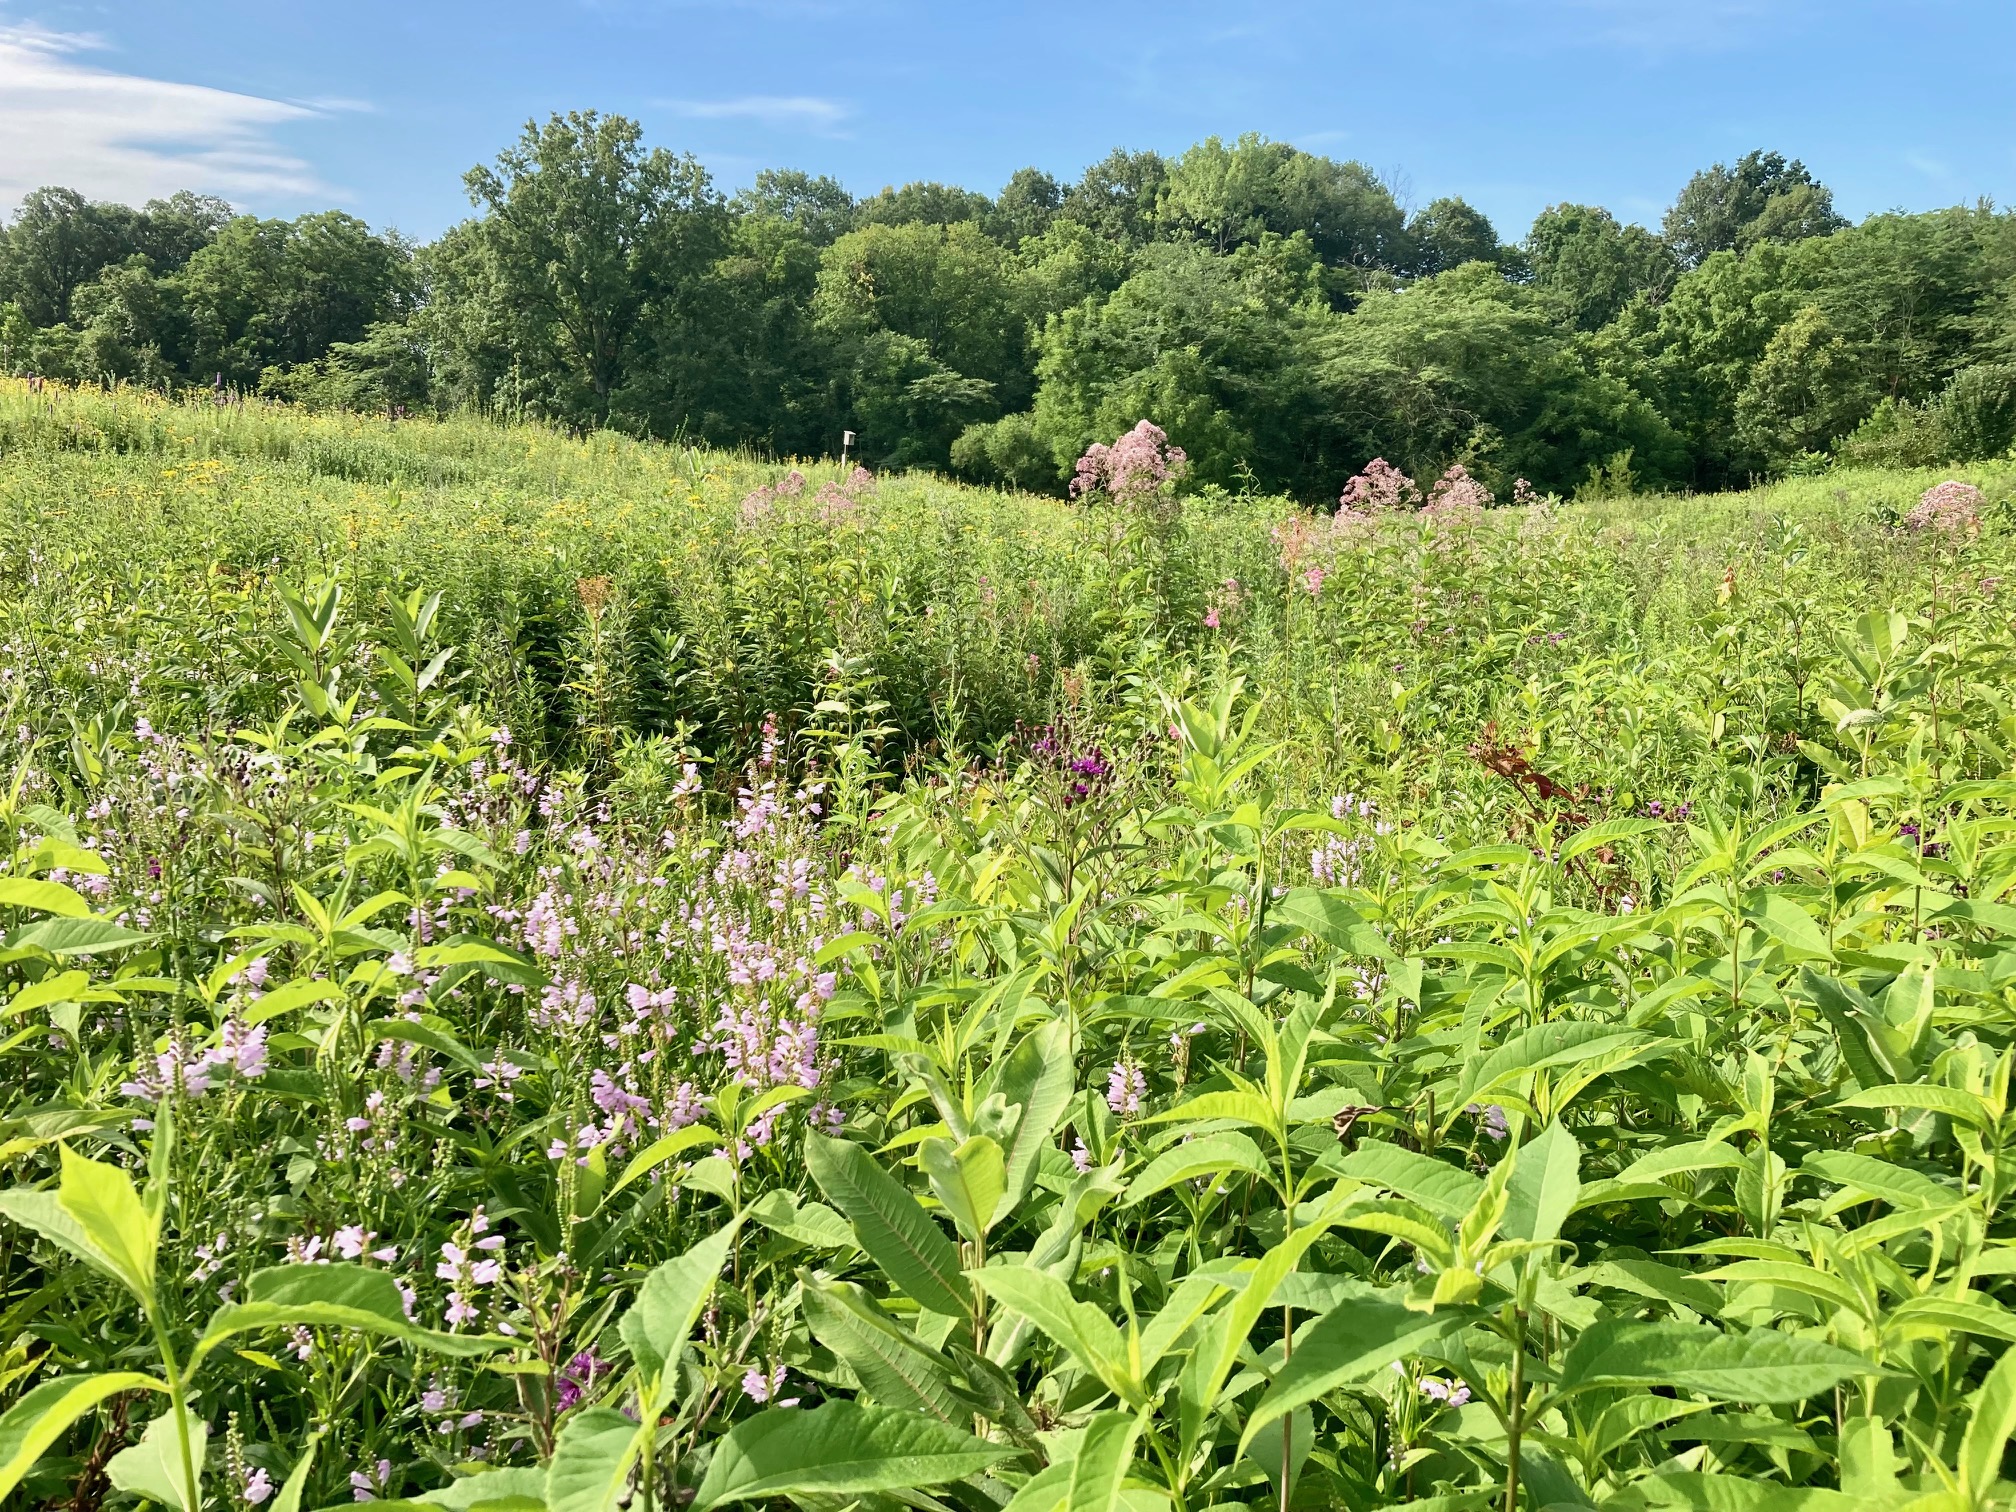
Part of the Horn’s Prairie Grove LWR with obedient plant blooming in the foreground and joe pye weed behind.
The WGNSS Entomology and Nature Photography Groups had a splendid treat in July of 2022 when we jointly visited Horn’s Prairie Grove Land Water Reserve (LWR) near Ramsey IL. This 40 acre patch represents part of the less than 1% of the remaining southern till plain prairie ecosystem that was nearly wiped from the planet due to land conversion for farming. Even better, about 30 acres are original “virgin” prairie, (the largest intact remnant prairie in IL) meaning these spots were never touched by the plow. Even better still, at this location there lies five different types of prairie habitat: seep/wetland, dry hillside, mesic, black soil and savanna.
Keith Horn, owner and guide to Horn’s Prairie Grove LWR
The story of this land is interesting. The current owners, Keith and Patty Horn, purchased the land in 2001 as “junk land” from an old farmer who’s family had owned since the 1870s. They liked the fact that the majority of the land was in a “wild” state. The untouched 30 acres had been used as a wild hay field, being cut almost yearly. They had noticed some nice wildflowers in bloom but did not realize what they had until a few years into a wildlife habitat improvement plan that included periodic burning. Every year they noticed more and more species in bloom. They have sought help in identifying the plant species here and the current list is now at 619 species, including six native orchid species! Bravo to the Horns for identifying what they had and taking the steps to see their land improved. This remnant prairie could have been destroyed in the blink of an eye if it had fallen into the wrong hands.
Although most of us were simply thrilled to be in such high quality habitat, the primary purpose of the trip was to check out the arthropod life. Unfortunately, in late July, we were there on a truly miserable day of weather. The heat and humidity created a heat index that was well above the safety zone. This meant not many of us had the nerve to do a great deal of walking and searching, especially much after lunch time.
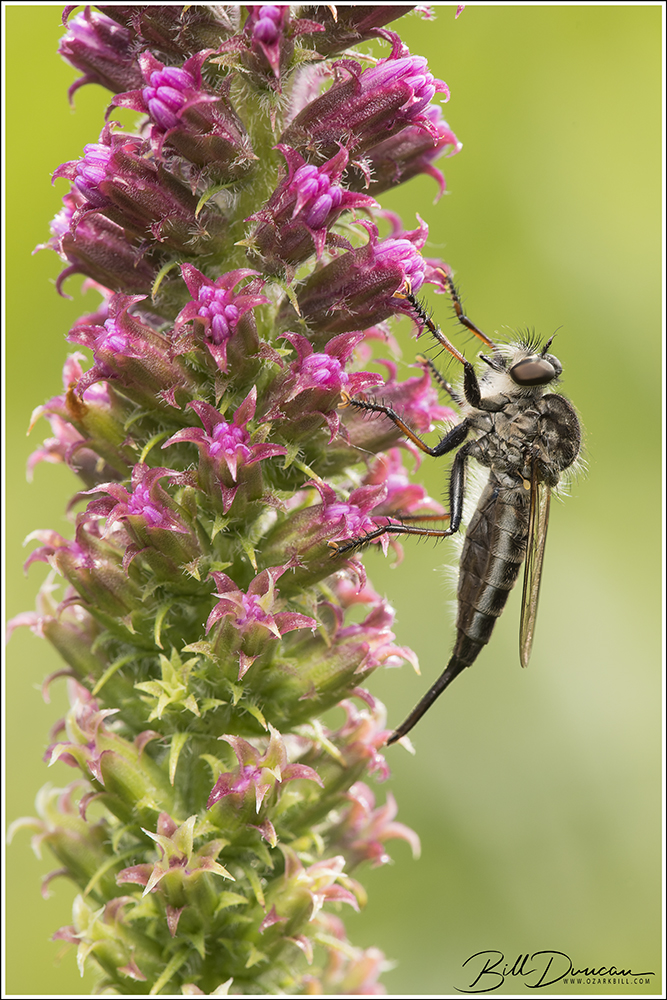
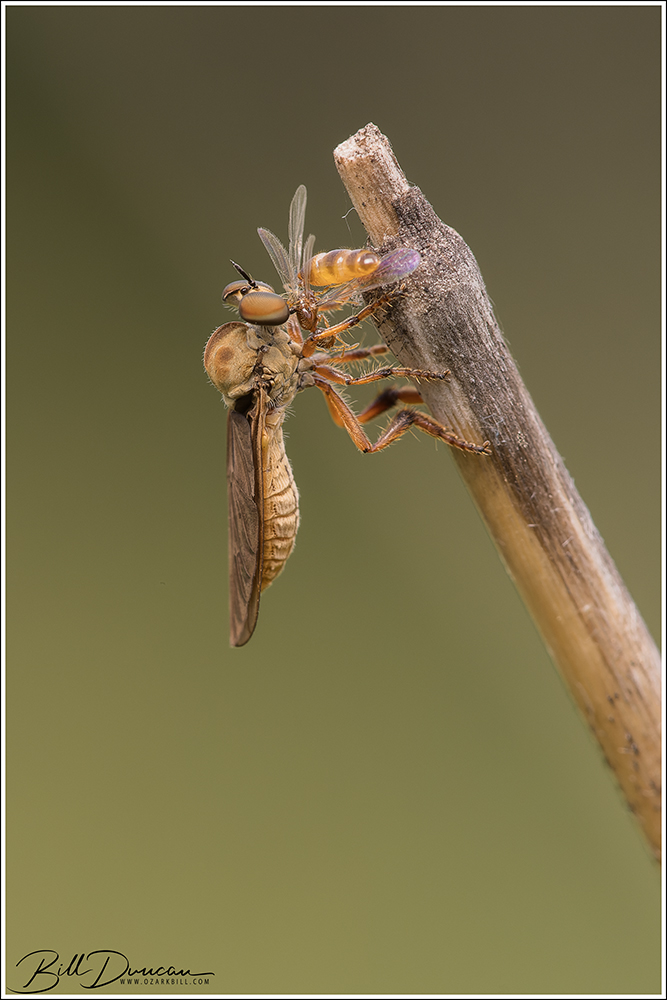
Efferia aestuans, the friendly robber (Family Asilidae)
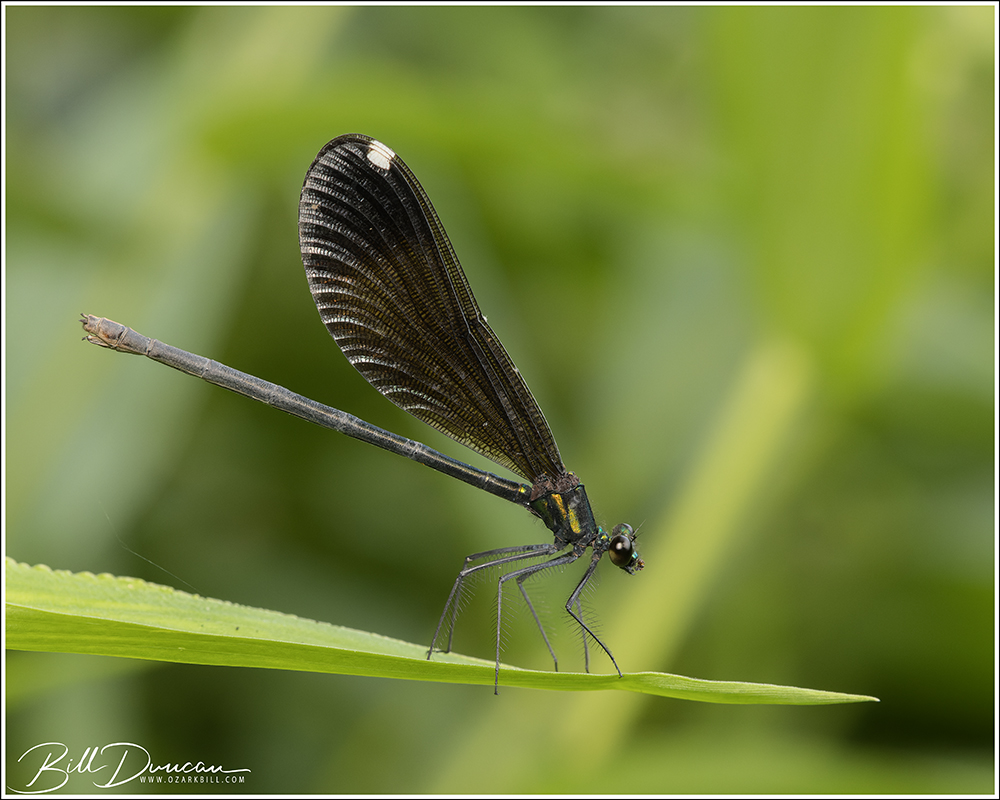
Calopteryx maculata, an ebony jewelwing damselfly that was found on the forest and prairie edge.
Members of our group walking among the blooming Liatris.
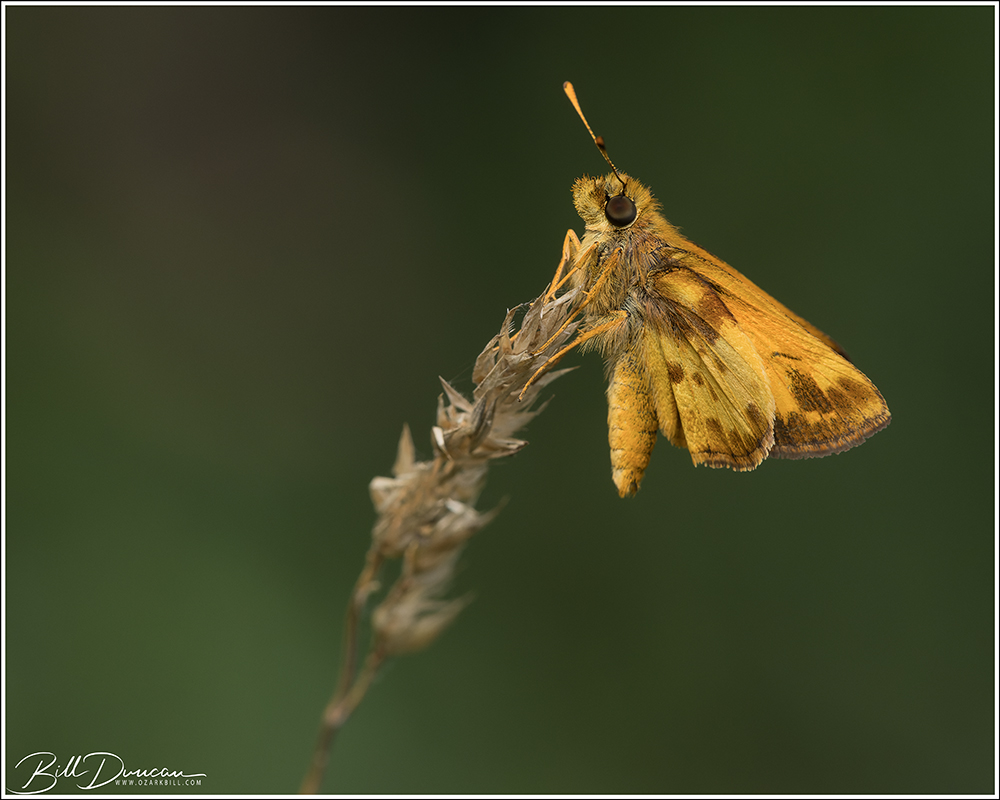
A gorgeous Poanes zabulon, Zabulon skipper (Family Hesperiidae)
What I am calling Wallengrenia egeremet, the northern broken-dash (Family Hesperiidae)
Keith Horn (back) and Chris Brown (front)
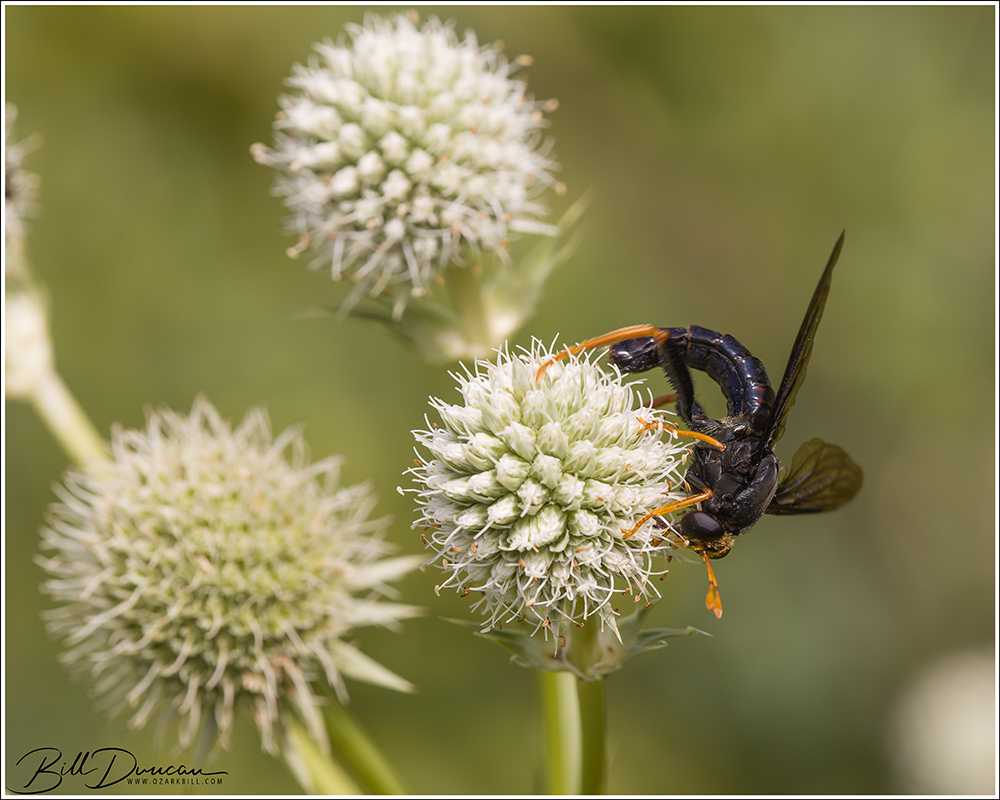
We were lucky to find both Mydas fly species to be found in Illinois, but I was only able to photograph this Mydas tibialis.
The gnat ogre! (Holcocephala sp.)
Interested in making visits to interesting high-quality habitats like this? Then consider joining Webster Groves Nature Study Society! Visit http://www.wgnss.org to find out more.
We don’t seem tired of shooting the Eastern Screech Owl…
With hours of waiting, you need to be ready for the brief seconds the bird may open its eyes.
It can be challenging to find a good window to get unobstructed views from the branches of the invasive bush honeysuckle that grows below the tree hole.
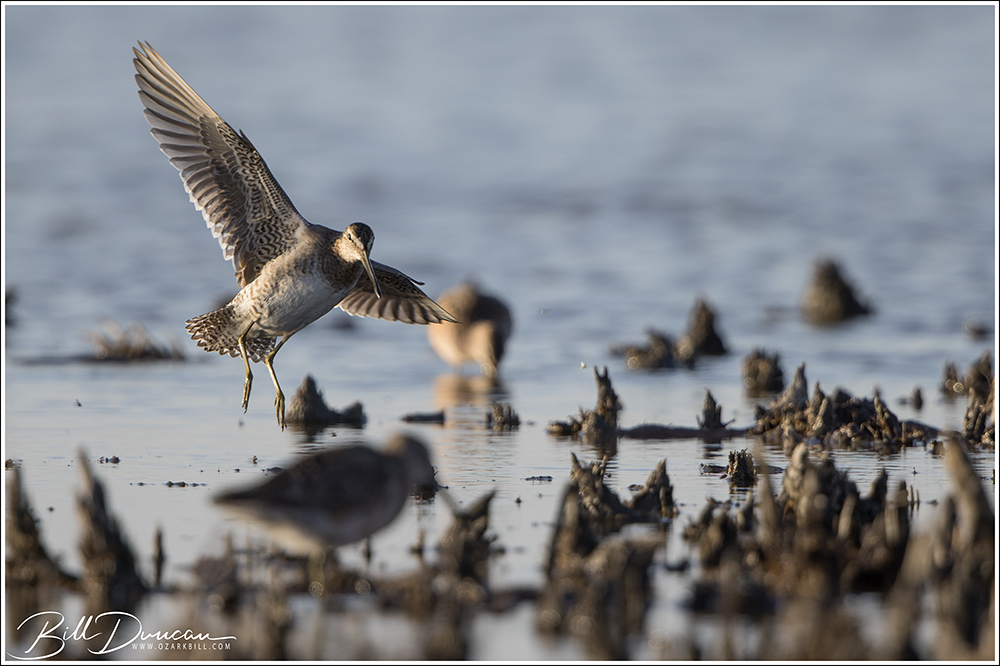
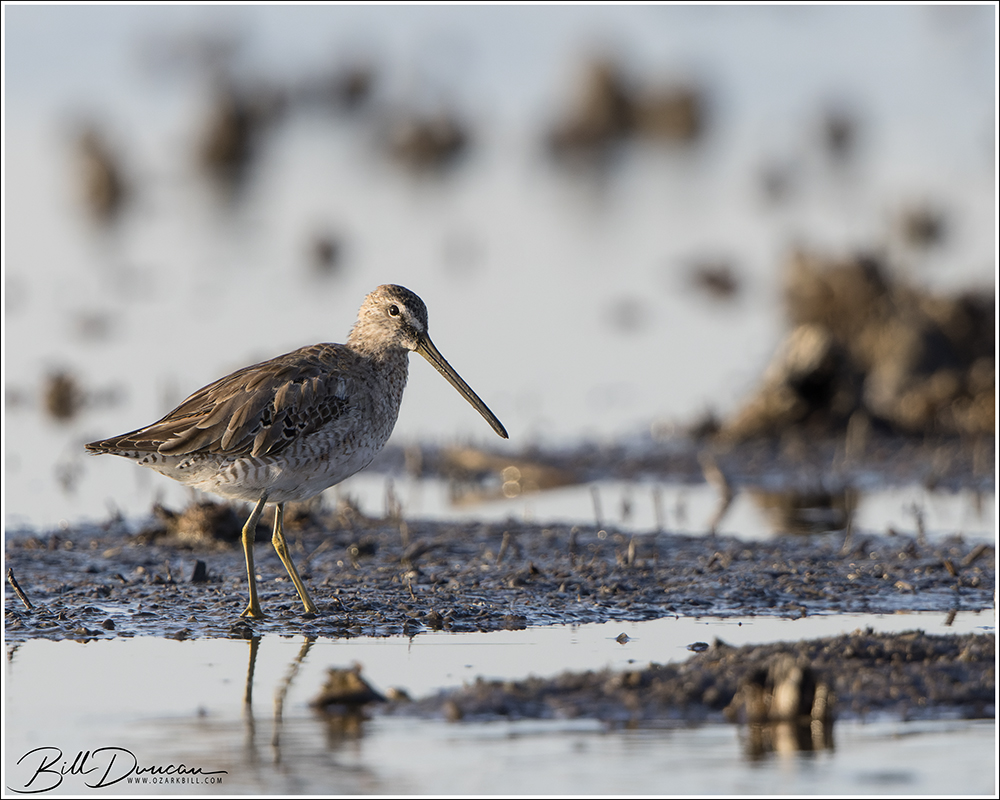
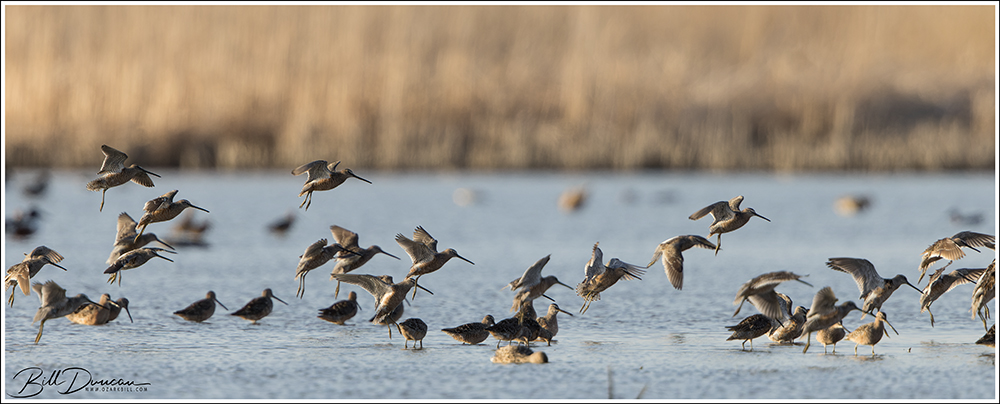
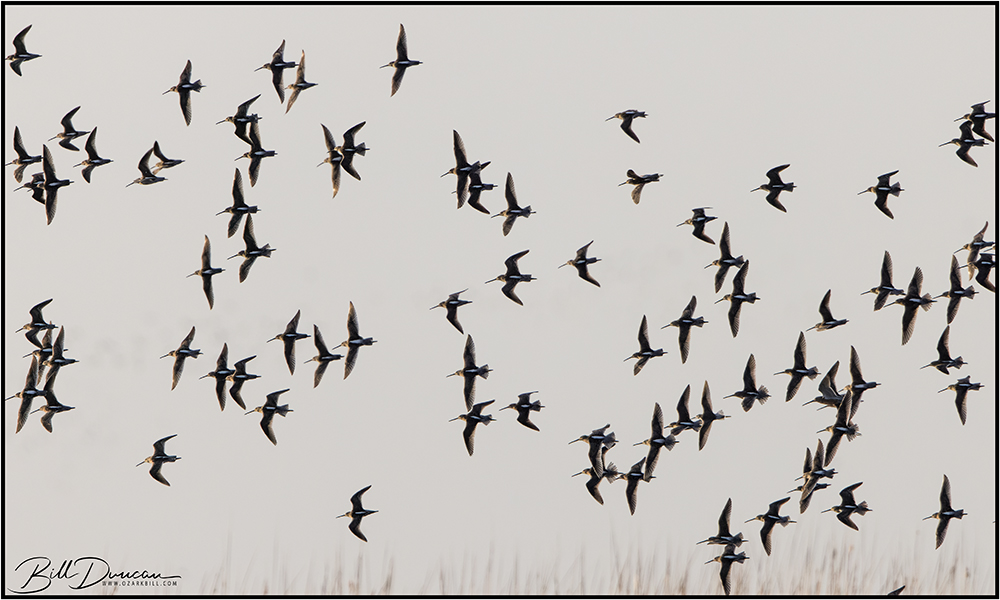
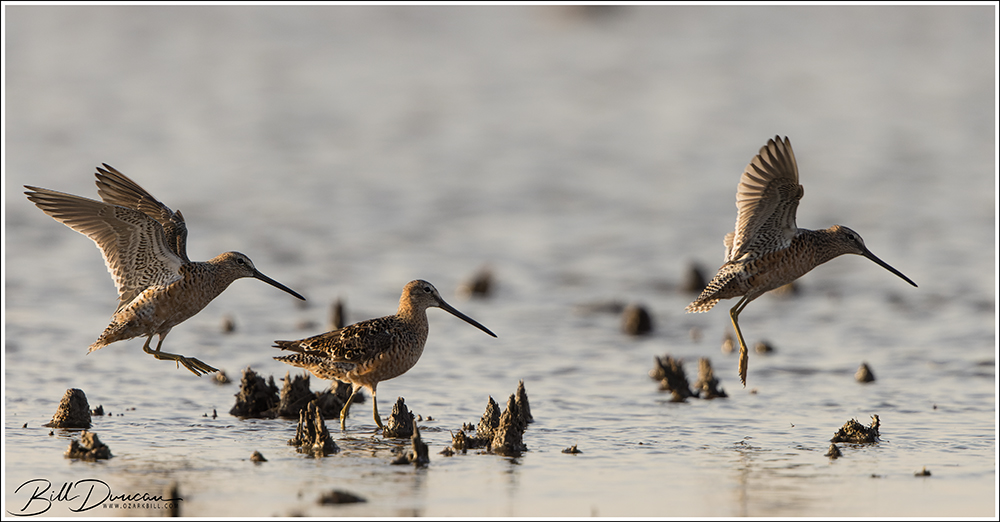
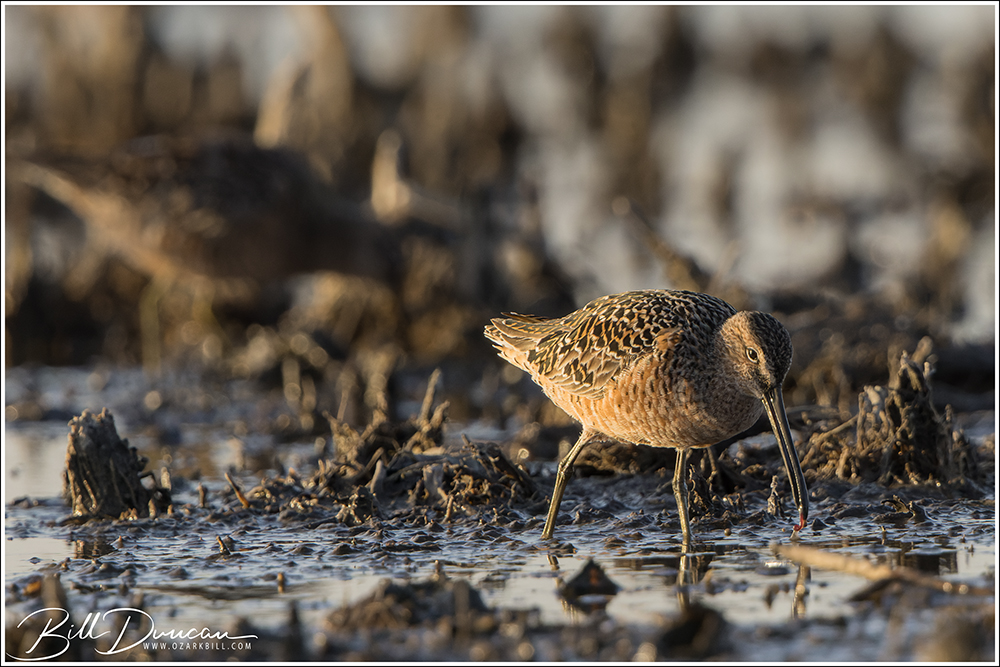
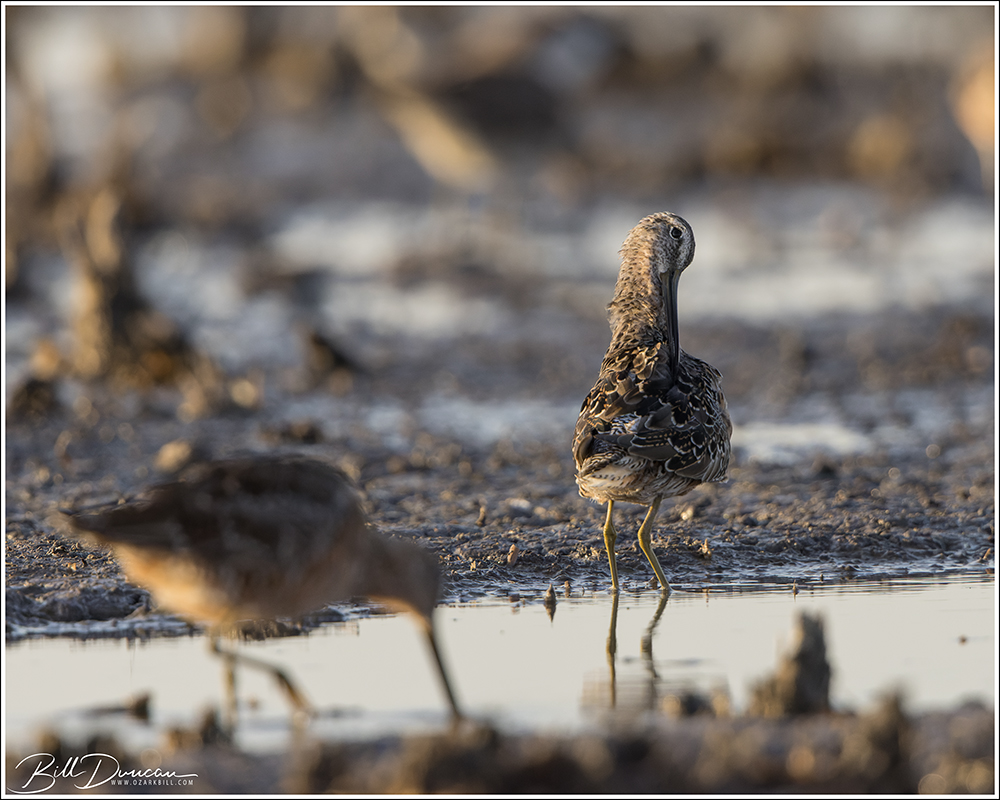
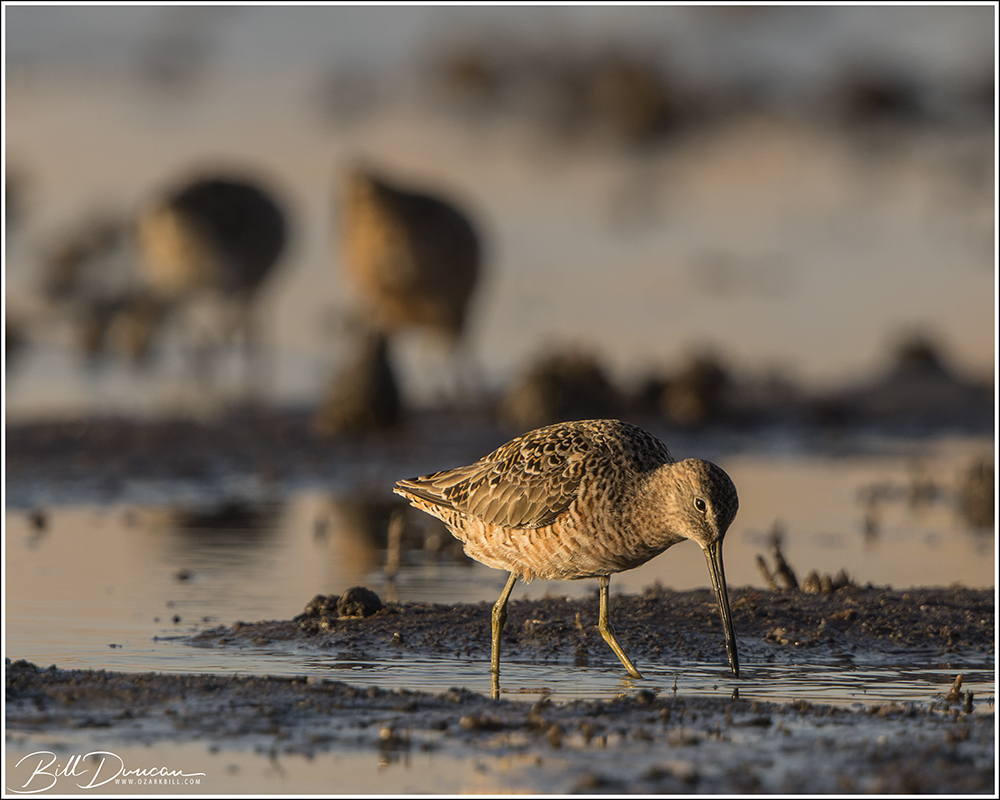
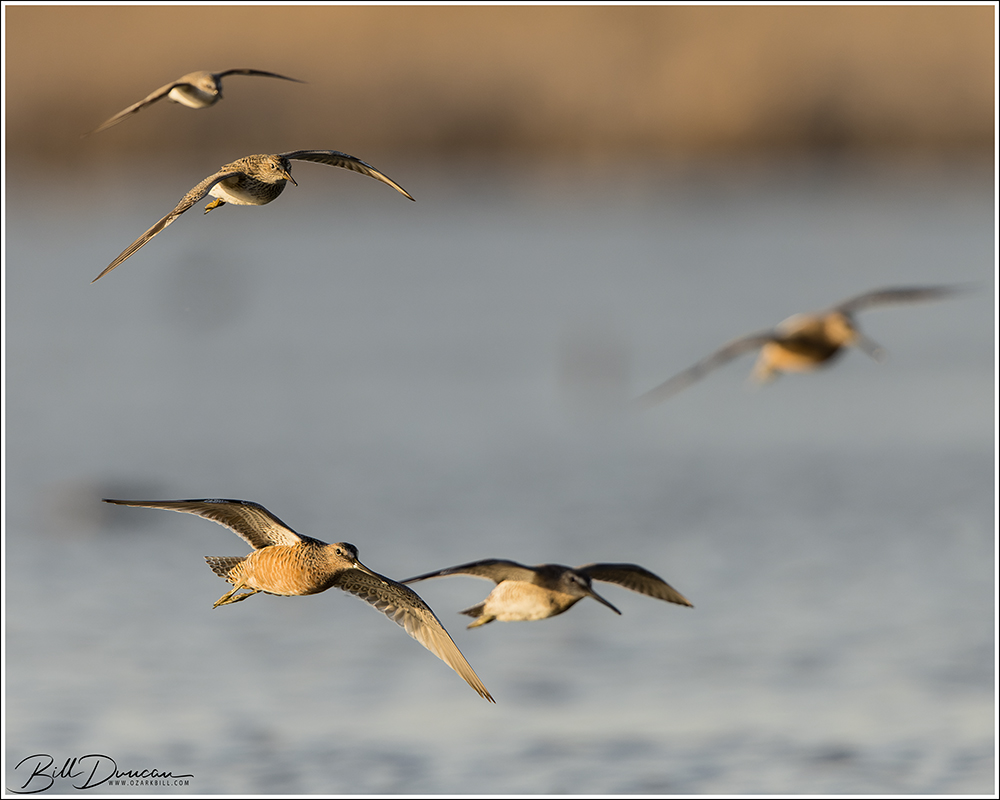
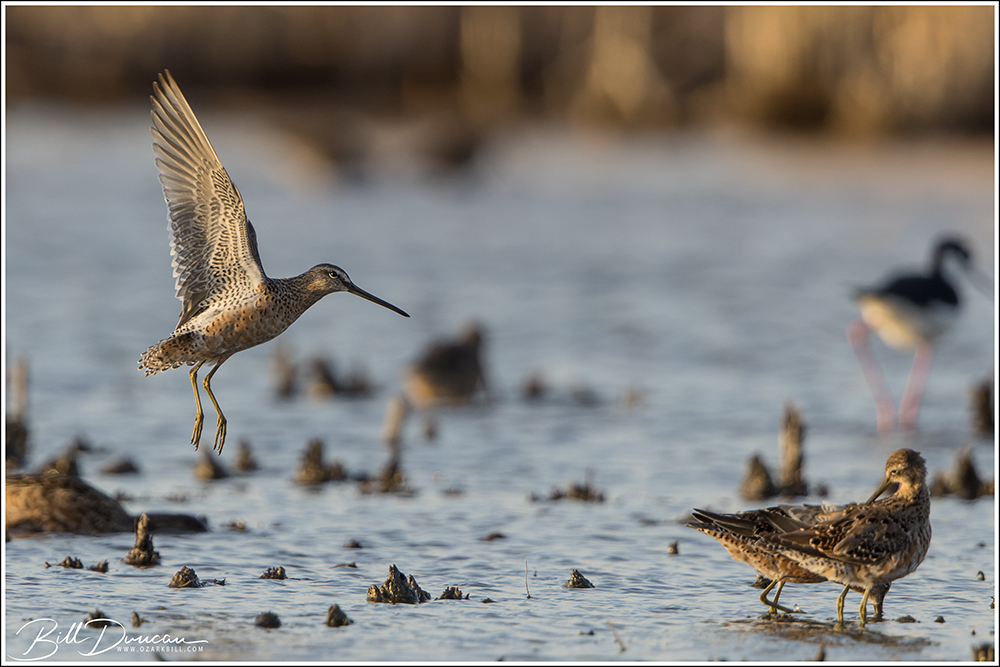
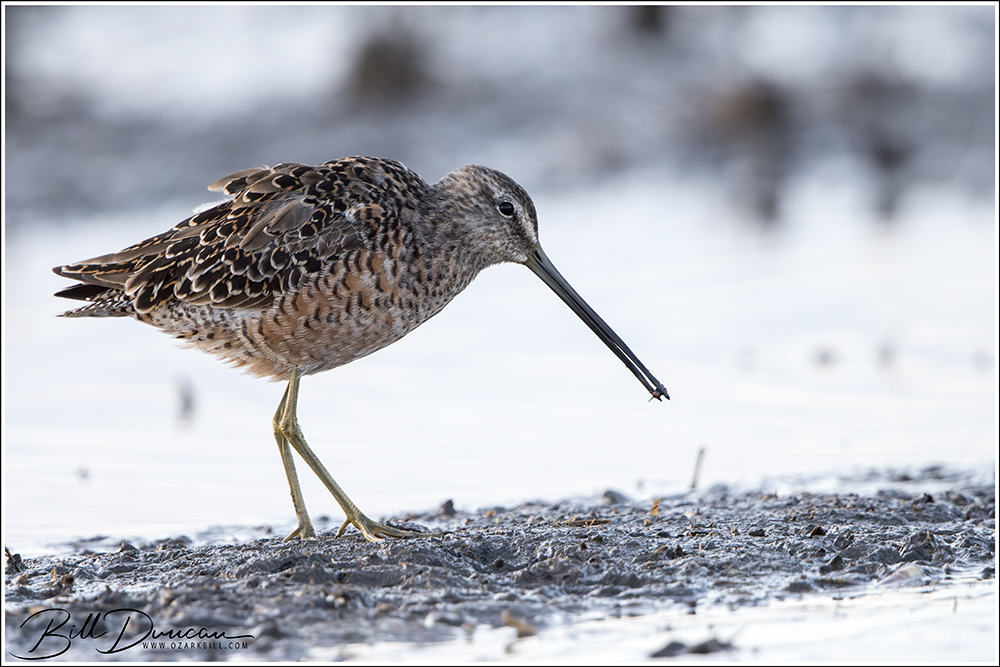
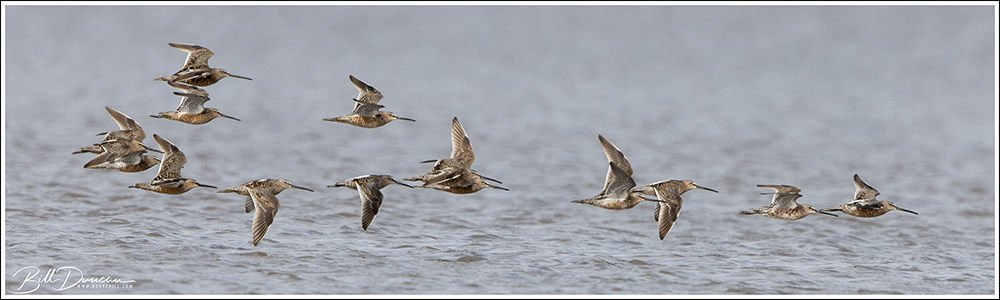
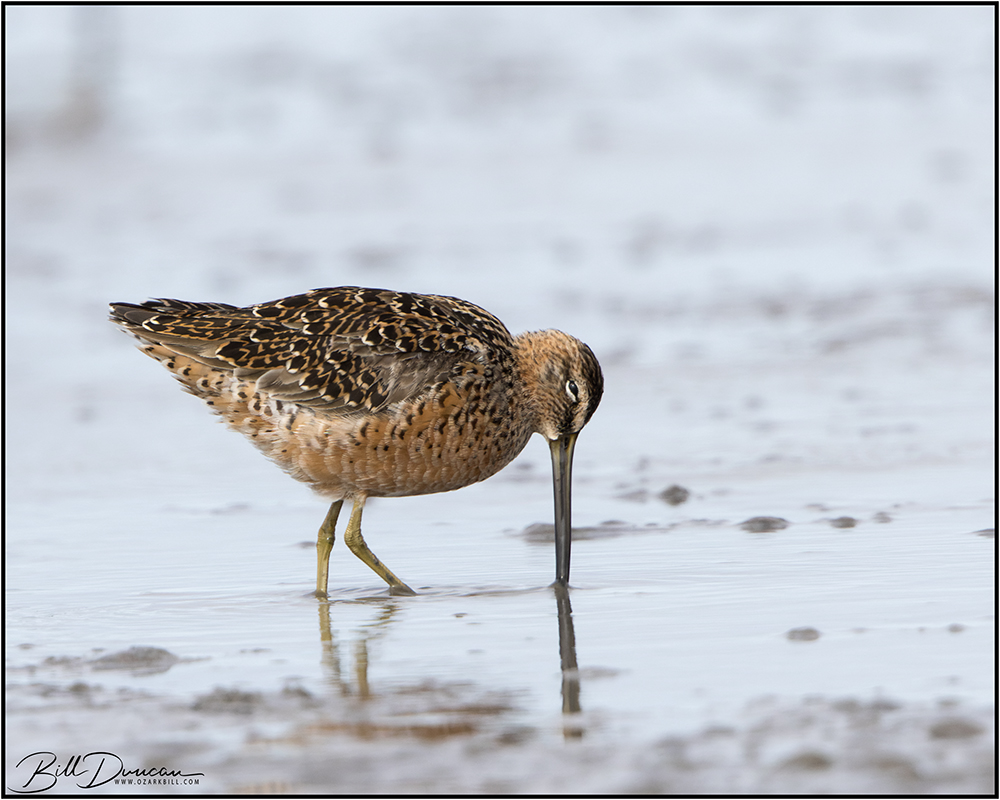
We didn’t have a great deal of diversity in the shorebirds during this early season trip to the “central coast,” but, we had great numbers in the early migrating species like the Long-billed Dowitcher. There may have been some Short-billed Dowitchers mixed in here but none that we could confirm identity. The LBDO uses the central flyway predominantly while the SBDO primarily moves along the coasts during spring migration.
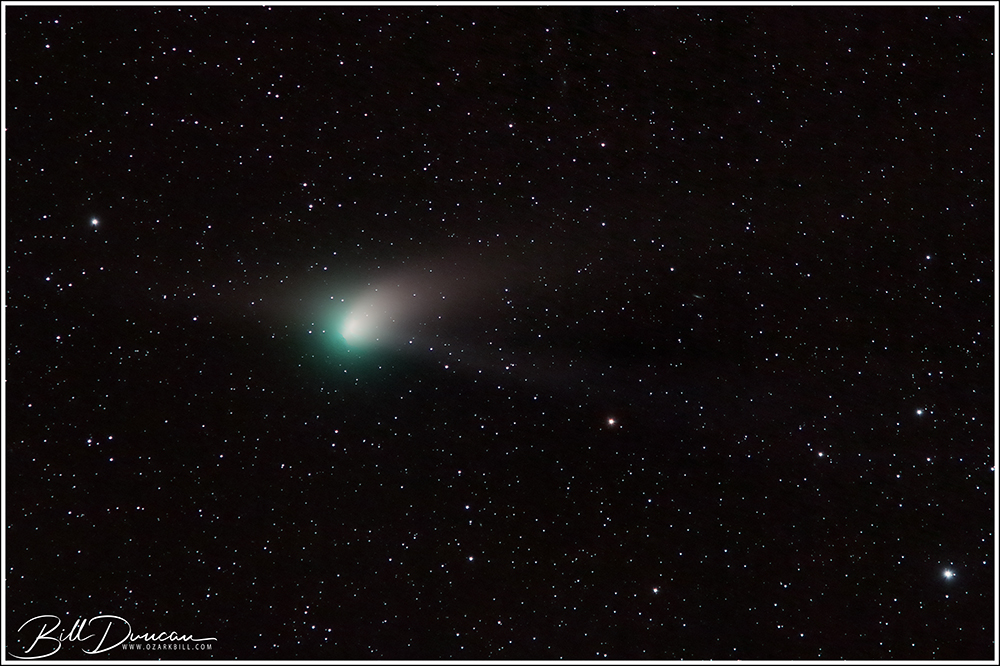
Comet C2022 E3 (ZTF) photographed on 21 January 2023
After M42 had began to drop to low in the western skies, making any further attempts at photographing it futile, I decided to try and find the newly discovered, long period comet, C2022 E3 (ZTF). I was unable to see it with my naked eye at my location, but with careful scanning using binoculars, I was able to find it. At 03:00, I was happy that getting it in the camera viewfinder wasn’t too difficult a task. I knew this wouldn’t be the best image of this comet, but I didn’t want to pass up the opportunity. This is a stack of 77 20-second images. You can make out the green color of the comet’s head, proposed to be due to the presence of diatomic carbon, along with two tails. The broader, warmly colored tail is the dust tail and the fainter tail below is the ion tail.
The comet’s closet distance to earth will appear on February 1st, where it will be close to the north celestial pole. The waxing moon will make it harder to see. So, if you plan on trying to see this one yourself, you should wait until the moon sets.
Located in winter skies of the northern hemisphere within the asterism of Orion’s Sword, The Great Orion Nebula (M42), and it’s smaller companion, The Running Man Nebula (M43) are the closest star forming regions to earth.
The Great Orion and Running Man Nebulas (M42 and M43) After trying for three months, we finally had a night of very good conditions to create the closeup of these two objects that I have been hoping to accomplish. The winds were low enough that I felt comfortable using the big 300mm lens. We had zero clouds the whole night and although this was the night before the new moon, the 3% moon that was left didn’t rise until after 05:00. Humidity was high, so seeing and transparency weren’t the best and the frost was building, but I’ll take a night like this anytime. In addition, since these objects set around 03:00, I had the opportunity to photograph a new comet in our sky, C/2022 E3 (ZTF). This comet appears to have an orbit that won’t put it back by earth for about 50,000 years, so I thought now would be the best time to try for a photograph.
A part of the asterism known as Orion’s Sword within the Orion Constellation, the Great Orion Nebula (M42) is an enormous cloud (~40 light years in diameter) of fluorescent gas, composed primarily of hydrogen, which lies approximately 1350 light years from earth. It also contains traces of helium, carbon, nitrogen and oxygen. M42 is a diffuse, emission-type nebula that is home to star formation. The bright nascent stars, primarily Theta Orionis – the four stars that make up the asterism known as the “Trapezium,” are found within the bright core of the nebula. Via a process known as photoionization, these stars provide the ultraviolet radiation that excites the hydrogen and other elements to emit the visible light by which we can see the fine, multicolored mackerel patterns throughout M42. There are thought to be about 2800 young stars, mostly unseen via visible light imaging, within the nebula.
The M42 nebula is both the brightest and closest such star forming nebula to earth, making it one of the most viewed, photographed and studied deep sky object. Evidence suggests that the current brightness (equivalent to a 4th magnitude star) may be a recent phenomenon. This is supported by the fact that M42 and M43 were not mentioned by the early astronomers (e.g. Ptolemy – 2nd century CE, al Sufi – 10th century CE, and Galileo – 17th century CE) despite their close observations and records of this area of the sky. The accepted first discovery of M42 was by the French astronomer, Peiresc, who first published his observations in 1619.
The Running Man Nebula (M43) is so named for the vague specter that can be seen sprinting across this gaseous body. It is a wedge of nebulosity located northeast of the Trapezium and primarily illuminated by the 7th magnitude “Bond’s” star. I find that M43 is a perfect bit of color and contrast that tops off M42 very well.
Collecting the data (20/21 January) Having had imaged this section of sky in December, I gained experience in collecting image data and processing using multiple exposure lengths. This is important for M42 particularly in collecting fine details in the outer dim gas and dust clouds while also capturing the details in the bright hot core. Overall, imaging went as I anticipated with the exception of a couple new issues that I explain below.
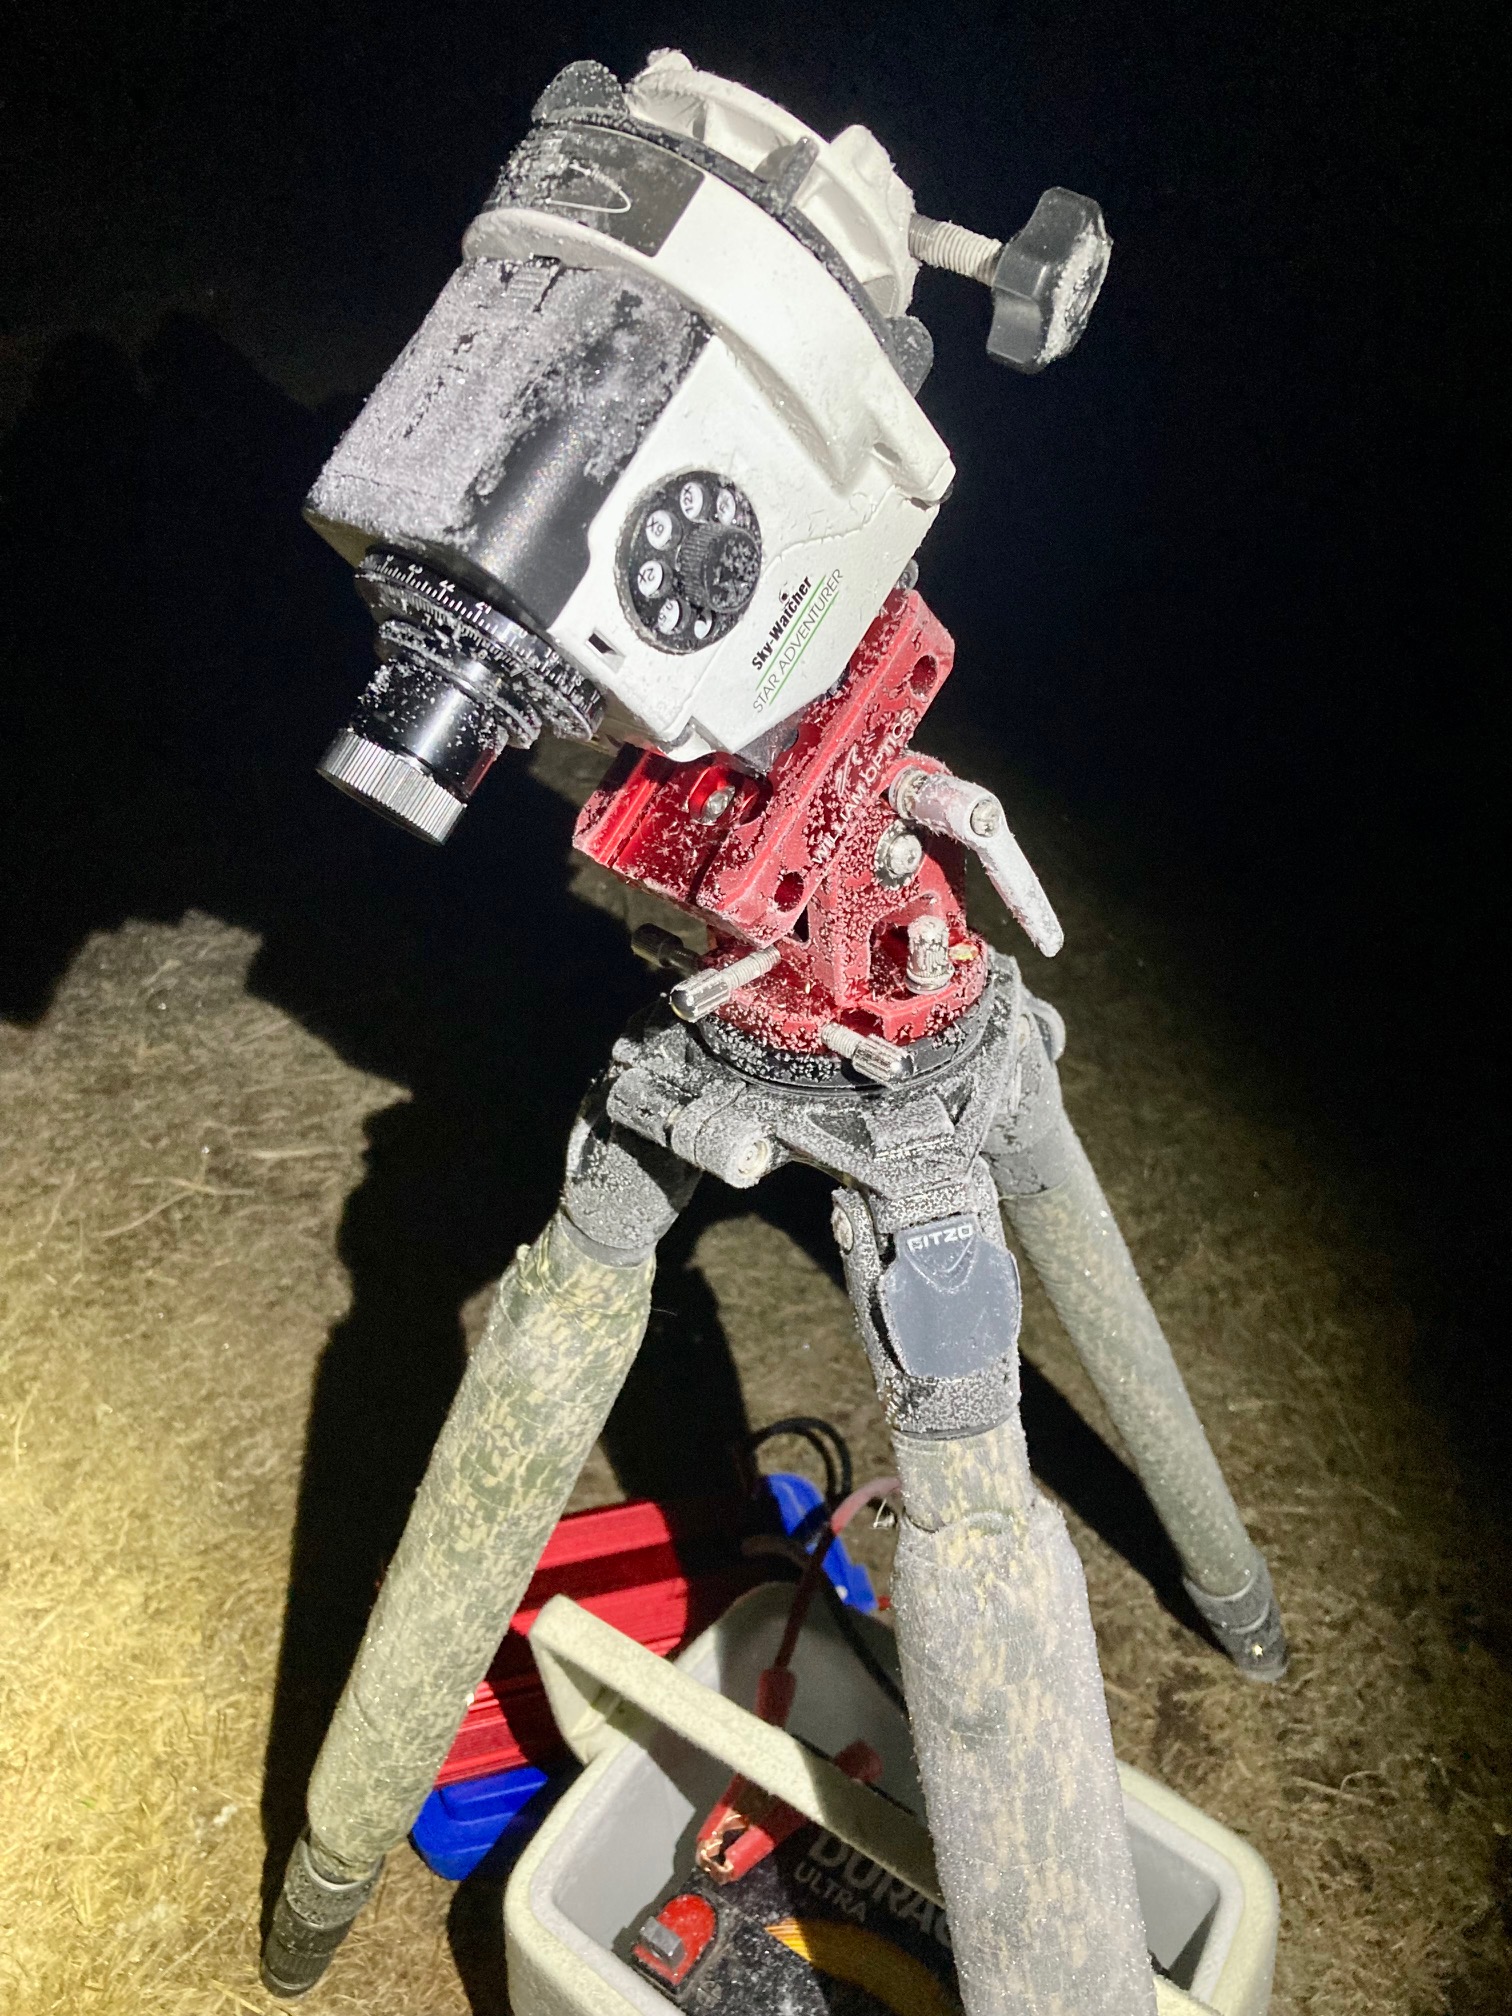
Substantial frost developed on all exposed equipment during this night’s session.
For this session, Miguel and I setup at Danville C.A., as usual, and Miguel brought along his partner, Leela. Miguel wound up collecting the data he needed earlier than I did, and he and Leela were on their way home before 01:00. The forecasts were mostly correct. There was a chance of clouds developing over us around 03:00 but when I was on the road home around 05:00, the skies were still clear. I want to thank my friend, Pete Kozich for his assistance in meteorological forecasting for this and past projects. That is always a big help and much appreciated.
One anecdote to share was something I expected to happen sooner or later. Miguel and I had just started our imaging when a pickup truck pulled into the parking lot, with the driver placing its beams down the road to where we were setup. I immediately thought this was going to be another meeting with a Conservation Agent. When it was obvious they weren’t going to pull out and head off, I stopped the camera and headed over to the parking area. When I arrived, I was met by a group of friendly hunters and their dogs who shared that they were hoping to do some coon hunting. They asked what we were doing and I told them, mentioning that their headlights and any additional lights would be detrimental to what we were trying to accomplish. Thankfully, this C.A. is pretty large with a few different access points. When they understood the situation, they graciously decided to allow us to continue without further disturbance and headed to a different location. I understand these areas are used by different folks with different purposes in mind and was thankful they didn’t try and push the point.
Conditions Over the course of this imaging session, skies were clear of clouds. Winds started at 6 mph and wound up around 2 mph by the end of the night. Temperature ranged from ~34 – 23 °F over the course of my imaging.
Equipment Astro-modified Canon 7D mkii camera, Canon 300mm f/2.8 lens, Skywatcher Star Adventurer tracker without guiding on a William Optics Vixen Wedge Mount. Gitzo CF tripod, Canon shutter release cable, laser pointer to help find Polaris and sky targets, lens warmer to prevent dew and frost on lens, dummy battery to power camera, cart battery to provide power to camera and dew heater, right-angle viewfinder to aid in polar alignment.
Imaging details Lights taken (ISO 3200, f/3.2): 32 seconds (492 taken, 412 used in integration); 16 seconds (165 taken, 148 used in integration); 8 seconds (112 taken, 106 used in integration); 4 seconds (56 taken, 54 used in integration); 2 seconds (63 taken, 61 used in integration); 1 second (61 taken, 60 used in integration). Darks: 30 taken at each of the six exposure times listed above. Bias and Flats: Not taken. Removed most vignetting and some chromatic aberration while converting RAW images to TIF.
Processing I admit, this one was a chore. Almost 15 hours in total, most of this in the stacking at the six different exposure lengths. I’m not completely satisfied with my compositing for the core of M42. Even though I’ve gotten a lot of experience with doing this in Photoshop, I still don’t have the skillset to combine the different stacks into something I picture in my mind.
I think I may be finished with Deep Sky Stacker (DSS). When attempting to stack the 32-second frames, DSS would only accept about half of them. Digging into the reasons for this, I found that DSS is particularly picky about only accepting subs that are above a threshold of star quality. Because I shoot with fast lenses, opened wide, and because I am using an entry level star tracker, my stars would not be considered top quality by any serious astrophotgrapher. I don’t particularly care about this. I’m focusing on the DSO, not taking pictures of fine, perfectly round stars. Wanting to use every possible frame that I deemed useable, and not able to find a workaround in DSS, I needed another option.
I decided to download a trial version of Astro Pixel Processor (APP) because I read that this software works very well, and it allows the user to set the threshold for the acceptability of the frames it uses. This seems to be a nice way to run stacks. APP can analyze every frame and then provide you scoring data for each frame on a few different parameters. It is then easy to set a threshold, letting the software pick the top 90%, for example, or selecting and removing the frames yourself based on your own judgements about what the rating data provide.
APP is definitely more complicated than stacking software I have previously used, but not nearly as complicated as something like PixInsight. Much of what APP offers I won’t have any use for, but, because it gives you the option for doing things either mostly automatically or picking and choosing the settings yourself, I think I have found my new choice for stacking.
A note about colors. I encourage the reader to look up images like mine to see the wide array of colors with which these objects are depicted. There are a few reasons for this. First, subjective decisions. Some imagers just like to play with colors and saturations to create what they like. Another reason is improper color balance choices. These are cases where the colors are not true to what you would see in visible light but were not necessarily the choice of the photographer. The equipment used is another reason for the color variation seen in different images of these nebulae. Some photographers use filter systems designed to pick up enhanced light coming from the specific elements, e.g., using filters that pick up more blue or green light emitted from oxygen or red light from hydrogen. When these frames are put together, there is always going to be differences between any two images and not necessarily like what the human eye perceives. It is my goal to create images that are as close to neutrally balanced as possible. But much like the question of what the proper pronunciation of Latin should be, there simply is no agreed upon answer for what are the trues color of many of these objects.
Problems and Learnings It seems I can’t get through a session without a lesson or two to learn. I had three from this night’s imaging, but I am pleased that none of these wound up ruining my efforts for this evening and that I was able to diagnose the issues to avoid making these mistakes again.
During this session, the 300mm f/2.8, which until this night, had never had much of an issue with losing focus over the course of a night, began exhibiting this problem quickly. For the first couple of hours, I found I needed to check and reacquire focus nearly every 30 minutes. Then, it seemed to level off and hold focus for the rest of the night. The outside temperature was not changing rapidly, and I had the rig exposed to the elements for close to two hours before beginning imaging, hence my perplexity. I think I figured it out. I had setup everything and had it ready to go about an hour before sunset but did not turn on the dew heater until shortly before beginning imaging. The lens, having already acclimated and reaching the same general temperature as the air, began changing temperature when the lens heater was powered up, and therefore, began losing focus due to this change in temperature. I now realize that in the future I need to turn on the lens heater immediately after setting up, so the lens reaches its steady state before imaging starts.
My next lesson learned was even more perplexing. Early on, when beginning to take the 16 and later the 32-second exposures, I noticed a faint glow on one of the long sides of the frames. I knew that there was nothing in that portion of sky that should show up so profoundly in that area of my composition and that it must be something of external origin. I checked and made sure there was no light pollution center in that direction of the sky. I then thought it must be some stray light entering the imaging path somewhere. Maybe the lens hood wasn’t installed correctly and allowing light to “leak” in? During the night, I couldn’t figure it out. But, because it was relatively minor and did not directly affect the main objects, I put it out of mind, figuring I could probably fix it in post processing using the gradient removal software. Then a more worrisome development came to my attention. When looking at my dark frames, which are taken in near completely dark conditions, I saw the exact same glow in them! What was going on here? Now I was concerned. Was there a problem with my newly converted camera? Did they not seal something correctly when they put it back together?
I had to wait until I got some sleep before getting into this research and giving this issue some serious thought. I decided to try taking some dark frames in as dark of conditions that I could possibly make. The glow was still there. I felt I could safely eliminate the possibility that this was due to a leak in the body that was letting light in. Another factor that added to this mystery is that I used “Bulb” mode in my camera to take the 16 and 32-second exposures. I then thought this might be the issue. I noticed that while using continuous shooting while taking my light frames, the camera behaved and sounded a bit different that when I normally shoot this way in “Manual” mode. This must be the cause! But that wasn’t it either. I then tried a series of 30-second dark frames in “Manual” mode and found the glow in most of these as well.
An example of a single, unprocessed 32-second light frame showing amp-glow – the light seen at the top of the frame. This was caused by shooting my astromodified dSLR in live-view.
Stumped, I began a conversation with Miguel and fired up the Google machinery. I’ll save you the rest of the unimportant details and let you know that with the help of Miguel and some experienced folks in the proper online forums, I discovered the cause of the glow. It was caused by something called “amp glow.” This is the term for the glow that is produced by the heat of the circuitry inside the camera and, as it turns out, is a common occurrence when shooting with “live-view” enabled with moded dSLR bodies. Using live-view for astrophotography with dSLRs is almost a necessity as it makes it much easier to find your target and obtain critical focus on the distant stars. Why had I not noticed this earlier in my previous sessions in which I also used live view? I am not certain. Maybe it was the combination of using ISO 3200 over the course of a longer evening, allowing for the buildup of heat?
To ensure this was indeed the cause of the glow I was experiencing, I performed some tests, taking 60-second dark frames with and without live-view engaged. Just as I expected, those without live-view engaged had no glow and those with live-view turned on showed it in every frame. Thankfully, this wasn’t a major issue with this project. Using the dark frames at these exposures, which also had amp glow, was supposed to result in the removal of the glow during the stacking process. This was not the case, unfortunately. Even though I had what I believe were the correct settings for this glow to be removed, that didn’t wind up working. I assume the fault lies in me not doing something correctly, but I don’t know how to fix this. The glow following the stack was so substantial, that gradient removal couldn’t do the trick in this case. This forced me to crop the final image more than I had originally designed to remove the area most affected by the glow. To avoid this problem in the future, my new imaging process will now be to use live-view only for acquiring the target and acquiring/checking focus. I will then turn this off and let the mirror slap away when taking my light frames.
The third issue, and simply a mistake in my strategy, is that I was unable to properly resolve the Trapezium. I had thought 1-second exposures would be good enough to allow me to properly resolve the four bright stars located in the center of M42, but these wound up being a rectangular blown out blob. I suppose that 1-second is still too much at ISO 3200. I should have checked these shorter exposures more closely so that I could have adjusted for this. Oh well, a reason to shoot this one again someday.
Conclusion I have wanted to make this image since I first began thinking about getting into astrophotography. These paired nebulae are most astrophotographers’ first object chosen to image and, most likely, the most photographed DSO of all time. This isn’t quite the image I had envisioned in my mind, but it comes reasonably close. I think the primary reason it doesn’t match my expectations is my limited skillset with making composits in Photoshop. I also need to rethink my strategy in shooting high dynamic range objects. Maybe it’s a good thing not to have nailed it on my first try. This gives me the impetus to try again in coming years.
Sarah and I traditionally conduct a caterpillar hunt on the weekend of her birthday in mid-September and 2022 was no different. This year we headed to Meramec State Park. I had recently heard of a short trail that covered the lush river bottom and contained hundreds of pawpaw trees. My hope was to find caterpillars of zebra longwing butterflies – a cat that has been elusive despite my many attempts at finding a late instar to photograph. We wound up short of this goal again, but we did find quite a few interesting species. I know Sarah will want me to mention that she did indeed win the day by finding more cats than I did. 🙂
Ceratomia undulosa (waved sphinx) in the family Sphingidae. This impressive cat was found feeding on an ash (Fraxinus sp.).
Although we strike out on the zebra longwings, searching through pawpaws still yield results with other specialist feeders, such as this lovely Dolba hyloeus (pawpaw sphinx).
Perhaps because they are so conspicuous, we often have luck finding the cats of the beautiful Apatelodes torrefacta (spotted apatelodes moth) in the Apatelodidae family. These come in two flavors – vanilla white and the more pleasing lemon chiffon pictured here.
Perhaps my favorite find of the day was this husk of an unknown caterpillar species having been preyed upon by larvae of an Eulophid wasp, likely an Euplectrus species. These wasps are ectoparasitoids that ride on the backs of their caterpillar hosts. When reaching their final stages in development, they spin webs and pupate within, using the remains of the caterpillar and their webs as cover.
Getting the lighting just right on these was challenging. Here, I tried my best to position the flash to illuminate the number of pupae residing beneath the remains of this poor deceased caterpillar.
Of course we are always on the lookout for larval members of the Limacodidae, or “slug moth” caterpillars. We found lots of saddlebacks (Acharia stimulea), including the two seen here. I’ve come to see how widely generalist this species is, having found them not only on numerous woody plant species, but in completely different environments, from dry upland woods to corn fields to humid bottomland forests like the one we were in on this day.
The monkey slug (Phobetron pithecium), purposed to be a mimic of tarantula exuvia, never ceases to fascinate me. Like the saddlebacks pictured above, the monkey slug also contains spines that deliver a toxic punch upon contact.
Here you can see the monkey slug’s appendages rising above the leaf it is feeding upon. The problem with being a generalist caterpillar is that these species need to be able to deal with a variety different toxins that reside in the mature leaves of their many host species. This is believed to be the reason it takes the larvae of the Limacodids so much longer to develop compared to similarly-sized caterpillars of other taxa. This comparatively longer development time may also be the selective force that helped drive the development of the stinging spines that are used to defend against parasitoids and other predators.