
The Pleiades Star Cluster (M45)
The Pleiades, or as it is called in Japan – Subaru, has been near the top of my list of deep sky objects since I began to play in astrophotography. This star cluster is one of the most prominent objects in the night sky and can be easily seen with the naked eye, although it is a stunner through binoculars or a scope. Folks with very good vision under dark skies have been reported to be able to see seven stars, giving this cluster another of its names – the Seven Sisters. Whatever you want to call it, M45 is a relatively young cluster of approximately 1500 young stars (the cluster is thought to have formed around 100 million years ago). The majority of these stars are bright-burning blue stars and, as this cluster passes through a dust cloud in the Milky Way, the blue light from the brightest stars reflects off this foreground dust creating the blue nebulosity that surrounds them. M45 is potentially the closest star cluster to earth at about 444 light years away and is the nearest Messier object to earth.
Collecting the data
Along with the Orion Nebula (M42), M45 is considered to be one of the hard easy targets for astrophotographers. It is relatively bright with a magnitude of 1.6, so that helps with not needing particularly long exposures that many dim DSO’s require. However, there is a lot of dynamic range in the light coming from the cluster, with bright stars, a nice nebula and much dimmer dust clouds that are not well lit by the stars. In my image presented here, you can see some of this dimly illuminated dust throughout the image. To really capture this dust well, a lot of integration and/or longer sub-exposures are required. I am happy to have pulled enough of the detail in these areas with heavy processing without too much injury to the photo quality.
To account for the high dynamic range presented with this target, I had planned on taking two sets of “lights/subs” so that I could capture the fainter dust and nebula without overexposing the bright primary stars of the cluster. Then, I could process these two sets in a way to blend the two exposures, hence capturing the total dynamic range presented. This is pretty easily said, but at my level of experience, it was harder to put this plan into place. I knew that I would have to experiment a little and make the decisions on my camera settings on the scene.
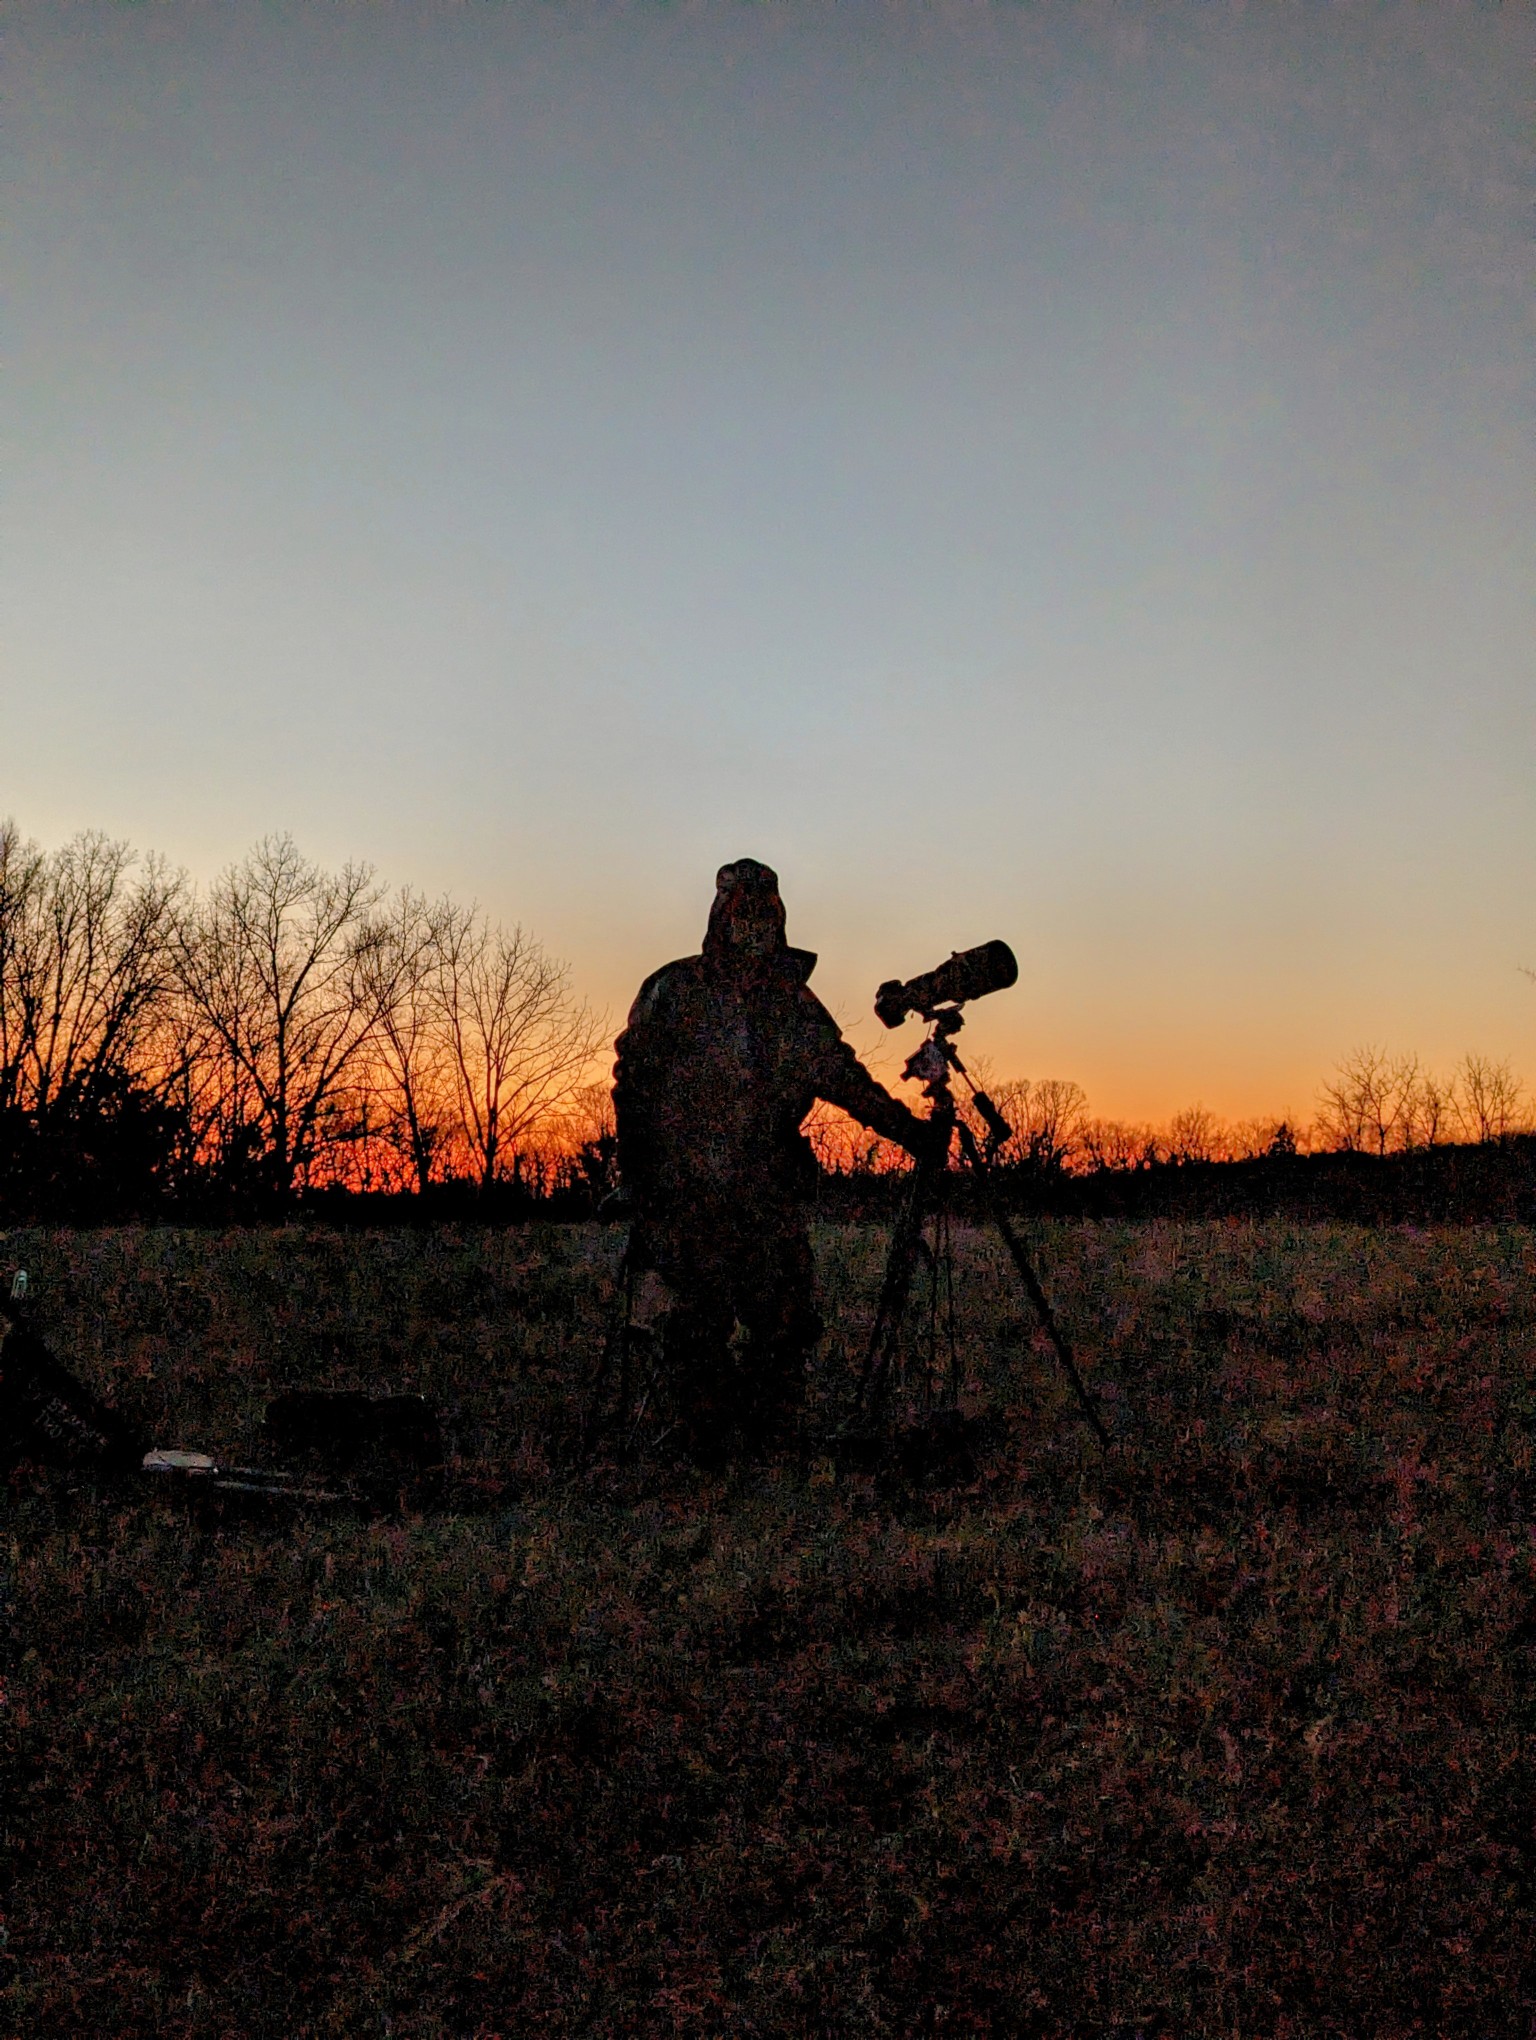
As usual, Miguel and I imaged M45 at the Bortle 4 sky location at Danville Conservation Area. Other than a few late hunters leaving with the sun, we had the place to ourselves except for the owls, coyotes, deer and armadillos. The forecasts were true and we had clear skies with mediocre seeing and transparency. It was a cold night! Temperatures ranged from the low 20s to about 14 degrees Fahrenheit over the course of the night. The heat packs on my lens and Miguel’s battery powered heat bands on his scope really did the trick with preventing dew and frost from forming on our optics.
Equipment
For this target, I used the unmodified Canon 7D mkii and a 300 mm f/2.8 is lens. As usual, I reviewed my options at Telescopius and found that this was a good focal range (480 mm focal length equivalent). However, this choice would give me some problems.
I used the Skywatcher Star Adventurer without guiding mounted on the William Optics vixen style base. Although this is a great tracker and platform, I knew I would be pushing the boundaries of what this unguided setup could handle. At first, I could not get good tracking results with this heavy payload at 30 second sub-exposure lengths. With most photographers imaging this at 1-2 minutes, I knew I was really going to be pushing to get the signal to noise ratio where I needed it to be. But, the 30 sec subs where just unusable, so I took the first set at 20 seconds and ISO 1600. This would turn out to be a nice exposure for the brightest stars.
As I sat in the car thinking between outings to check battery life and focus, I knew I needed to find a way to increase my sub-exposure/signal if I wanted the image to be close to what I was envisioning. Around 11:00pm I decided to redo my polar alignment, rebalance and tighten down the rig to see if I could get to 30 second subs. I tried a few shots and although it wasn’t perfect, it looked like this could work. I checked the histogram on the back of my camera and it still wasn’t where I needed it to be. Although I was hesitant, I decided to increase the ISO to 3200. After doing this and checking the histogram, I knew I hit the sweet spot for the individual sub-exposures. Hopefully my calibration frames and the total integration time would keep the signal to noise ratio where I needed it to be. I shot another couple of hours at these settings to get the exposure I needed for the nebulosity and dust.
Imaging details
Lights: 465 light images taken at 20 sec/ISO 1600 (manually removed obvious bad subs and used 408 subs for a total of 136 minutes of integration).
338 light images taken at 30 sec/ISO 3200 (manually removed obvious bad subs and used 216 subs for a total of 108 minutes of integration).
Darks: 32 taken at each ISO
Bias and Flats: Not taken. Removed most vignetting and chromatic aberration while converting RAW images to TIF
Processing
I tried this two different ways. First, I created two different stacks in Deep Sky Stacker (DSS) from the two different sets of light data I had collected. I also stacked everything together in two different groups within DSS and used their “Entropy Weighted Average” (HDR) stacking mode. I then stretched and processed. For the first option, I used masking in Photoshop to blend the two “exposures” together to create the HDR effect. It was most likely due to the differences in how I processed following the stacking (this is not something I cannot do by recipe yet), but I found I like the image better when I started from the HDR stack by DSS, which is presented here.
Problems and learnings
I already went into some detail about the struggle to get sub-exposure lengths where I needed them, pushing the boundaries on ISO and the need to redo PA and balancing to get to the sweet spot. There was also the time where I walked away for an hour without the shutter release button on the cable being engaged. Overall, I see the need to increase my efficiency. Not including the time it took to take the dark calibration frames and breakdown for the night, I estimate that we had about eight hours of good night skies to take our light frames. I was only able to capture about 5.5 hours of data in this time. Part of this is due to the time it takes to stop the process to check battery life and focus – this will always be the case. But I also lost time with the other things I mentioned. If things had gone perfectly, I could have had about two more hours of light frames. Ah well, I should get better with experience.
Conclusion
This was a long and cold night but I think Miguel and I both think it was well worth the time and effort. I remember getting into bed a little after 6:00am, wondering if I had collected the data that I would need to make the image I had envisioned. It definitely isn’t perfect. I had to toss a lot of the 30 second sub-exposures due to pushing the boundaries of unguided tracking with that heavy payload and focal length. Even after that, a close look will reveal some ugly and mishappen stars due to imperfect tracking and shooting with the lens wide open. I’m not too concerned with the star quality, however. As long as the target looks good, I am happy. Maybe some day I’ll revisit M45 and use the 200mm lens. I should easily get 30-60 second subs with that lighter rig and hopefully have more of the prominent dust in a wider field of view.
