
Rho Ophiuchi Cloud Complex
Within the constellation Ophiuchus (the Serpent Bearer) lies one of the most spectacular scenes in the summer night’s skies. It is arguably one of the most interesting as well. This area holds one of the closest stelar nurseries to our Sol and is composed of six primary bright objects and some dark nebula to boot.
Starting at the bottom point that makes up the pentagon of this object, we find the red supergiant star, Antares, and it’s accompanying cloud of warmly-colored, ionized hydrogen gas. Up and to the left of Antares is the blue reflection nebula, IC 4605, and continuing along the pentagon, we next come to a smaller blue reflection nebula – IC 4603. Outside the pentagon, just to the upper left of IC 4603 is yet another reflection nebula, illuminated by the five-star system known as Rho Ophiuchi. Moving to the next point in the pentagon, the upper right as seen in this image, lies Sh2-9, a combination reflection and emission nebula. Finally, making up the last point of our pentagon is M4, a fantastic globular star cluster comprised of at least 100,000 stars.
But it doesn’t end there! Also visible in this image are several named dark nebula, streaming away from the cloud complex moving towards the core of the milky way, just to the east of my frame. The primary dark nebula is catalogued as B44 and is known by its apt common name of the Dark River.
If that isn’t enough, There are also two other globular clusters, NGC 6144 and M 80 that can be seen in this frame. By clicking here, you can move your cursor around to identify the various objects in this image.
Collecting the data
Miguel and I have had a rough couple of months for our astrophotography goals. We were completed clouded out during the new moon period in April, but we did get a session in in May, where we focused on the Blue Horsehead Nebula (IC 4592). But, due to some issues with working with some new gear (more on this below) and an unexpected processing issue, this one is still in the works for me.
In June, the weather (clouds and smoke from the big Canadian forest fires) was touch and go, but we did get a night that turned out to be about as close to perfect as you can expect for a summer night.
Date and location
Imaged on the night of 19/20 June 2023 at Danville Conservation Area in Montgomery County, Missouri (Bortle 4).
Dark period: 22:32 – 03:41
Target period: 20:27 – 03:06
Conditions
Clear skies over the course of the session. Temperature ranged from 67-62 F. Winds at or below 5 mph.
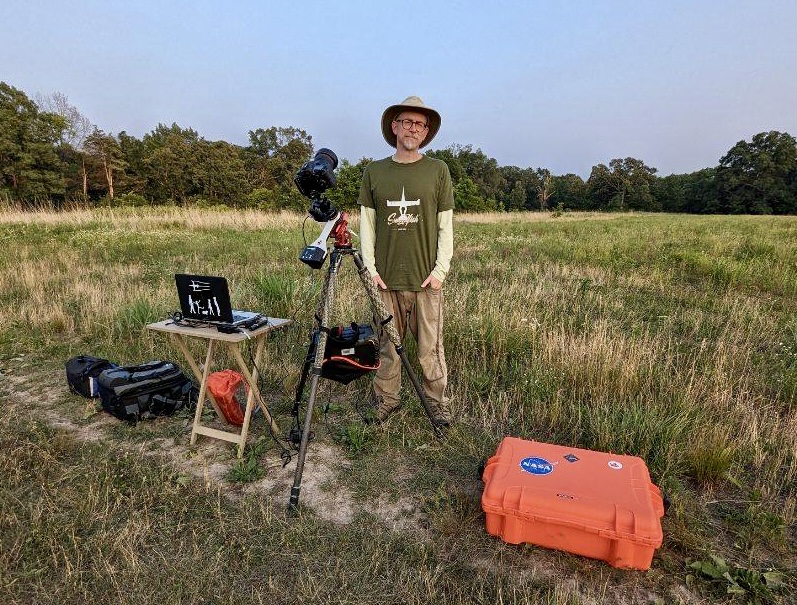
Equipment
Astro-modified Canon 7D mkii camera, Canon 90mm f/2.8 macro tilt-shift lens (144mm focal length equivalent), Fornax LighTrack II tracking mount without guiding on a William Optics Vixen Wedge Mount. QHYCCD Polemaster. Gitzo CF tripod, Canon shutter release cable, laser pointer to help find Polaris and sky targets, lens warmer to prevent dew and frost on lens, dummy battery to power camera, lithium battery generator to provide power to camera, dew heater and laptop computer.
Let’s talk about the new equipment used in the making of this image. First off, the Canon 90mm f/2.8 macro tilt-shift lens got its “first light” in astrophotography use. I suspected this lens could be very good for AP use due to its relatively wide open aperture and its larger imaging circle. This lens has next to no distortion or vignetting on my crop sensor body. I was looking for a good AP lens option around 100mm and am very excited about how this lens performed. I love a multi-trick pony!
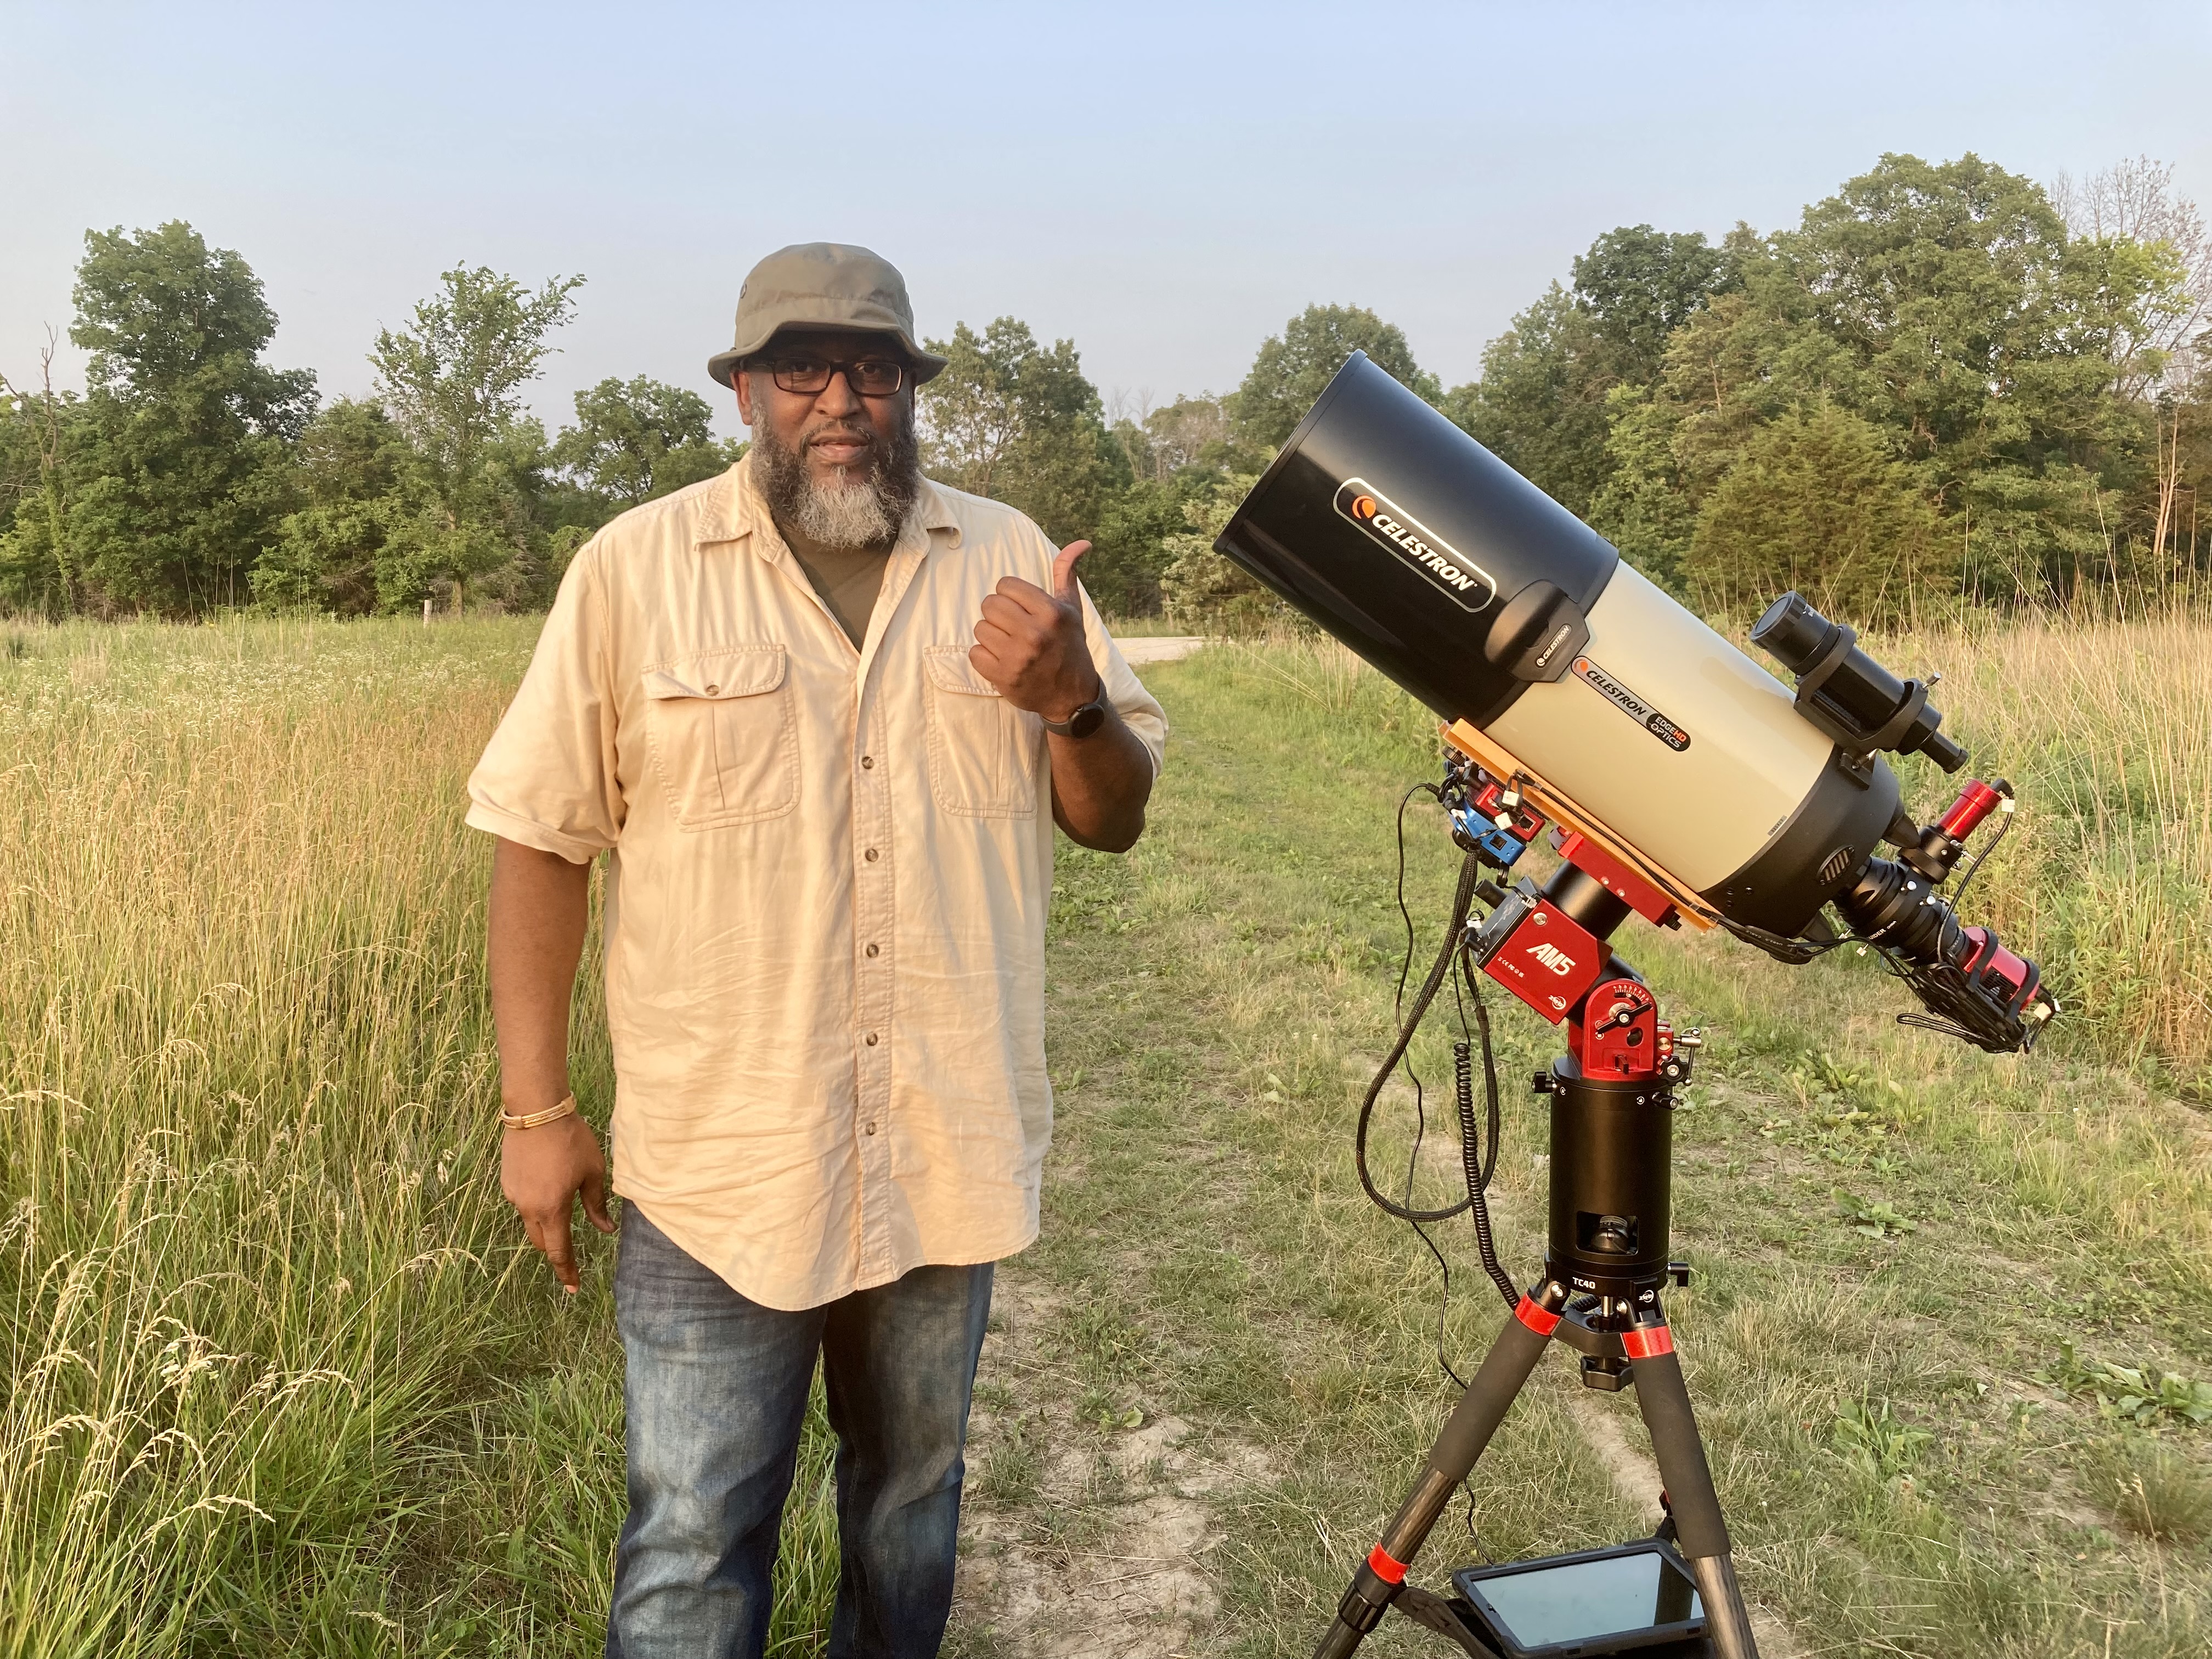
The big new toy is the tracker I picked up for my birthday. The Fornax LighTrack II is likely the best portable and “affordable” tracking mount you can buy for optimal star tracking without guiding. I will likely publish a full review of this tracker system here in the future. I had some big issues when using it with the manual polarscope I purchased with it. This was a source of frustration for a while, but was solved by getting some more technology. In order to get the most precise polar alignment possible, which this mount needs to really shine, I picked up the QHYCCD Polemaster. This is basically a small camera that you attach to the mount and uses a computer program to allow you to perfectly align the mount to the north celestial pole. With this, I was able to get as accurate of a polar alignment as possible in less than 15 minutes. To use this, I did have to buy my first ever personal laptop computer – a nice refurb that only set me back $200. The main point here is that this new mount will allow me to get up to 4 times the exposure length for my sub-frames than what I was able to get with the Star Adventurer mount with no star trailing or drifting.
Imaging Details
Lights taken (ISO 800, f/2.8, 90 second exposure): 150
Lights after cull due to tracker error, wind, bumps, etc.: 150!
Used best 95% of remaining frames for stack for a total of 142 subs used for integration (3.56 hours)
Darks: 30 taken at same exposure time and ISO as lights
Processing
RAW files converted to TIF in Canon DPP, stacked in Astro Pixel Processor, GraXpert for gradient removal, Photoshop CS6 for stretching and other cosmetic adjustments.
Problems and learnings
In a way, despite the more comfortable temperatures we would be working in, I was dreading the summer months when it came to prospects of astrophotography. I knew the scrambling that would need to be done to take advantage of the dark skies during the shortest nights of the year, but this isn’t what I am referring to. Since I use a non-cooled dSLR for this purpose, I was worried about sensor noise that increases dramatically as the temperatures rise. I knew this could be a significant issue, but wasn’t expecting the problem that it would bring.
I have now become aware of what is known as “Canon banding.” This problem manifests as broad horizontal bands of color noise that alternate in greens and magentas across the frame and is a well known issue with astrophotographers using older model Canon dSLRs. I couldn’t see this on the individual subs, but after stacking and just a slight amount of stretching, they became distinctly obvious and impossible for me to correct with my processing skills.
Up steps Miguel to save the day again. In PixInsight, the AP processing software Miguel uses, there is a script function that can reduce Canon banding dramatically. Miguel ran my unstretched stacked image through this and it made a world of difference. It did not eliminate the problem completely; I was still limited on how much stretch I could apply to this image because of it. But, with a little bit of touch up to the final stretched image, I was able to produce something I am happy to share.
Conclusion
Overall I am very pleased with the final image, although it wasn’t exactly what I had in my mind’s eye when planning. Part of the problem was the banding issue, explained above. Additionally, I have come to realize that many summer DSO targets would greatly benefit from being shot on multiple nights. I think this would have come out more to my expectations if I had double or triple the amount of integration time. This simply isn’t possible in a single short night in summer months. I have never given the possibility of multi-night sessions much thought – one night’s sleep a month lost is enough I think. But, to do summertime DSO’s justice, especially nebulas, this might be worth considering when I have the opportunities.
I really do love this target. There are a lot of opportunities here that I look forward to trying in the future. I speak specifically to the different options of focal length. Using a longer lens (200-300mm) will focus in on the different great nebulas, bringing out more of their details, while using a wider lens, will show the dark river nebula flowing into the much brighter core of the milky way to the east.
If you made it this far, thanks for visiting and reading. I hope you liked this month’s AP image!
